You’re scrolling at 2 a.m., clutching a sketch of a tiny koi and wondering exactly where it will look best on your body. Placing a small Japanese tattoo well is about flow and skin movement, not just picking a convenient spot. This guide shows you how to place a small Japanese tattoo on your body so it flatters your shape, fades gracefully, and heals cleanly.
If you want less stress right after your session, I keep a roll of Saniderm second-skin bandage in my kit and a tube of EMLA numbing cream for sensitive placements. Read on for placement advice, a simple aftercare routine, artist tips, and healed results benchmarks.
Choose the Right Placement for Flow and Visibility (fine line, minimalist, beginner placement)
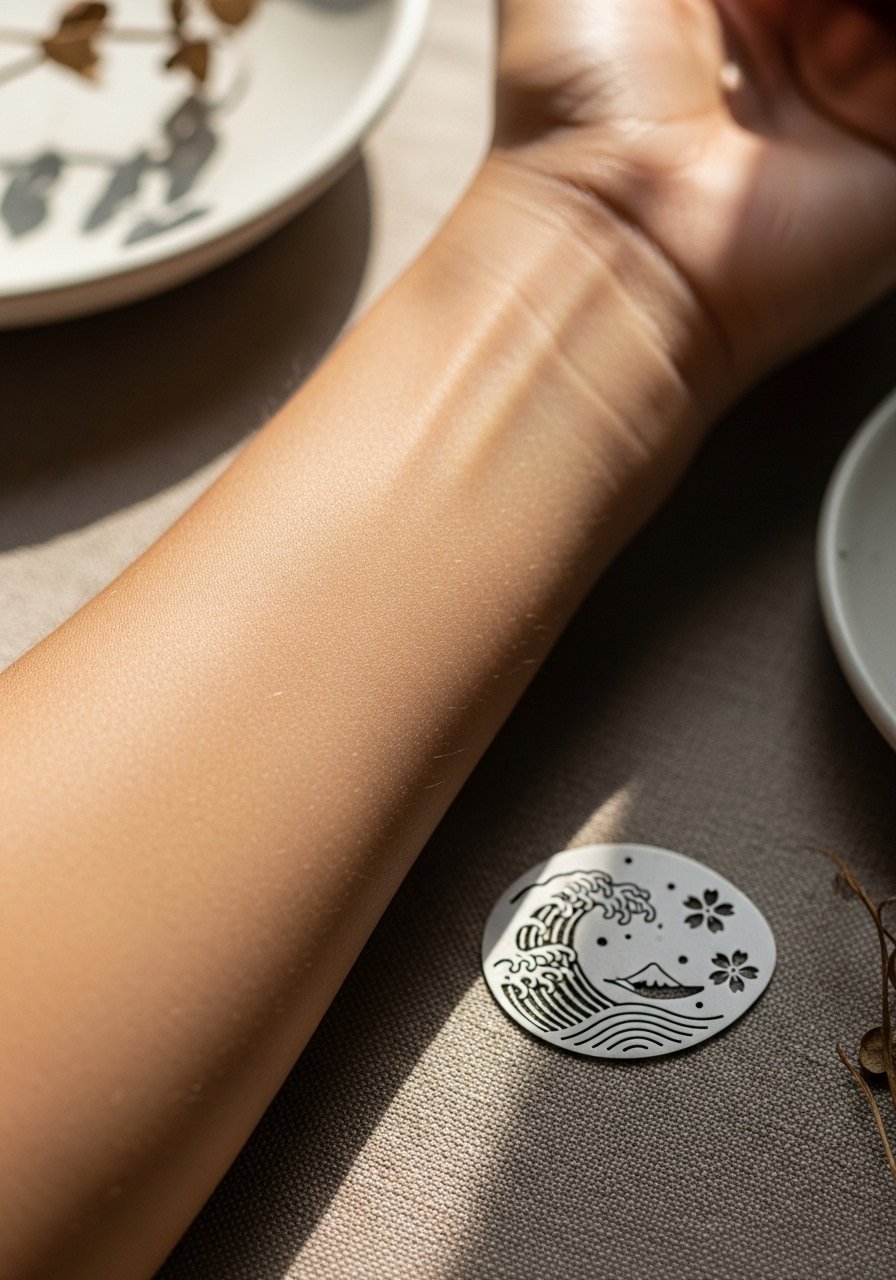
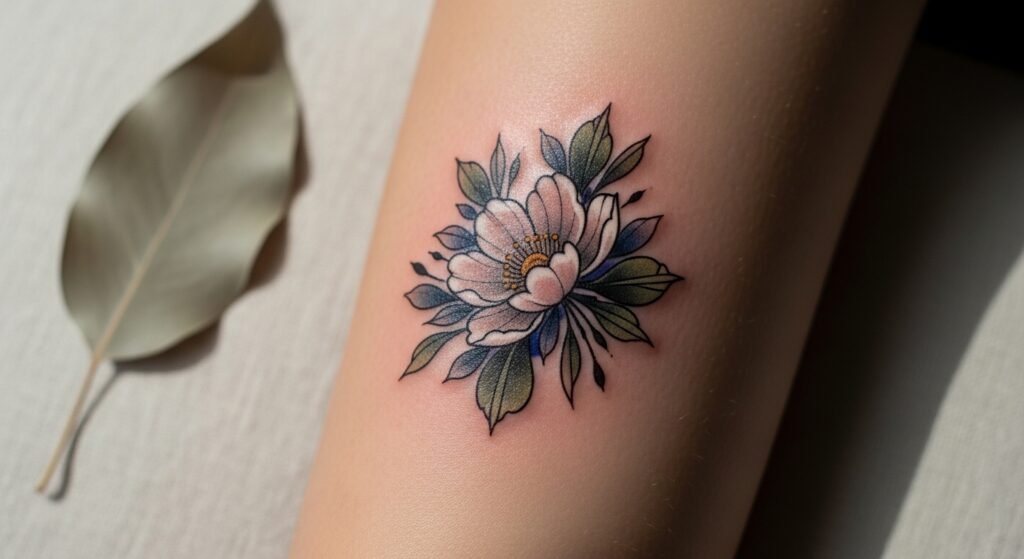
Start by matching the design’s lines to the body’s natural curves. A small Japanese motif — wave, sakura branch, or tiny koi — will read differently on a wrist, rib, ankle, or behind the ear.
- Think about motion: place curved designs where the skin naturally bends (inner forearm, calf) so the image “flows” with movement.
- Visibility trade-offs: wrist and hand placements fade faster from sun and friction; add a daily mineral SPF stick for healed ink. Consider a mineral SPF stick SPF 50 for long-term protection.
- For fine line or minimalist Japanese motifs, scale is everything — keep lines simple and avoid over-detailing under a 2–3 inch size.
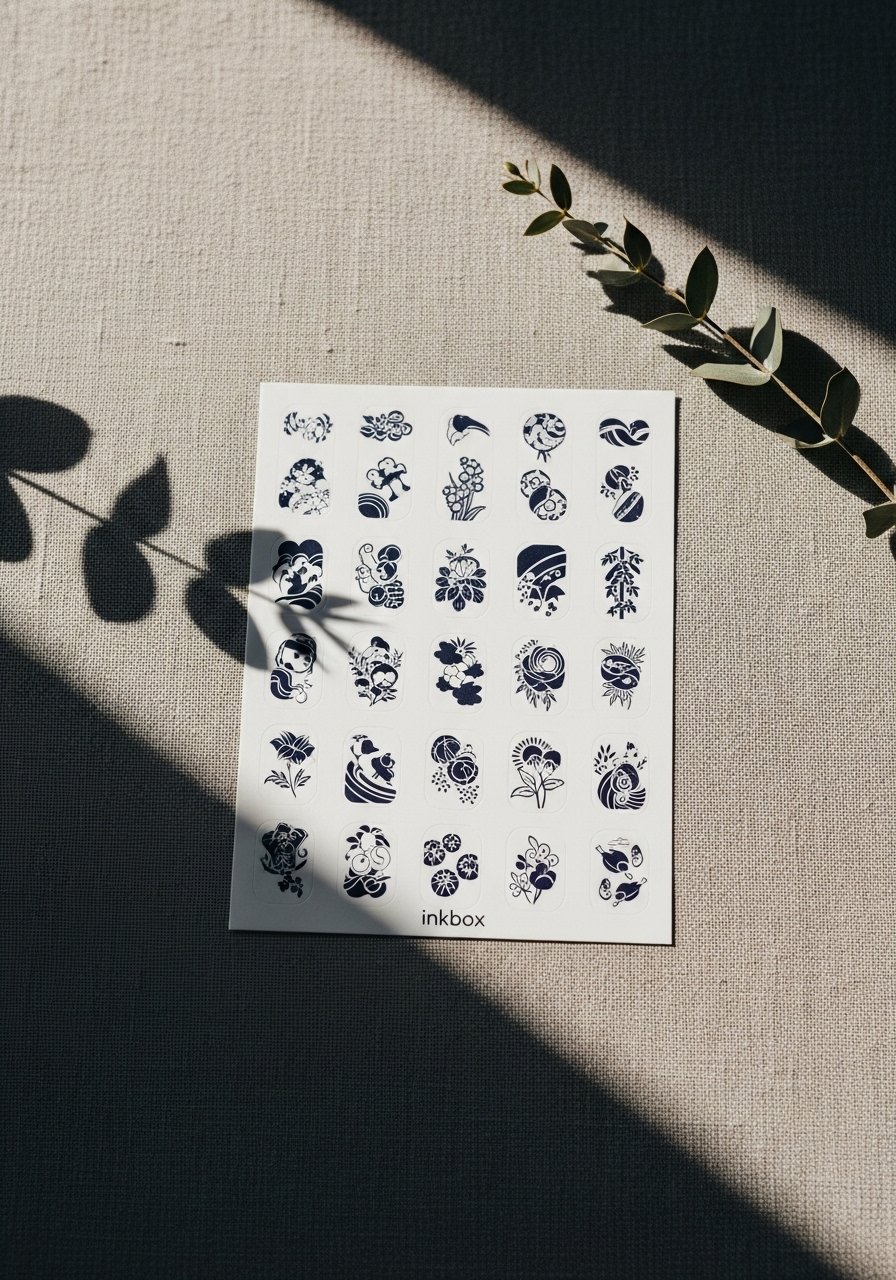
Test Placement Before You Commit (temporary tattoos, stencil tricks)
Testing placement removes regret. Use temporary methods to live with the design for a few days.
- Apply an Inkbox semi-permanent tattoo kit to see how the scale and position feel in motion.
- Use tattoo stencil transfer paper to place a paper stencil at different angles.
- Shave the site the night before with a single-use prep razor so the stencil sits flat.
Spend 2–5 days testing if you can — you’ll notice whether a placement rubs on clothing or looks off when you move.
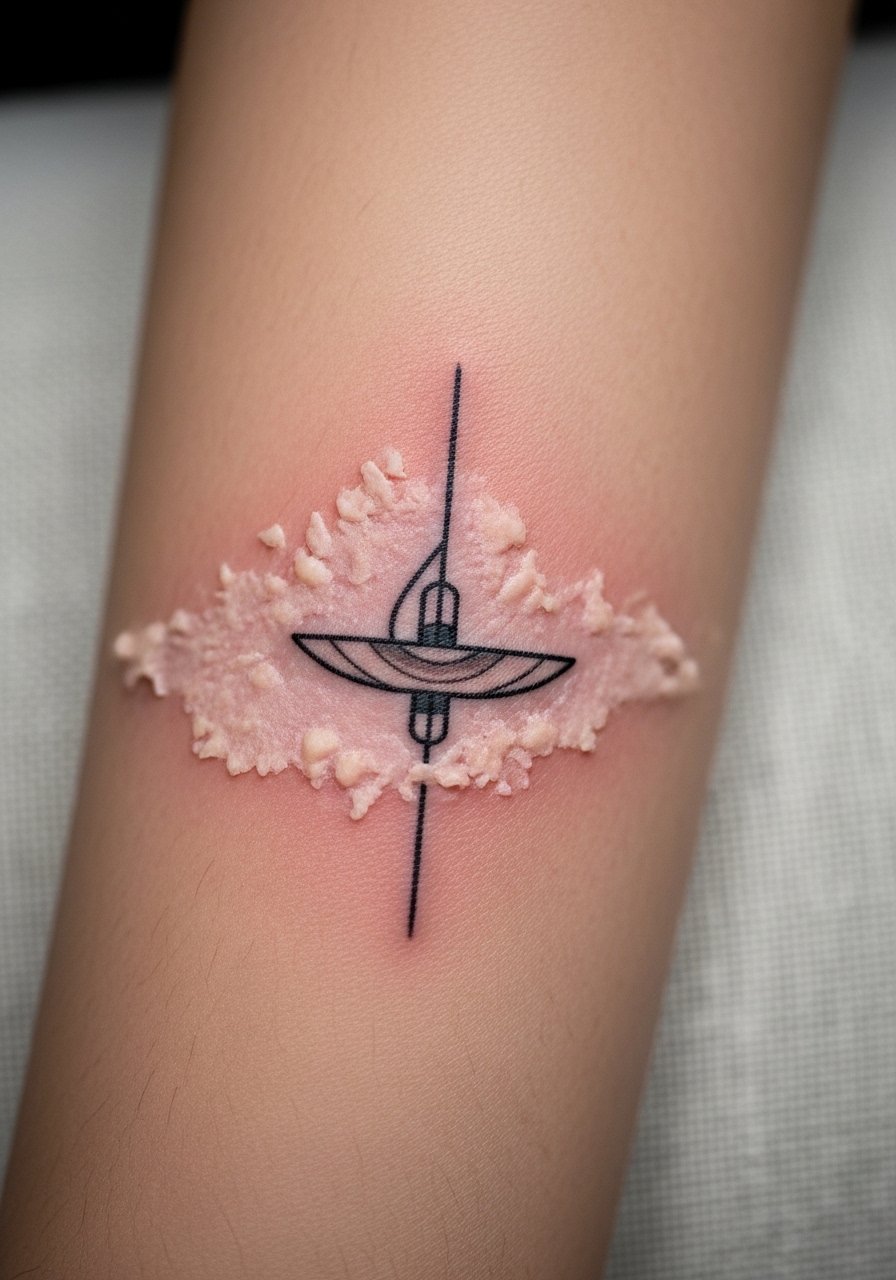
In the Chair: Pain, Session Tips, and Early Healing (placement-specific pain and healing considerations)
Small Japanese tattoos are usually quick, but placement changes pain and swelling. Ribs and ankles hurt more; forearm and shoulder are easier.
- Apply a thin layer of EMLA numbing cream 60–90 minutes before a sensitive sit for real relief.
- Ask your artist about line weight for fine line or neo-traditional styles; thicker outlines help longevity in high-friction areas.
- Expect the first 48 hours to have plasma and slight swelling. If your artist uses a second-skin wrap, keep the Saniderm on for 3–5 days.
If scabbing looks thick or you see bright yellow discharge, contact your artist or a clinician.
Aftercare Routine and Long-Term Maintenance (aftercare routine, touch-up, healed results)
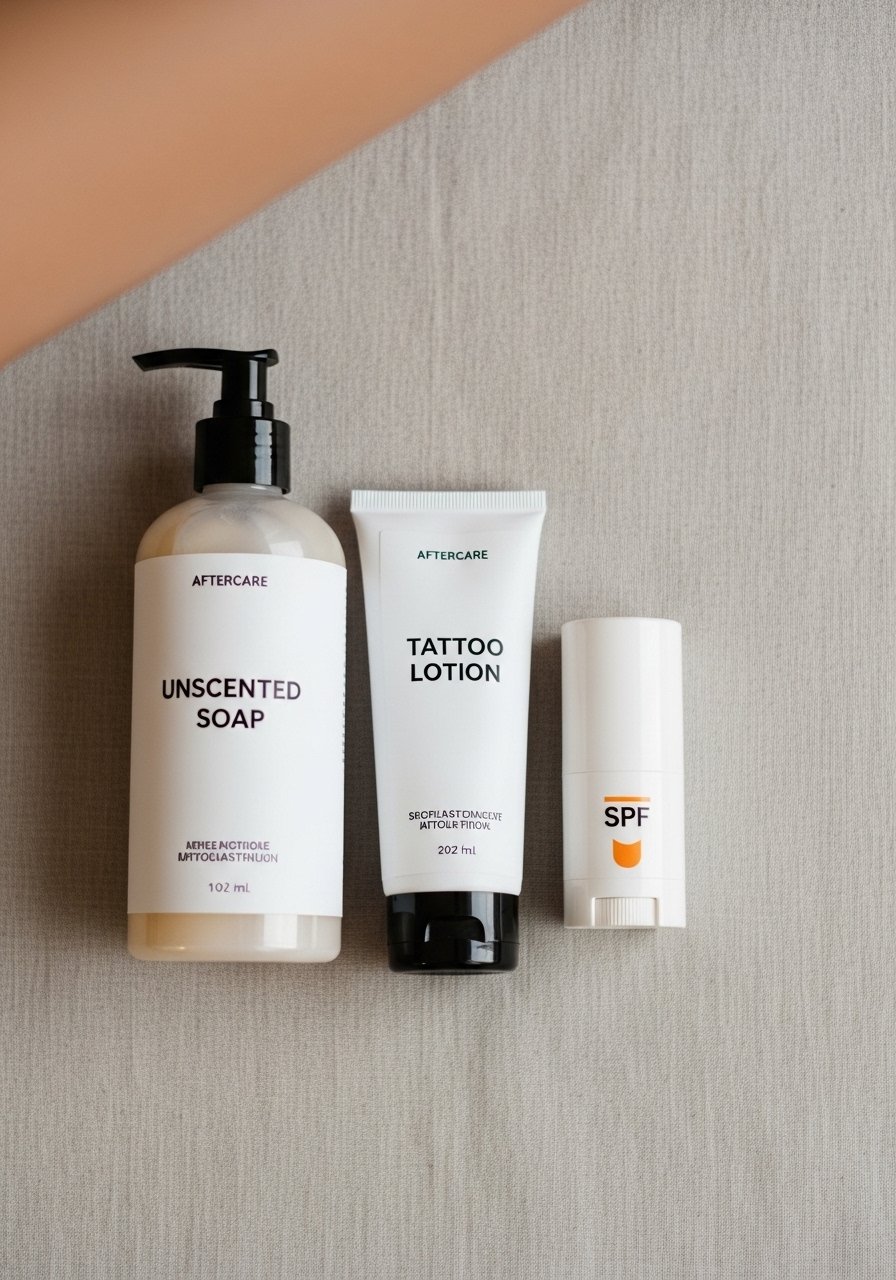
A clean, consistent aftercare routine keeps fine line Japanese pieces crisp.
- First wash: at 24 hours or after the artist removes the initial wrap, gently wash twice a day with an unscented antibacterial soap. Pat dry.
- Moisturize: apply a pea-sized amount of After Inked unscented tattoo lotion 2x a day during peeling.
- For balm days when skin is tight, use a small dab of Hustle Butter Deluxe to calm itch without suffocating the skin.
- Long-term: after fully healed (4–8 weeks), apply a mineral SPF stick SPF 50 to any exposed placement and use vitamin E oil sparingly for skin hydration.
Expect visible peeling for 7–14 days; healed results should settle by 6–8 weeks. If lines soften unevenly, schedule a touch-up after 3 months.
You can also keep a compact tattoo aftercare kit ready in your bag for trips.
Finish your sketch, pin this guide, and book that consult. With tested placement, a simple testing step, smart in-chair choices, and a reliable aftercare routine — including Saniderm and fragrance-free care — you’ll get a small Japanese tattoo on your body that flatters your shape and ages well. Pin this before your consultation and tell me: which placement are you leaning toward?