You’re scrolling at 2 a.m., staring at a sleeve idea that mixes koi, waves, and your family crest. Choosing a Japanese Traditional Tattoo that honors its cultural roots and reflects your story shouldn’t feel like guessing.
This guide gives clear steps to pick a respectful design, test placement, pick the right artist, and set up an aftercare routine for healed results. I keep a roll of Saniderm second-skin bandage in my kit and test design flow with an Inkbox semi-permanent kit before committing. Follow these steps for a Japanese Traditional Tattoo that’s personal, accurate, and built to last.
Choose a design that respects tradition and tells your story (fine line, minimalist, neo-traditional)
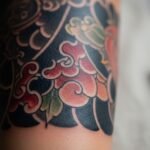
Start by learning the basics: motifs (koi, dragons, waves, cherry blossoms), their meanings, and traditional placement flow. Decide which elements actually reflect your story—don’t copy a cultural symbol without understanding its context.
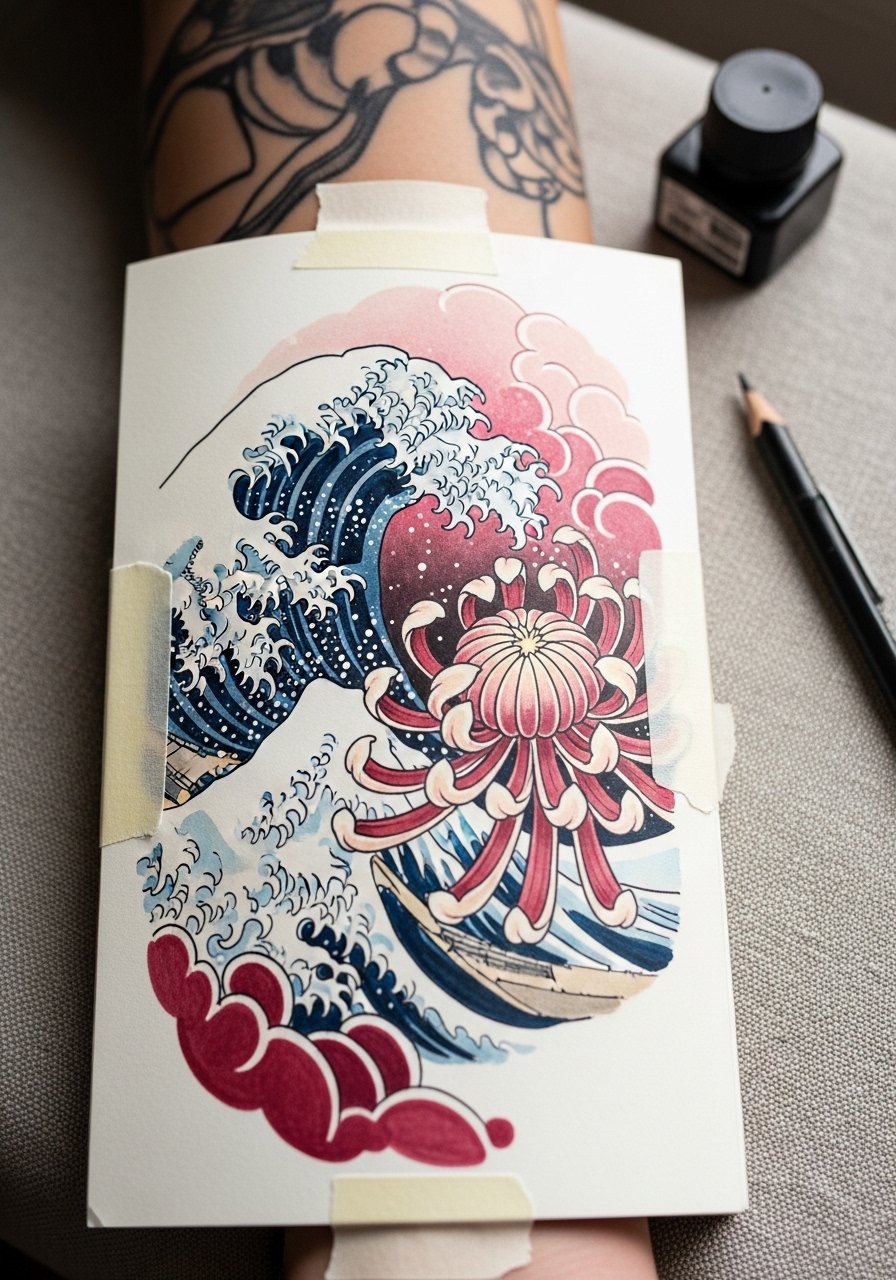
- Test scale and placement with a temporary option: try an Inkbox semi-permanent tattoo kit to live with the composition for a week.
- Use tattoo stencil transfer paper to paste a full-size mockup on skin and check movement, clothing friction, and visibility.
- For minimalist or fine line takes, remember traditional Japanese work favors bold flow; scale your design up if it contains lots of blackwork or color fills.
Vet artists who specialize in traditional Japanese style (portfolio, healed results, touch-up policy)
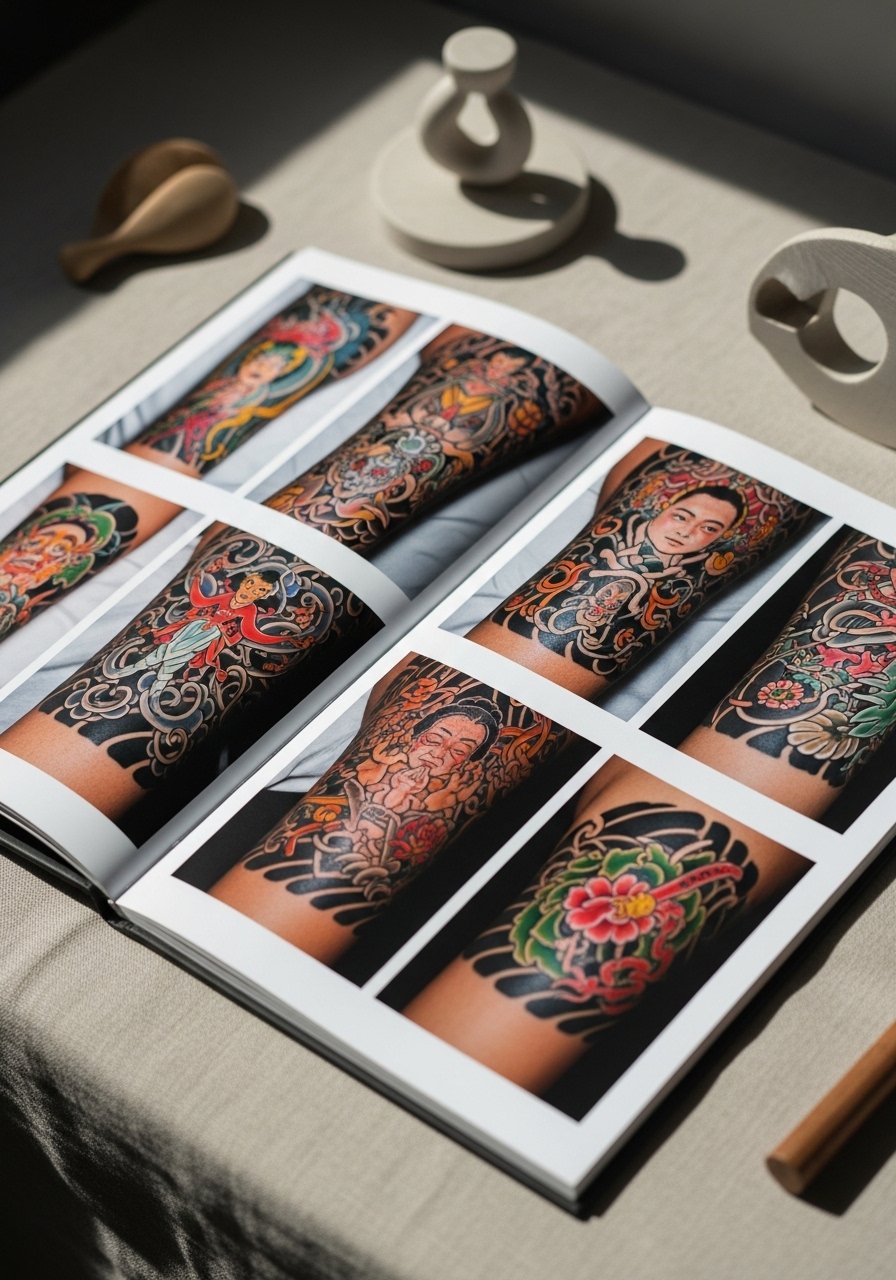
Find artists who publish healed photos, not just fresh work. Healed results show how line weight, color saturation, and scarring settle over months.
- Ask for healed photos and references, and check whether they work in irezumi, neo-traditional, or blackwork variants.
- During consults ask about touch-up timing—most artists suggest returning at 8–12 weeks for color boosts.
- Bring a reference sketchbook or flash art book; a tattoo flash art book helps you speak the right visual language.
Prepare your body and the chair: placement, pain, and session prep (beginner placement, numbing)
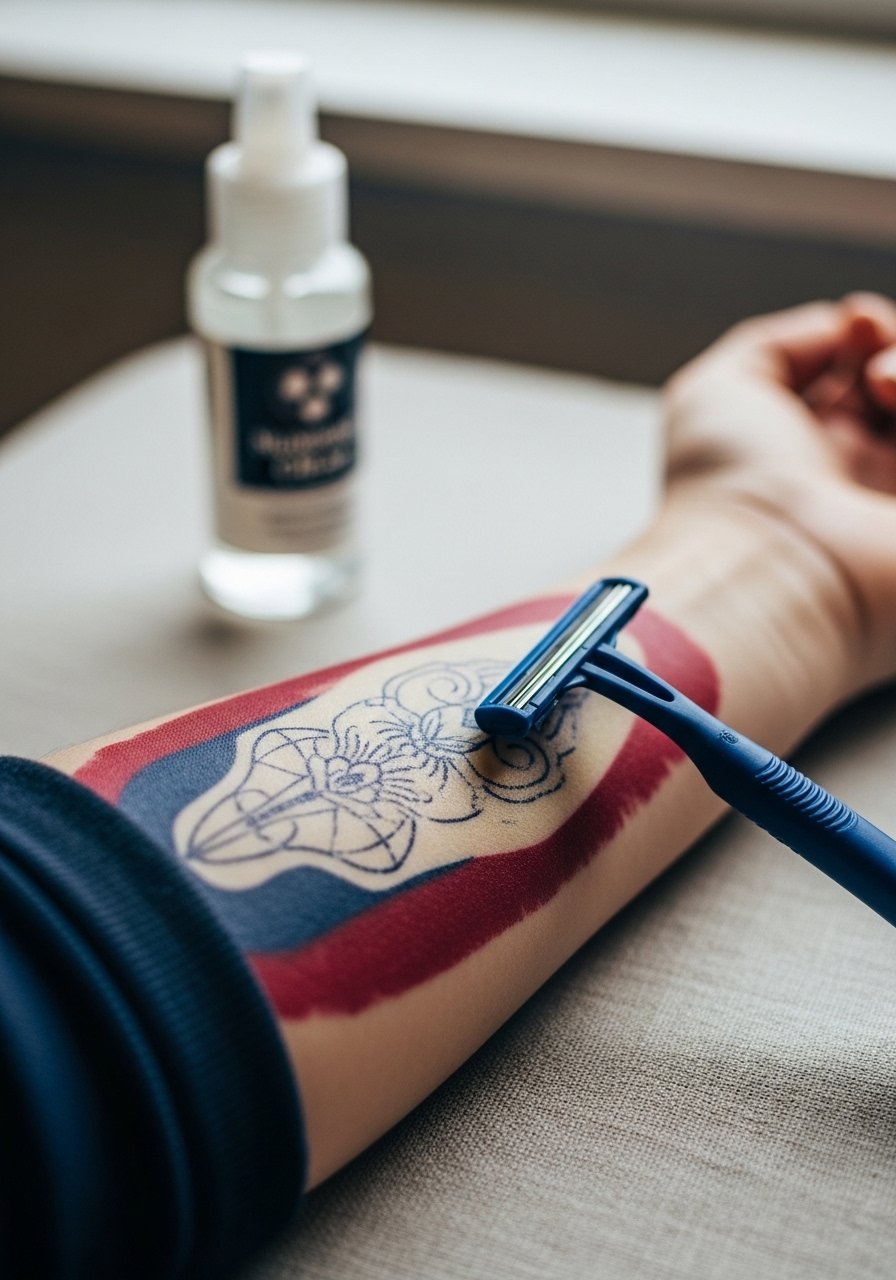
Pick placements that match your pain tolerance and lifestyle. Beginner placements include outer forearm, calf, and shoulder—these heal predictably and show healed results well.
- Shave the area with a single-use prep razor right before your appointment.
- For sensitive spots, apply a thin layer of a tattoo numbing cream about an hour prior—follow product timing exactly.
- Expect the session to feel like steady scratching and pressure; take short breaks for long sits.
Immediate aftercare and the first six weeks (aftercare routine, peeling, healed results, touch-up)
What you do in the first two weeks dictates your healed results. If your artist applies a second-skin bandage, leave it for the recommended 3–5 days. Otherwise, the usual routine:
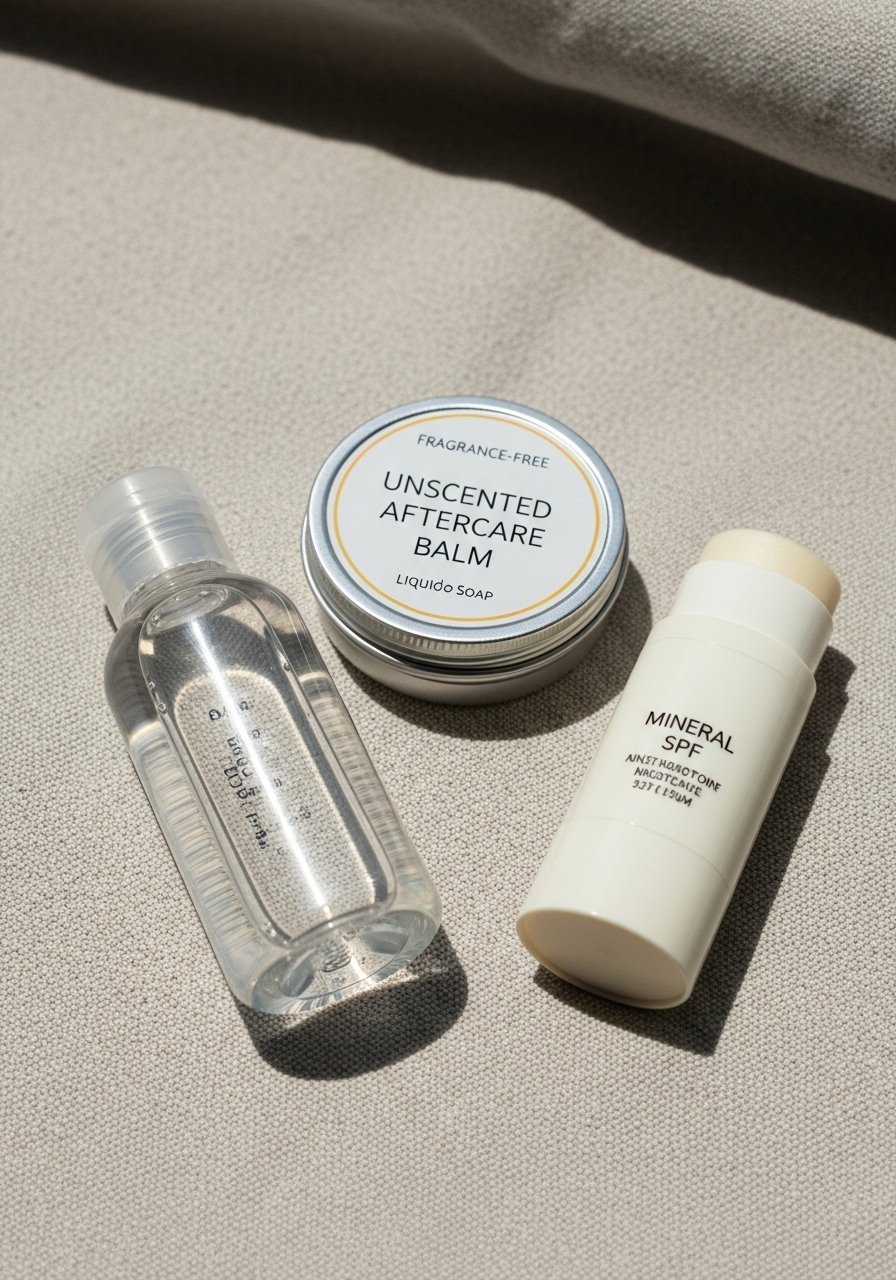
- Wash gently twice a day with a fragrance-free antibacterial soap. Pat dry—don’t rub.
- Apply a thin layer of unscented tattoo aftercare lotion 2–3 times daily during peeling.
- For extra moisture on thick, dry patches use Hustle Butter Deluxe sparingly.
- Expect peeling and light itching around days 5–14; avoid picking scabs. Most tattoos look mostly healed at 4–6 weeks, but color settles up to 3 months.
- After healed, protect ink with a mineral SPF stick whenever sun exposure is likely.
Troubleshooting: excess plasma or patchy healing often means under-moisturizing or over-washing—adjust to thin layers and skip heavy ointments.
You’ve learned how to pick a meaningful Japanese Traditional Tattoo, test placement, vet artists, and run an effective aftercare routine. Book your consult, pack your aftercare kit with Saniderm second-skin bandage, fragrance-free soap, and a good unscented lotion before you go. Pin this guide before your appointment—what placement are you leaning toward? Drop it below.