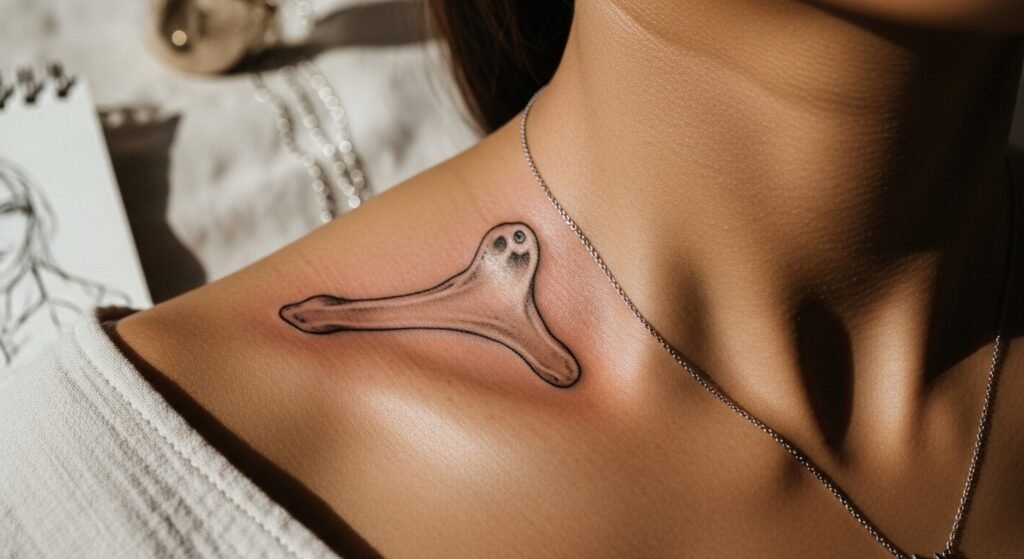
You’re sitting in the shop waiting area, scrolling reference pics at 2 a.m., finally committing to that collar bone tattoo you’ve sketched for months. The collar bone area is flattering for fine line and minimalist designs, but it’s also thin-skinned and shows movement—so preparation matters. This guide walks you through how to prepare for a collar bone tattoo, manage pain in the chair, and follow an aftercare routine that protects healed results. I always pack a Saniderm second-skin roll and a tube of EMLA numbing cream for sensitive placements. Read on to learn placement tips, what to bring, exact healing timeframes, and product picks that actually help.
Prepare your skin and test placement for a collar bone tattoo (fine line, minimalist)
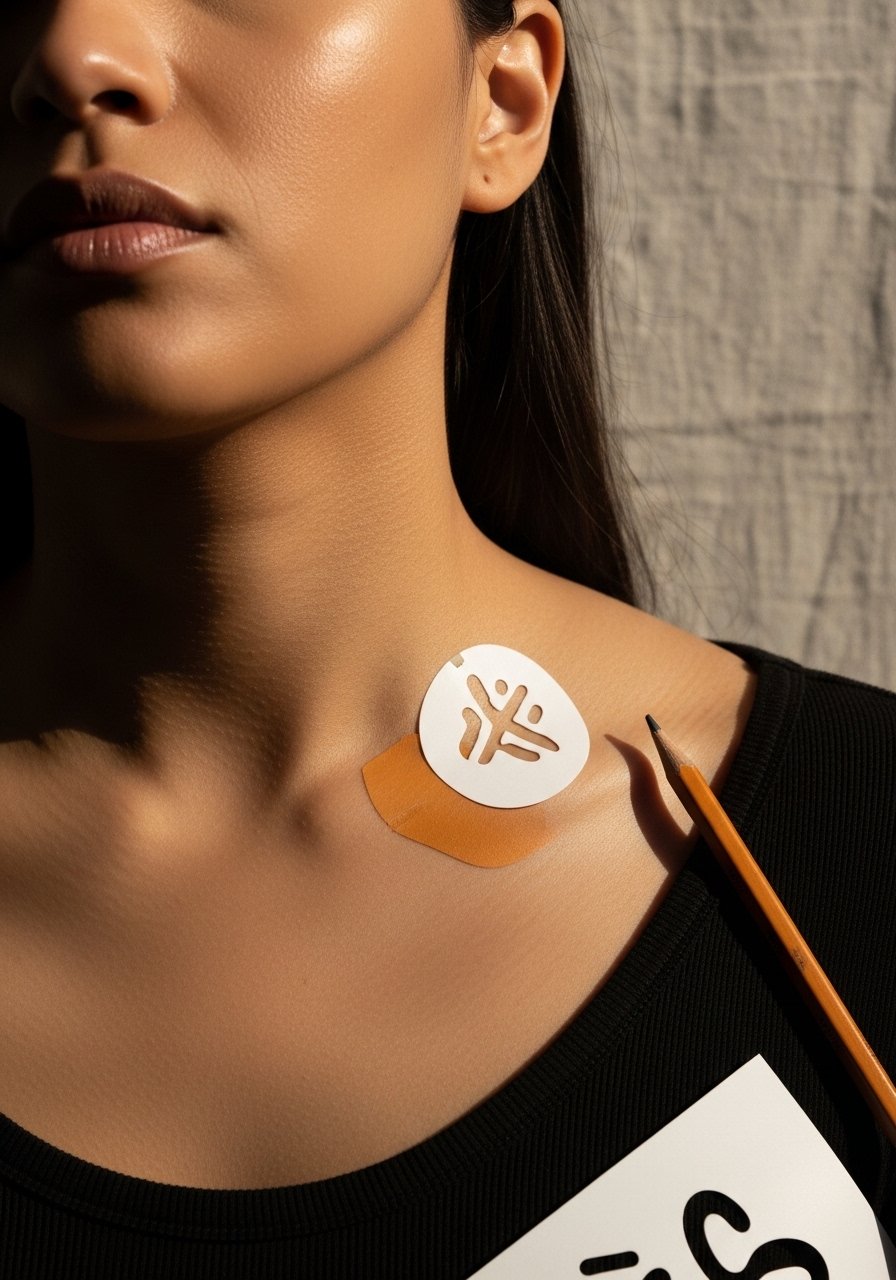
Start prepping 48–72 hours before your appointment. Hydrate well, sleep early, and avoid alcohol or blood thinners for 24 hours. If you want to be sure the size and flow work with your collar bone, test the placement:
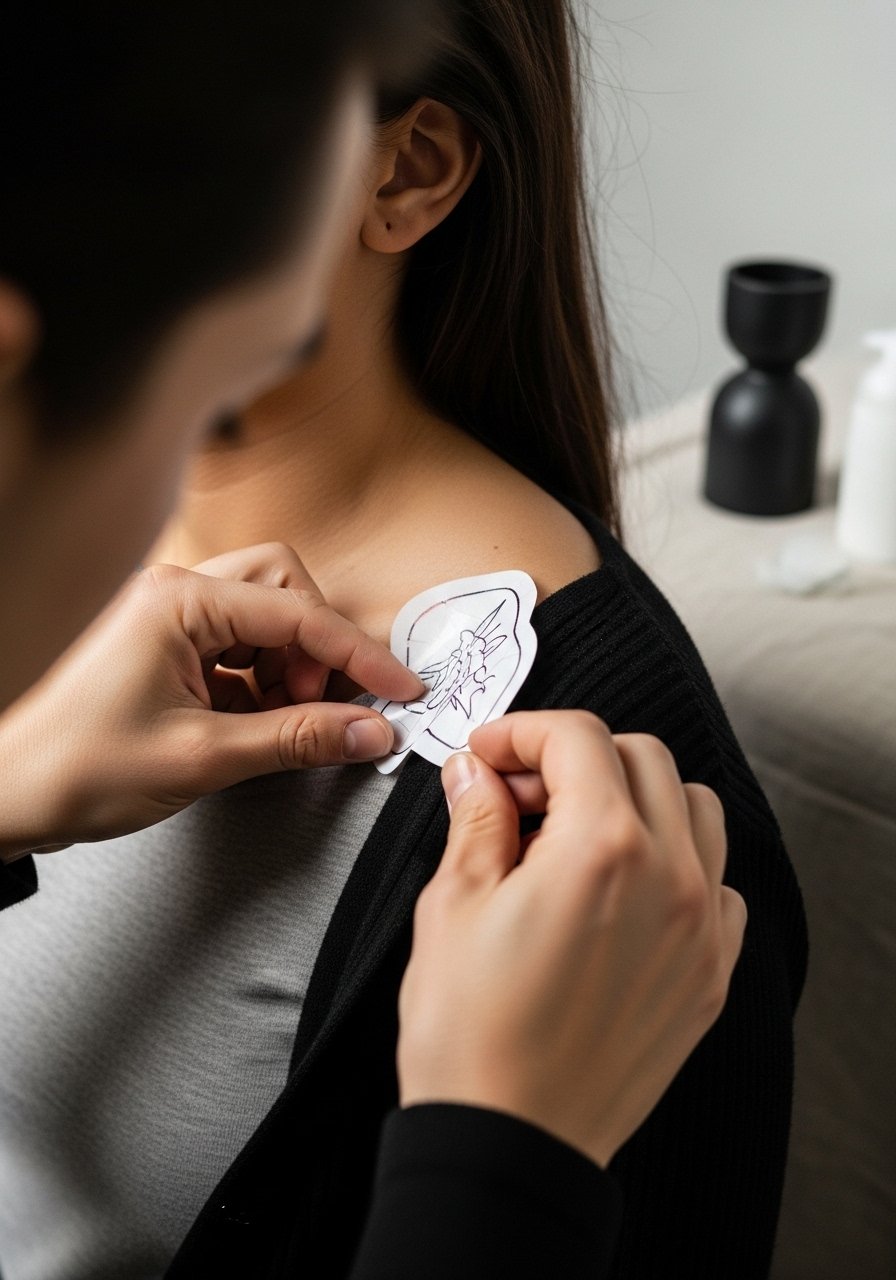
- Try an Inkbox semi-permanent kit or stencil paper at home to see movement and clothing friction.
- Shave the area with a single-use prep razor right before you go—clean, careful strokes only.
If pain is a real concern for you, apply EMLA numbing cream 45–60 minutes before your session (follow product directions and clear with your artist).
Manage pain and positioning during the collar bone tattoo session (beginner placement tips)
Collar bone tattoos can be sharp because the needle hits closer to bone. For fine line or blackwork, ask your artist about light passes and micro-shading to reduce trauma. Tips that help in the chair:
- Wear a strapless or wide-neck top so your artist has full access without tugging fabric.
- Breathe, ask for breaks every 30 minutes, and request a softer needle configuration if available.
- Use a small amount of Hustle Butter Deluxe during long sits if your artist approves—it soothes skin without clogging.
Follow a simple aftercare routine for the first two weeks (aftercare routine, peeling, scabbing)
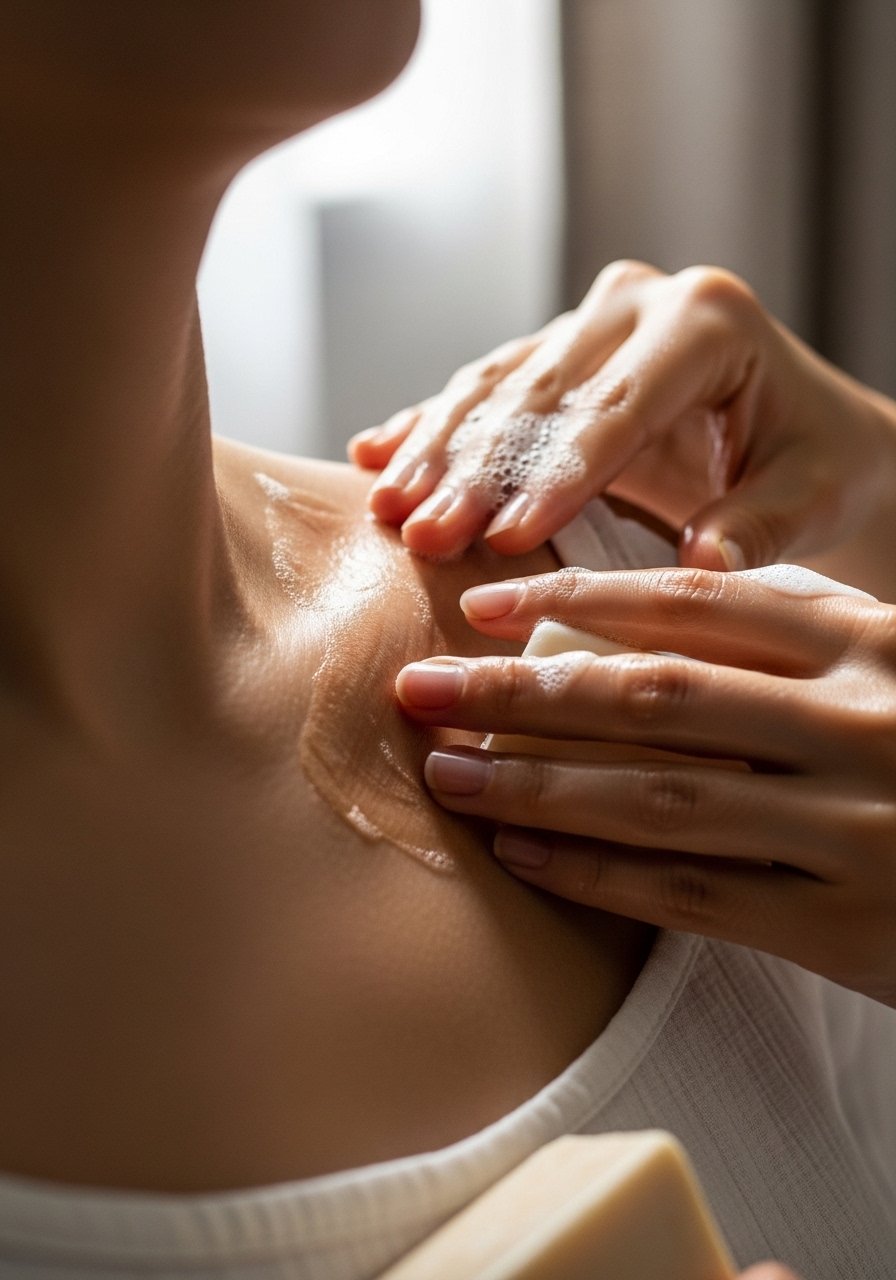
Right after the session, many artists will apply a second-skin bandage. If yours does, leave it on for 3–5 days unless your artist says otherwise. When you remove any wrap or after the first few hours if open-healed:
- Gently wash twice a day with a fragrance-free antibacterial soap like Dr. Bronner's unscented soap. Pat dry—never rub.
- Apply a thin layer of a fragrance-free lotion such as After Inked tattoo lotion twice a day during the peeling phase.
- If your tattoo is weeping excess plasma, gently blot and follow your artist’s advice—don’t over-cleanse.
Avoid soaking (no baths, pools, or hot tubs) for at least 2 weeks. For dry/itchy phases, a small dab of Tattoo Goo aftercare kit can calm irritation—use sparingly.
Protect and refresh healed collar bone tattoos (SPF, touch-up timing, long-term care)
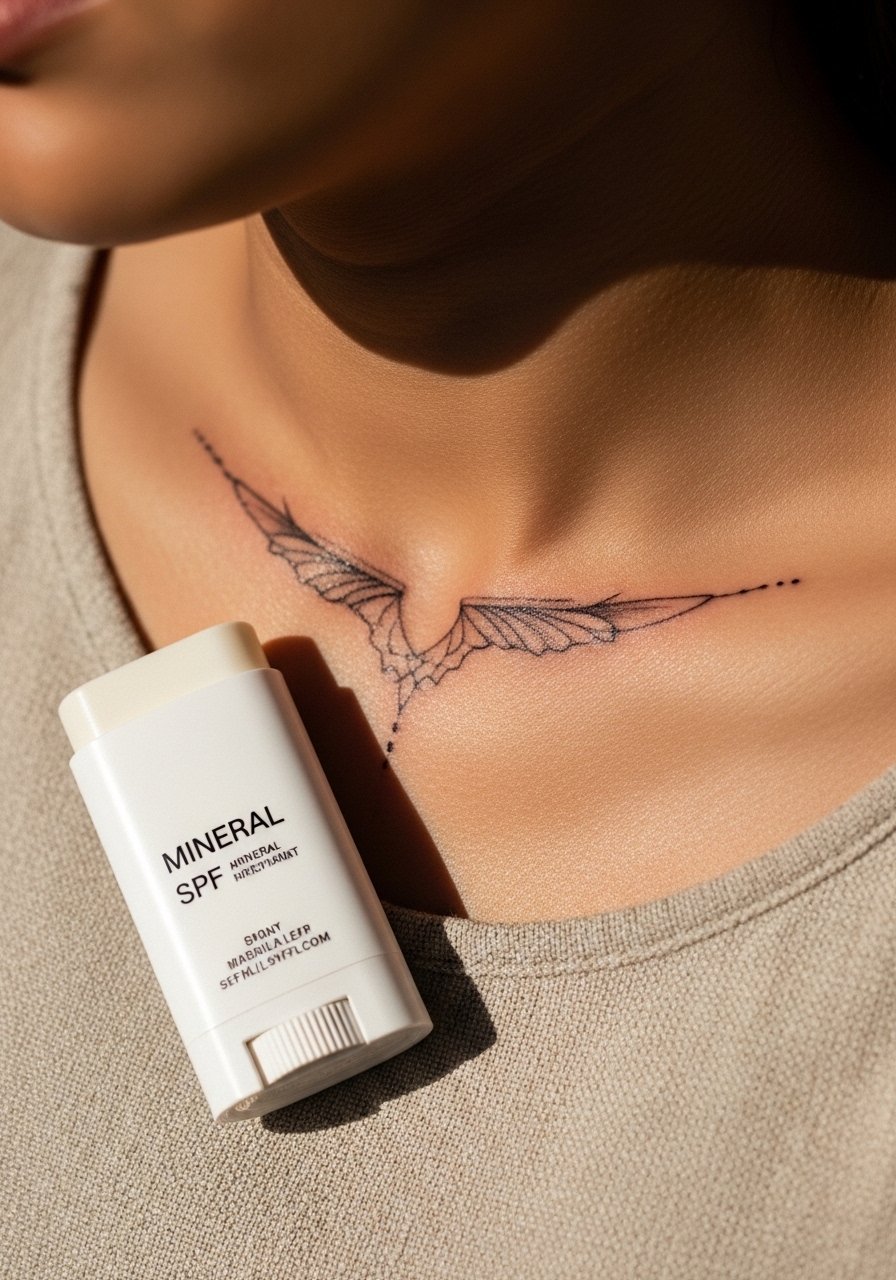
Once your collar bone tattoo is healed (6–8 weeks typical for surface healing; full settling by 12 weeks), protect it from sun and friction:
- Apply a mineral SPF stick daily to prevent fading.
- Keep the surrounding skin moisturized with a light product or Vitamin E oil for long-term glow.
- If colors look patchy after the 8–12 week mark, plan a touch-up with your artist.
For color boost or longevity, consider a targeted tattoo brightening lotion during your monthly routine.
You’re set—now go book that consult, prep an aftercare kit, and relax. Pin this guide before your appointment and save the product links so you’re not hunting for supplies while your skin is healing. I always recommend stashing a roll of Saniderm second-skin roll in my kit—having it ready makes the first few days easier. Which collar bone design are you leaning toward? Drop it below and pin this for later!