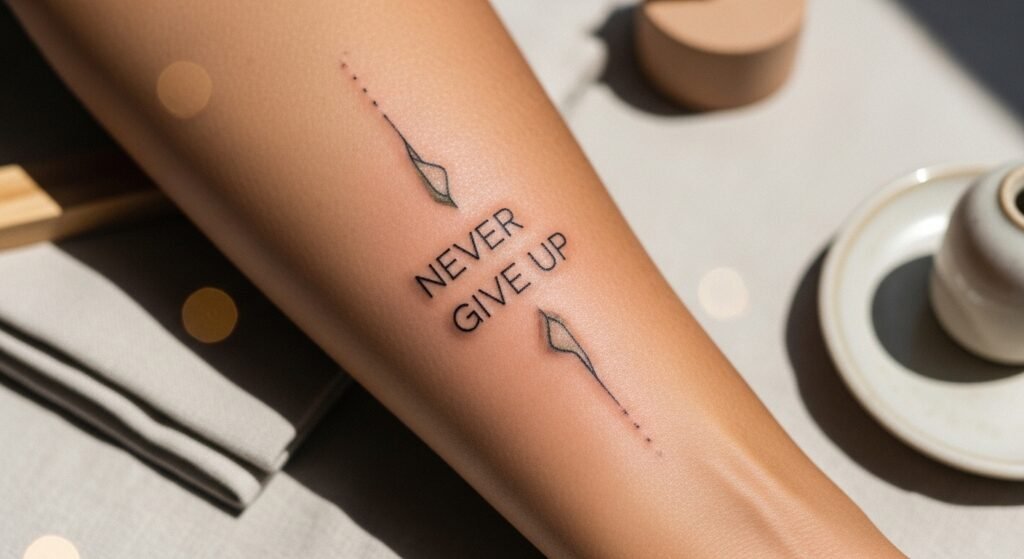
You’re sitting in a waiting room, scrolling 2 a.m. inspo and finally ready to make the “Never Give Up” tattoo real. Placement will make that phrase read like confidence, not an afterthought. This guide shows how to place a Never Give Up tattoo for maximum visibility, flattering flow, and long-term legibility.
I keep a roll of Saniderm roll in my kit and a small tube of Zensa numbing cream for sensitive spots. Those two shave off a lot of stress when you’re prepping placement and healing.
Read on for placement rules, stencil tests, what to tell your artist, the best aftercare routine, and when to book a touch-up.
Choose the right placement for visibility and flow (fine line, minimalist, beginner placement)
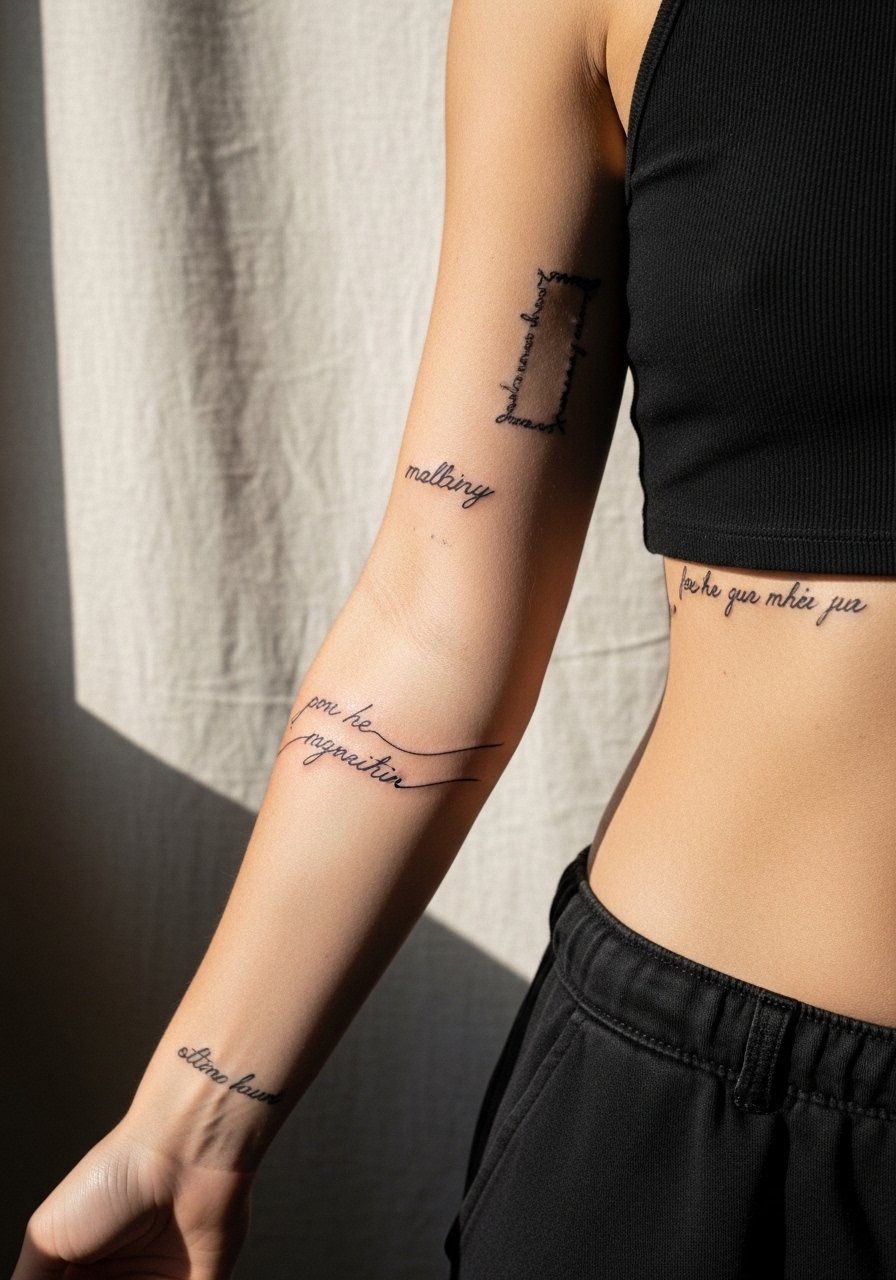
Pick a spot where the skin stays relatively flat and sees the visibility you want. For a fine-line Never Give Up tattoo:
- Forearm and outer wrist = high visibility, shows during most gestures.
- Inner wrist or side of hand = very visible but higher fading risk from washing and sun.
- Rib or sternum = private and flattering for curved text, but more painful and may need larger letters.
If you’re nervous about pain, apply Zensa numbing cream about 60 minutes before a sensitive placement. For razor-shave prep, use single-use prep razors for a clean stencil transfer.
Test placement before you commit (stencil tricks, Inkbox, transfer tests)
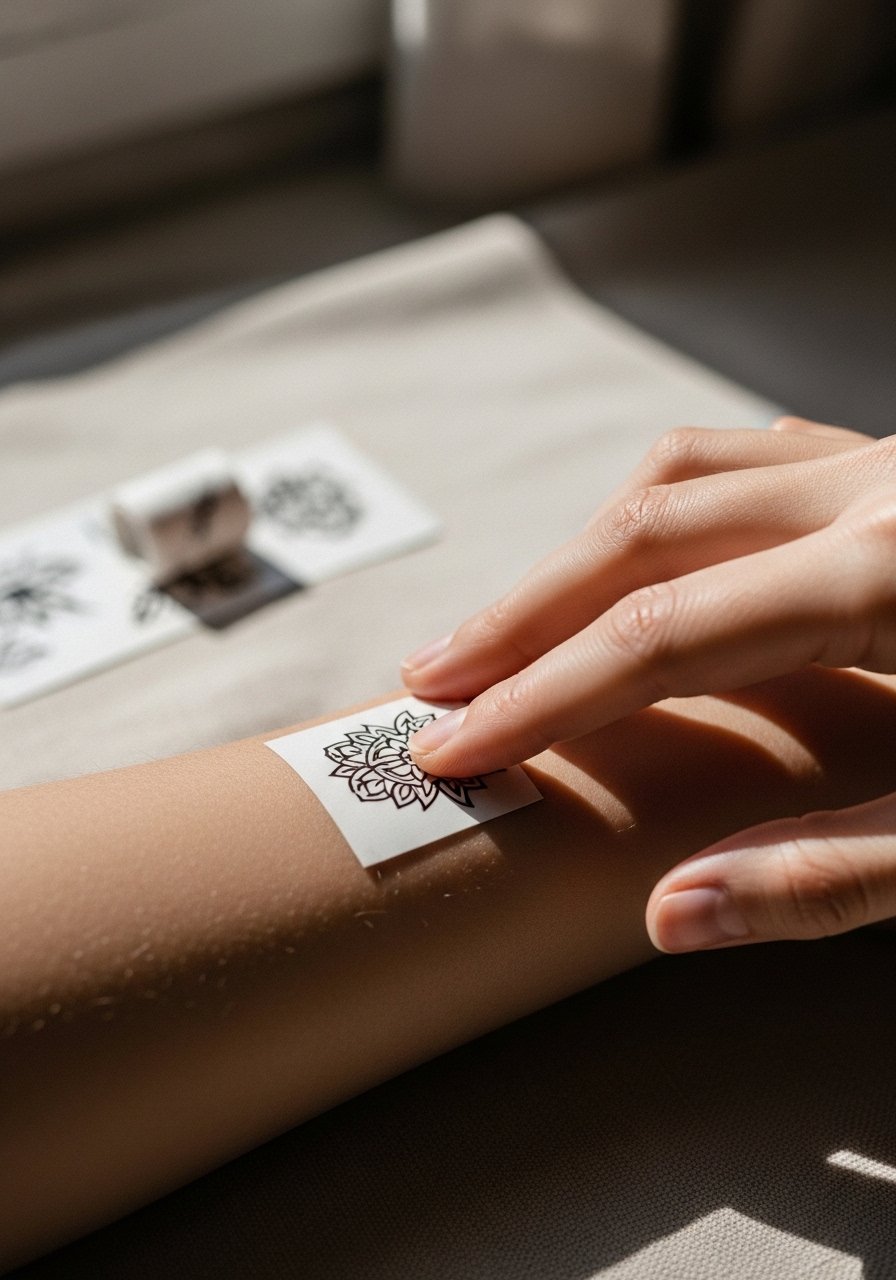
Never skip a live placement test. Do this:
- Print the design actual-size and apply stencil transfer paper to the skin to check scale and curve — try tattoo stencil transfer paper.
- Try an Inkbox semi-permanent tattoo kit to wear the phrase for a few days. Walk, raise your arm, hug someone—see how it feels.
Small text needs breathing room: if letters get narrower than 2–3 mm, they’ll blur faster. Adjust size until the stencil looks right in motion.
What to do immediately after your session (wrap method, first wash)
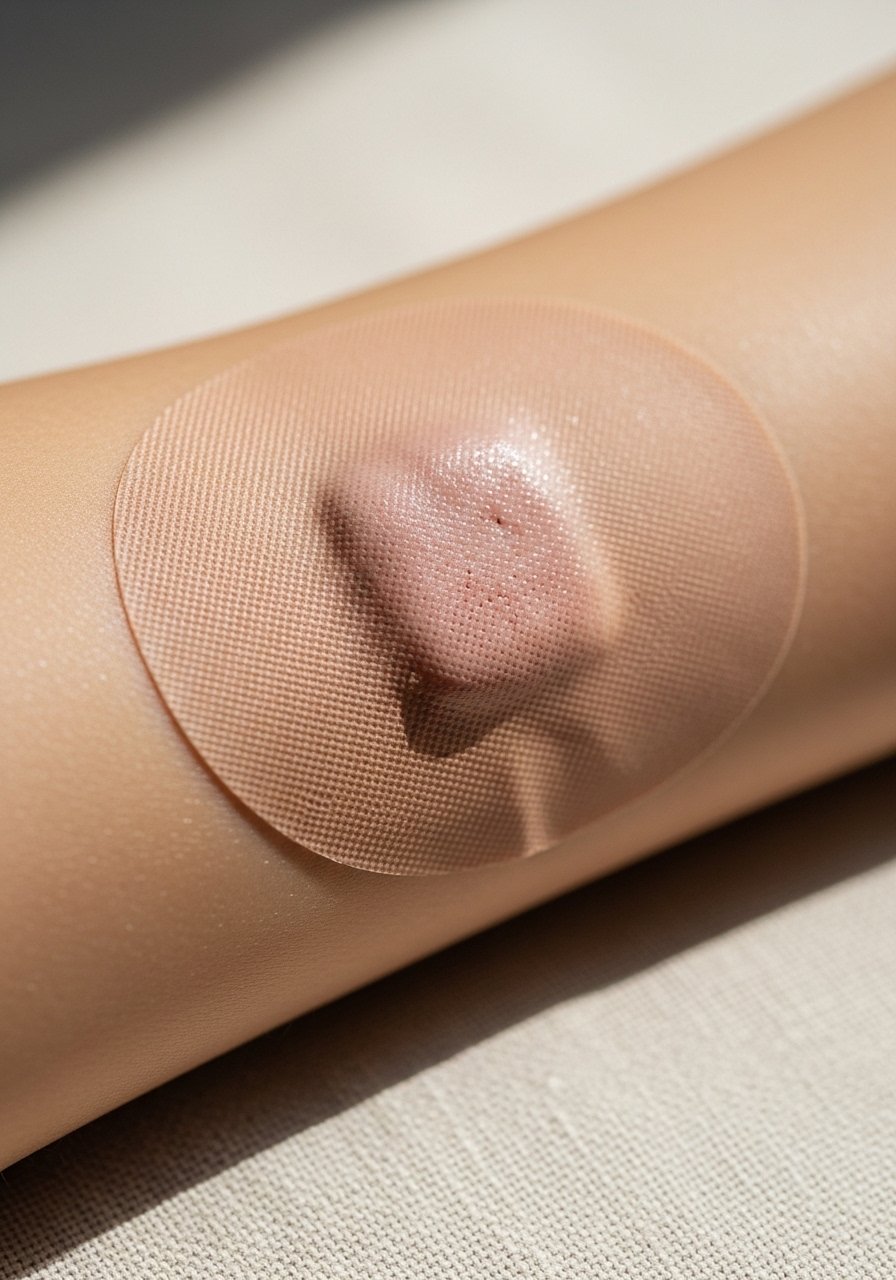
Your artist will typically wrap the piece. If they don’t, ask for a transparent film. For best results:
- Leave the initial film (or Saniderm roll/Tegaderm) in place for 3–5 days.
- After removal, wash gently with a fragrance-free antibacterial soap like Dr. Bronner’s unscented soap twice a day.
- Pat dry with clean paper towel and apply a thin layer of After Inked tattoo lotion twice daily during peeling.
Avoid picking scabs: light peeling is normal between days 3–10.
The first two weeks: healing stages and realistic care (aftercare routine, scabbing, itching)
Expect these stages: fresh plasma and tightness (days 1–3), peeling and light scabbing (days 4–10), softer itch and renewed color (days 10–21). Tips:
- Use a small amount of Hustle Butter Deluxe or After Inked to keep the area hydrated—pea-sized amounts, not thick layers.
- If you used second-skin, switch to lotion after the film is removed.
- If excess plasma pools repeatedly, call your artist rather than over-bandaging.
Keep ink sharp long-term (SPF, moisturizing, touch-up timing)

Sun fades text faster than anything. For healed placements:
- Apply a mineral SPF stick daily to exposed ink, like a mineral SPF stick.
- Keep skin hydrated with light vitamin oil between sessions—Vitamin E oil works well sparingly.
- Expect to consider a touch-up at 8–12 weeks if lines softened. Book touch-ups with the same artist when possible so your Never Give Up tattoo ages consistently.
You’ll avoid common mistakes by not over-moisturizing, not picking flakes, and shielding ink from direct sun while healing.
You’ve got this—pin this guide, prep your kit, and trust the placement that reads like you.
Honestly, building a kit before your appointment makes life easier—grab a Saniderm roll, fragrance-free soap like Dr. Bronner’s unscented soap, and a small tube of After Inked tattoo lotion. Pin this before your consultation. Which placement are you leaning toward for your Never Give Up tattoo? Drop it below!