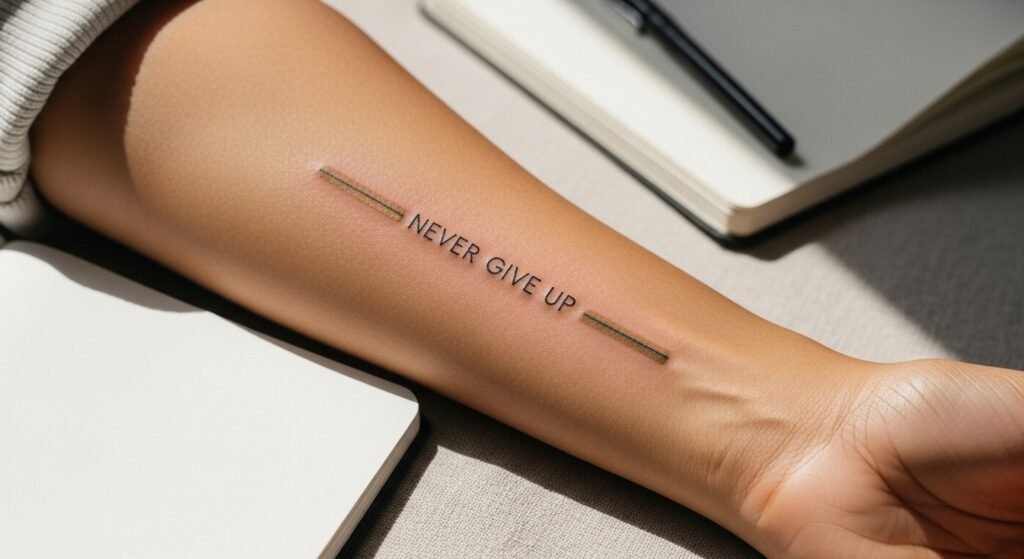
You’re sitting in the artist’s waiting room at 2 a.m. scrolling saved sketches — that tiny script “Never Give Up” finally looks ready. Choosing the right person to ink that phrase is the step that separates a delicate, crisp fine line piece from a blurred regret. Finding the perfect tattoo artist for your Never Give Up tattoo means matching style, placement, and a clear aftercare plan so your healed result looks precise and intentional.
Quick tip: I keep a roll of Saniderm roll in my kit for stick-and-stay protection, and I test sensitive placements with a tattoo numbing cream an hour before sessions when needed. Below you’ll get actionable steps for picking an artist, testing placement, pain management, and an aftercare routine that preserves fine-line detail.
Find an artist who nails fine line and minimalist work
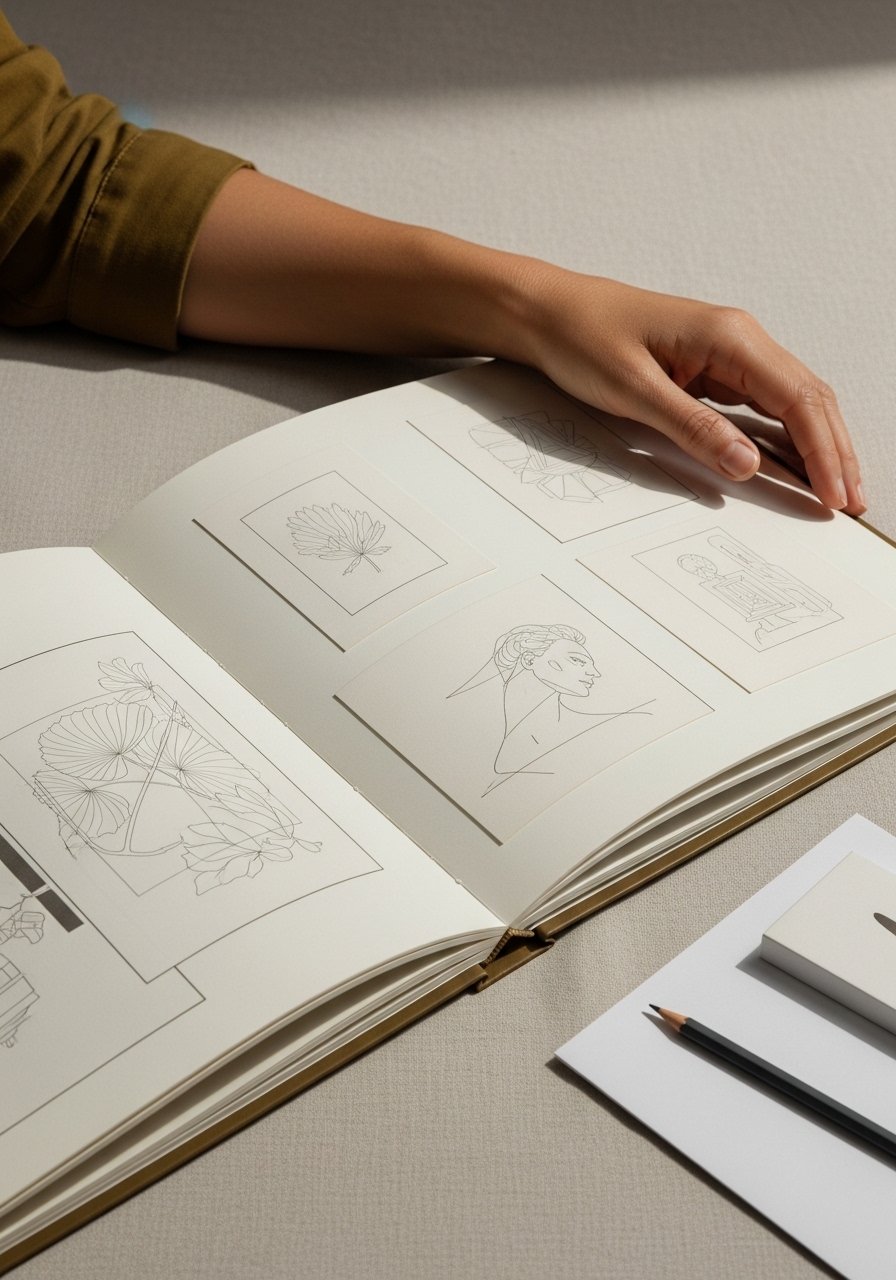
Look for portfolios where lines are consistently thin, steady, and readable at the scale you want. Search for “fine line” and “script” in artist tags and zoom in on healed results — healed photos speak louder than fresh-red snaps.
Tips:
- Check healed photos to confirm crisp edges and consistent ink saturation.
- Ask for artists who list “minimalist” or “blackwork” as specialties if you want bold contrast or delicate script.
- Test the concept first with an Inkbox temporary tattoo kit to see flow and visibility on your skin.
Test placement and prep before you book
Never guess placement. Try these quick experiments:
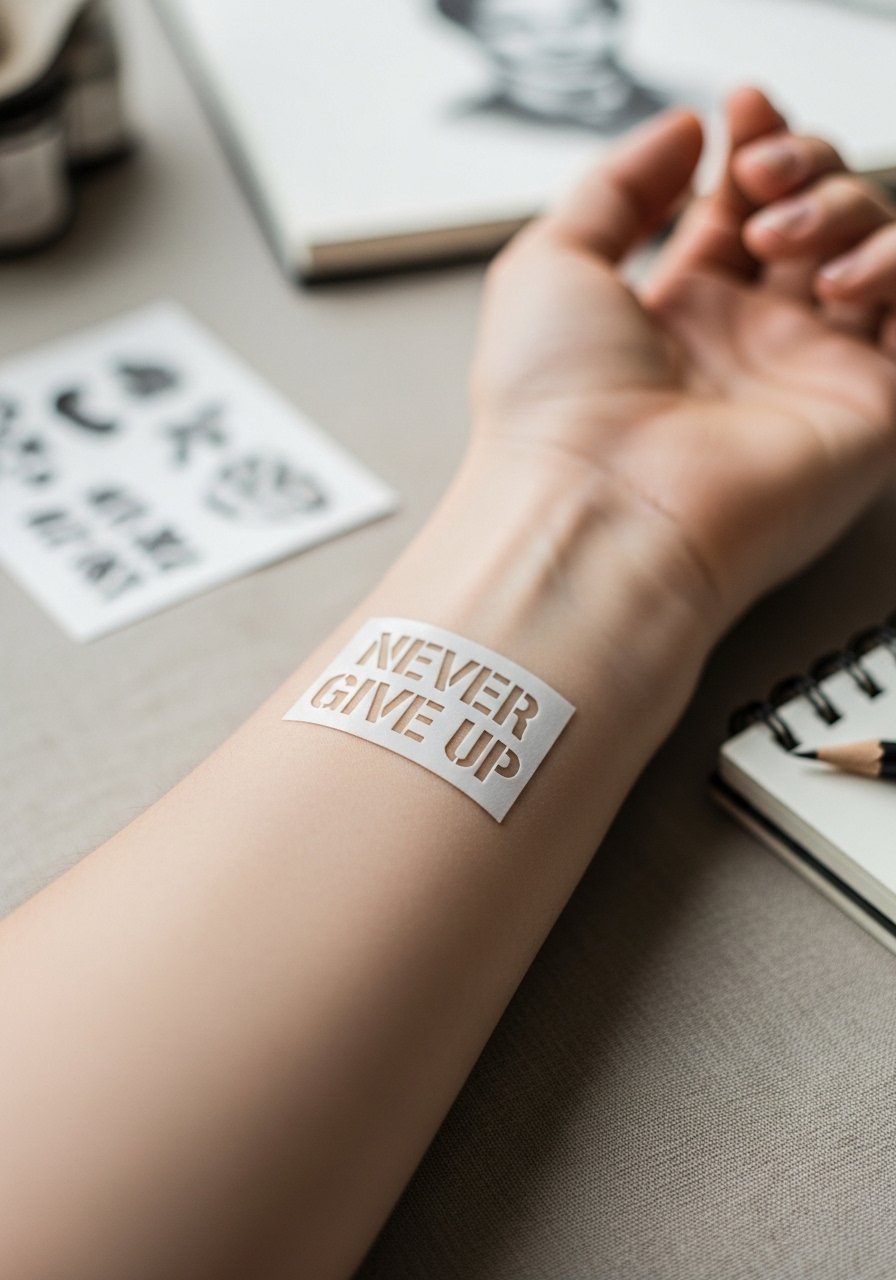
- Apply a temporary from an Inkbox kit or print a stencil and place it where you’d live with the text for a day.
- Use stencil transfer paper if you want to test multiple sizes quickly.
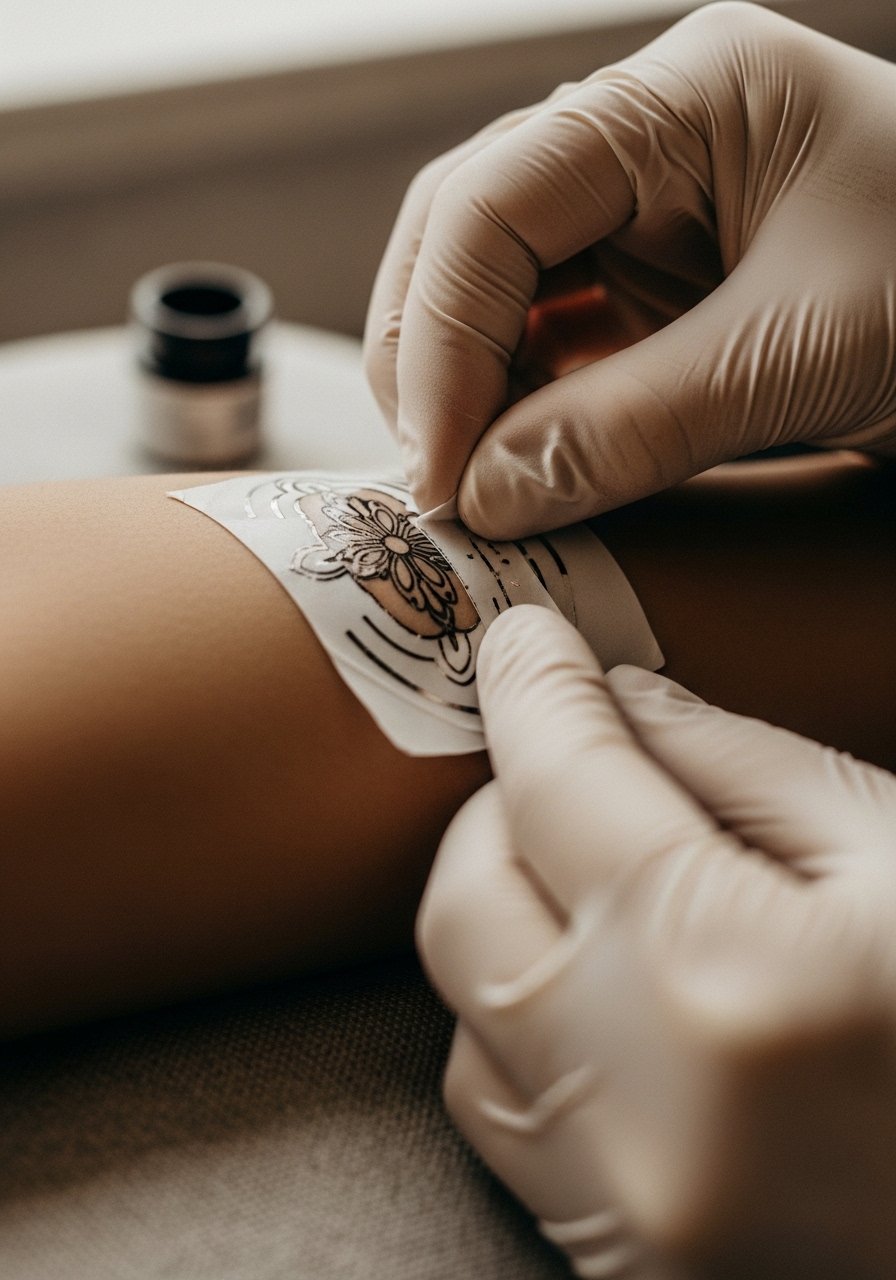
Prep your skin: shave gently with a single-use prep razor the morning of, and avoid heavy sun or exfoliation for 48 hours. If you have a nervous sensitivity, apply a thin layer of tattoo numbing cream about 45–60 minutes before your sit, per product instructions.
What to expect in the chair — pain, session flow, and touch-up policy
For a small, fine-line Never Give Up tattoo expect a single short session (30–90 minutes). Pain varies by placement: inner wrist and ribs are sharper; outer forearm and calf are beginner-friendly. Real-talk:
- Numbers help on sensitive placements but can slightly blur ultra-fine line work — discuss with your artist.
- Ask about their touch-up policy. Many artists include one free touch-up within a set window; get that in writing at booking.
If your artist recommends a protective second skin, a medical-grade option like Tegaderm can stay on for 3–5 days and reduce scabbing risk.
Aftercare routine for flawless healed results and long-term care
First two weeks:
- Wash gently twice daily with a fragrance-free antibacterial soap. Pat dry — never rub.
- Apply a thin layer of unscented tattoo aftercare lotion twice daily during the peeling phase.
- For extra moisture on dry spots, a small dab of Hustle Butter Deluxe works well but use sparingly.
Long-term:
- Keep healed ink bright with a mineral SPF stick whenever the tattoo sees sun.
- If faded areas show after a few months, a targeted Vitamin E oil massage can help skin texture before a touch-up.
Common mistakes to avoid: - Over-moisturizing during peeling.
- Picking at flakes — that’s how lines lose pigment.
- Skipping daily SPF on exposed placements.
You’ll know it’s healing well when swelling settles in 48–72 hours, the tattoo peels lightly around days 4–10, and full healed results appear by 6–8 weeks. If you see heavy scabbing, bright red streaks, or persistent fever, contact your artist or a clinician.

Ready to book that consultation? Pin this guide, prep your aftercare kit tonight with a Saniderm roll and a bottle of fragrance-free soap, and go into your appointment knowing exactly how to get crisp healed results for your Never Give Up tattoo. Which placement are you leaning toward? Drop it below and save this for the night before your sit!