You’re scrolling inspo at 2 a.m., staring at the same sakura-and-wave idea you've sketched for months. Designing a small Japanese tattoo that reads authentic and fits any placement means shrinking detail without losing symbolism. A smart size and clear line choices make a small Japanese tattoo look intentional rather than cramped.
Prep the night before: try a thin layer of Zensa numbing cream if you’re nervous about pain and have a roll of Saniderm on standby for post-session protection. This guide walks you through sizing, placement, artist talk, and a realistic aftercare routine so your mini irezumi heals like a jewel.
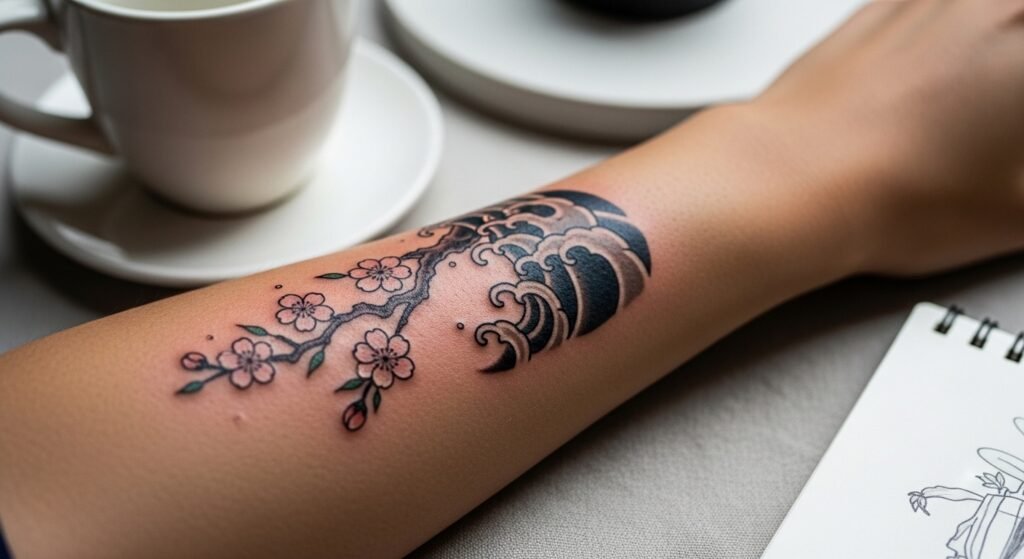
Scale your idea for a small Japanese tattoo (fine line, minimalist detail)

Small Japanese tattoo designs need space to breathe. Aim for at least 1.5–2 cm of negative space around central elements so fine-line shading doesn’t blur over time. Use these steps:
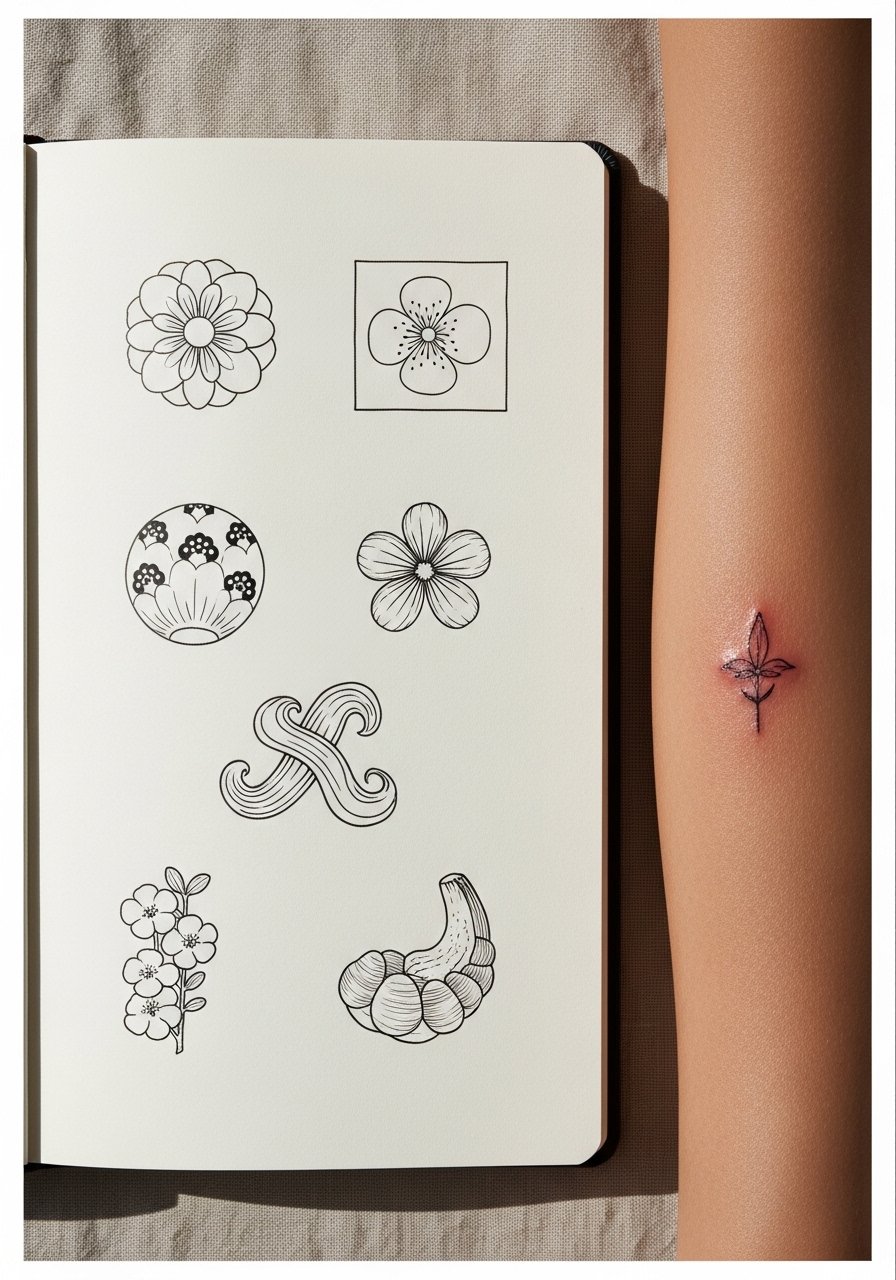
- Reduce motifs to a single focal element (flower, wave, mask).
- Simplify fill—use blackwork or light gray wash instead of heavy color.
- Show this simplified design to your artist; ask them to redraw at final size.
Quick tips:
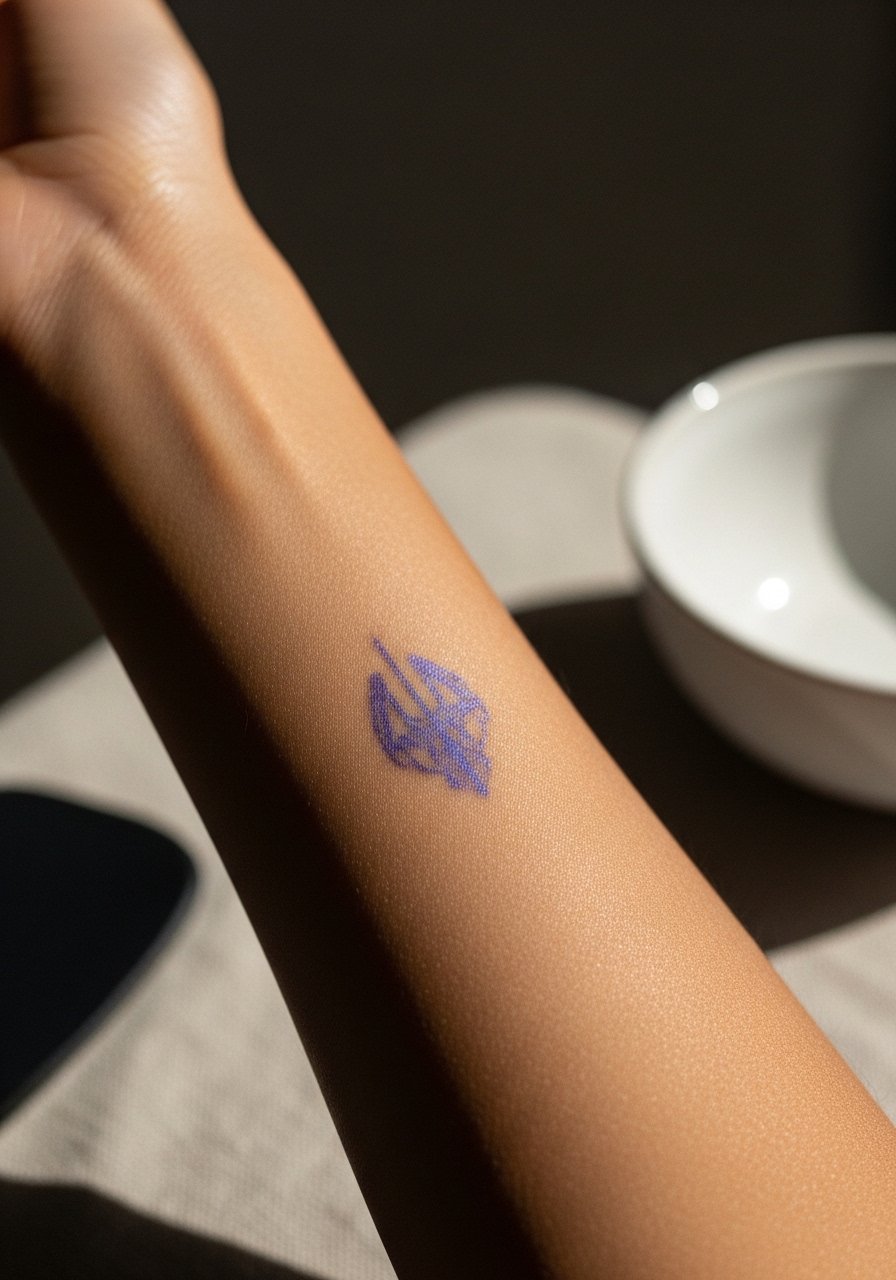
- Test visual weight with an Inkbox semi-permanent kit to wear a proxy for 1–2 weeks.
- Try tattoo stencil transfer paper at home to verify flow along the curve of a limb.
Pick placement and test for comfort (beginner placement, pain, healed results)
Placement determines how your small Japanese tattoo reads and how it heals. Forearm, outer shoulder, and upper thigh are beginner-friendly spots with predictable healed results. More sensitive areas—ribs, inner bicep, ankle—tend to sting and may need extra healing care.
Do this:
- Place a stencil with home transfer or an Inkbox test and live with it for a few days.
- Shave the area with single-use prep razors right before the appointment to avoid irritation.
If pain is a concern, apply Zensa numbing cream about 45–60 minutes before your session.
Talk to your artist like a pro (communicate size, style, and touch-up expectations)
Artists expect clear direction and trust. Bring:
- Clean reference photos and a single-sentence priority (e.g., “fine-line sakura, compact, wrist-sized”).
- A printed shrinking of your favorite reference so they redraw to fit skin curvature.
Ask about:
- Line weight for longevity.
- A touch-up policy—most small pieces need a 6–12 week follow-up for settling lines.
If an artist suggests enlarging slightly to preserve detail, consider it—they're thinking about healed results.
Aftercare routine that preserves crisp detail (first week, touch-up timing)
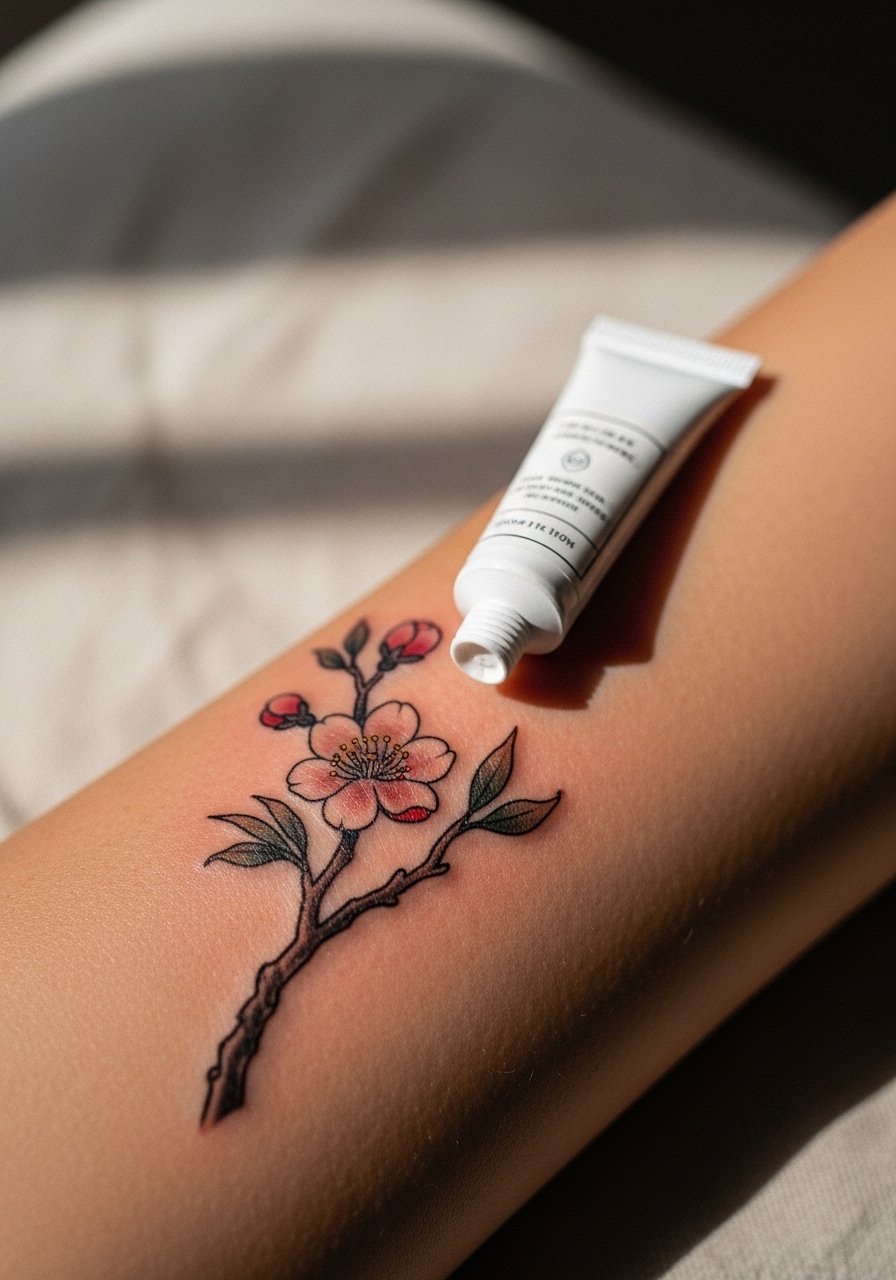
Immediate care sets your tattoo’s future. Follow these steps:
- Keep a second-skin bandage like Saniderm on for 3–5 days if your artist recommends it.
- Wash gently twice a day with a fragrance-free, dye-free soap such as Dr. Bronner’s Unscented.
- Apply a thin layer of After Inked tattoo lotion or Hustle Butter Deluxe 2–3 times a day during peeling (days 3–14).
What to expect:
- Days 1–3: plasma and slight swelling.
- Days 3–10: light scabbing/peeling—do not pick.
- 2–4 weeks: surface healed; full settling by 3 months—schedule touch-up around 8–12 weeks if needed.
Long-term care: use a mineral SPF stick on healed pieces and keep skin hydrated with Vitamin E oil for color longevity.
You’ve got a clear plan for sizing, testing, and protecting your small Japanese tattoo. Pack your aftercare kit tonight—Saniderm, fragrance-free soap, and a quality lotion—and book that consultation with a reference-ready sketch. Pin this before your appointment and tell me: which placement are you leaning toward?