You’re scrolling designs at 2 a.m., circling the same phrase in your head: never give up tattoo. Maybe it’s tiny and minimalist on your wrist, or a bold blackwork script along a rib. You want the ink to tell your most powerful personal story, not look like a stock flash piece.
This guide walks you through designing a unique never give up tattoo, testing placement, and prepping an aftercare routine that actually helps your piece heal beautifully. I keep a roll of Saniderm second-skin bandage ready, and I use a numbing cream for sensitive placements — small prep moves that change the whole experience. Read on for placement tips, artist talk, pain hacks, real healing stages, and touch-up timing.
Sketching a personal design that reads at size (fine line, minimalist tips)
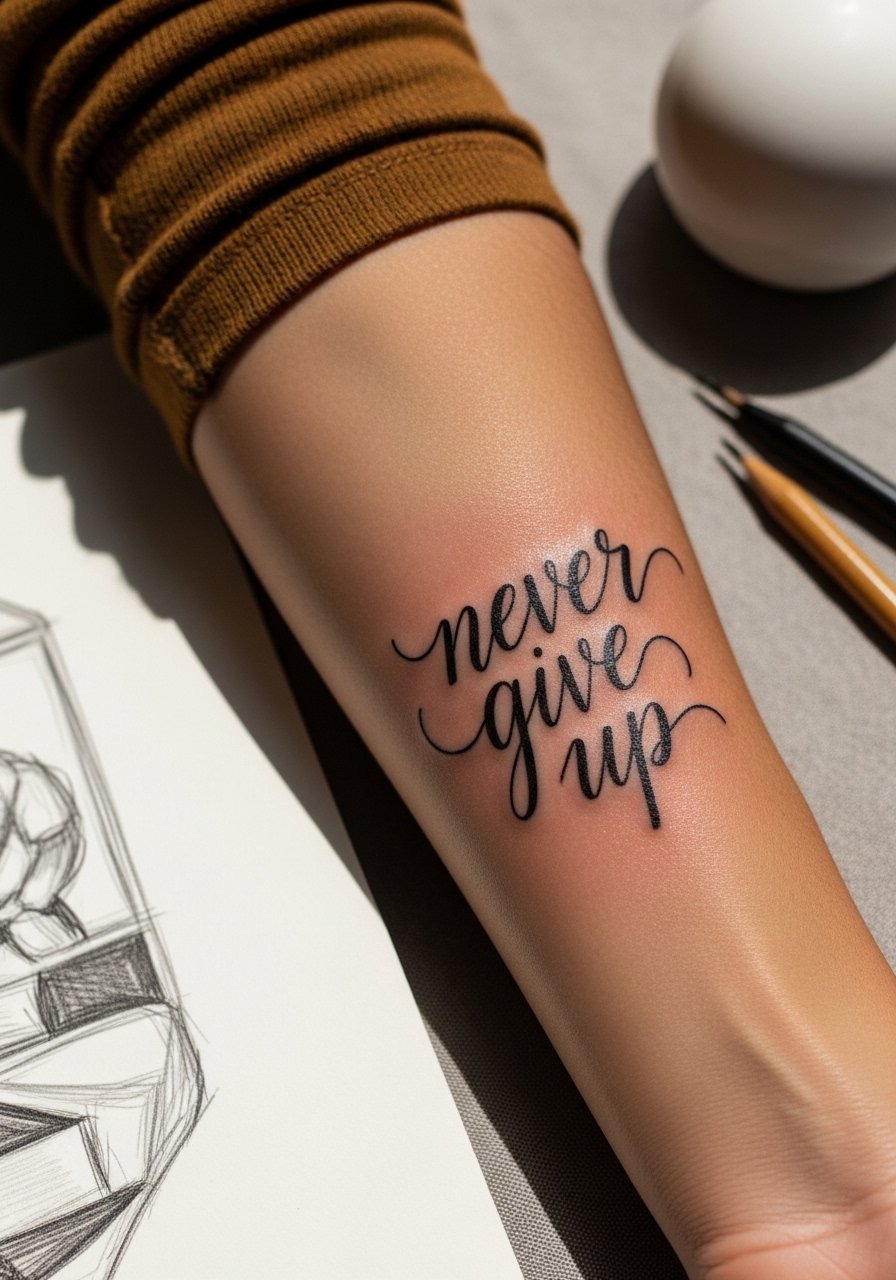
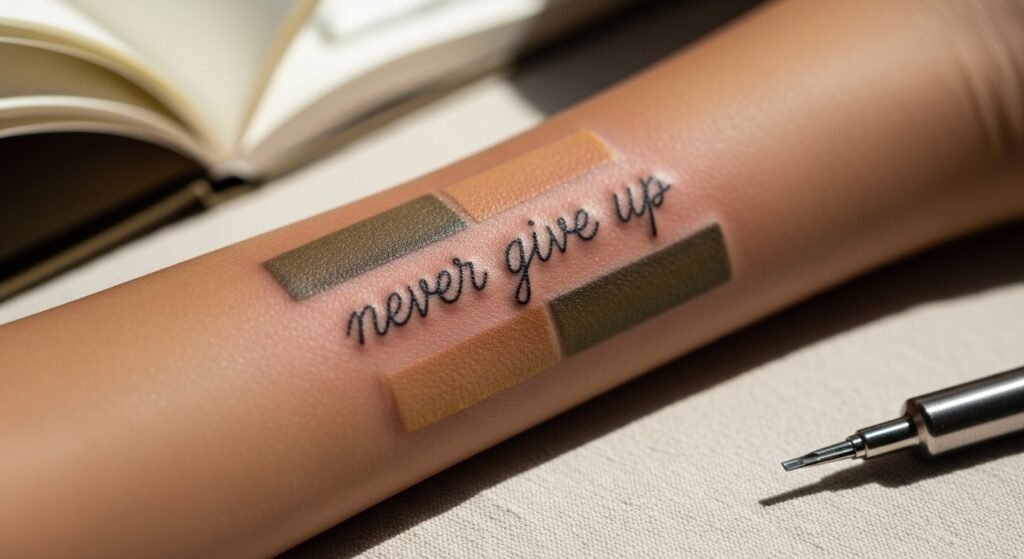
Start by deciding what "never give up" means to you visually. Is it a handwritten line from a loved one, a tiny serif script, or a bold neo-traditional banner? For fine line and minimalist styles, simplify:
- Scale the letters for the placement — very thin strokes can blur at small sizes.
- Test legibility by reducing your design to the final width in a photo app.
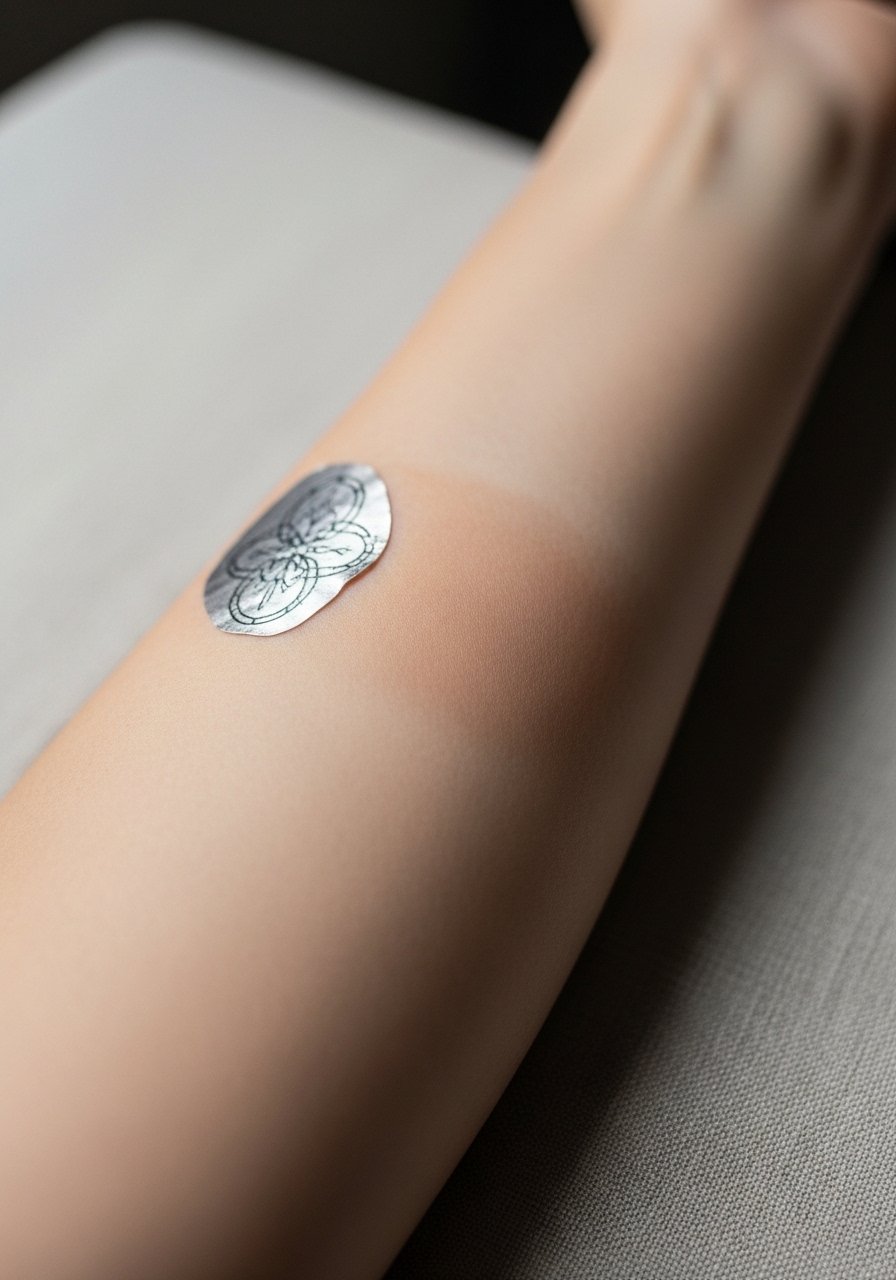
- Try an Inkbox semi-permanent tattoo or a stencil transfer paper to wear the placement for a day.
These quick tests tell you if the phrase reads when you move, speak, or wear clothing over it.
Preparing for the session (beginner placement, pain management)
Prepping your skin and body helps the session feel smoother. For sensitive placements, apply a thin layer of numbing cream about 45–60 minutes prior. Shave with a single-use prep razor the morning of, and eat a good meal before sitting.
During the appointment:
- Ask the artist how they handle fine line scripts — artists will scale stroke weight for healing.
- Request a slightly bolder line if you want long-term crisp edges.
- Bring noise-cancelling headphones and a cover-up shirt to stay comfortable.
First two weeks and aftercare routine (aftercare routine, healed results)
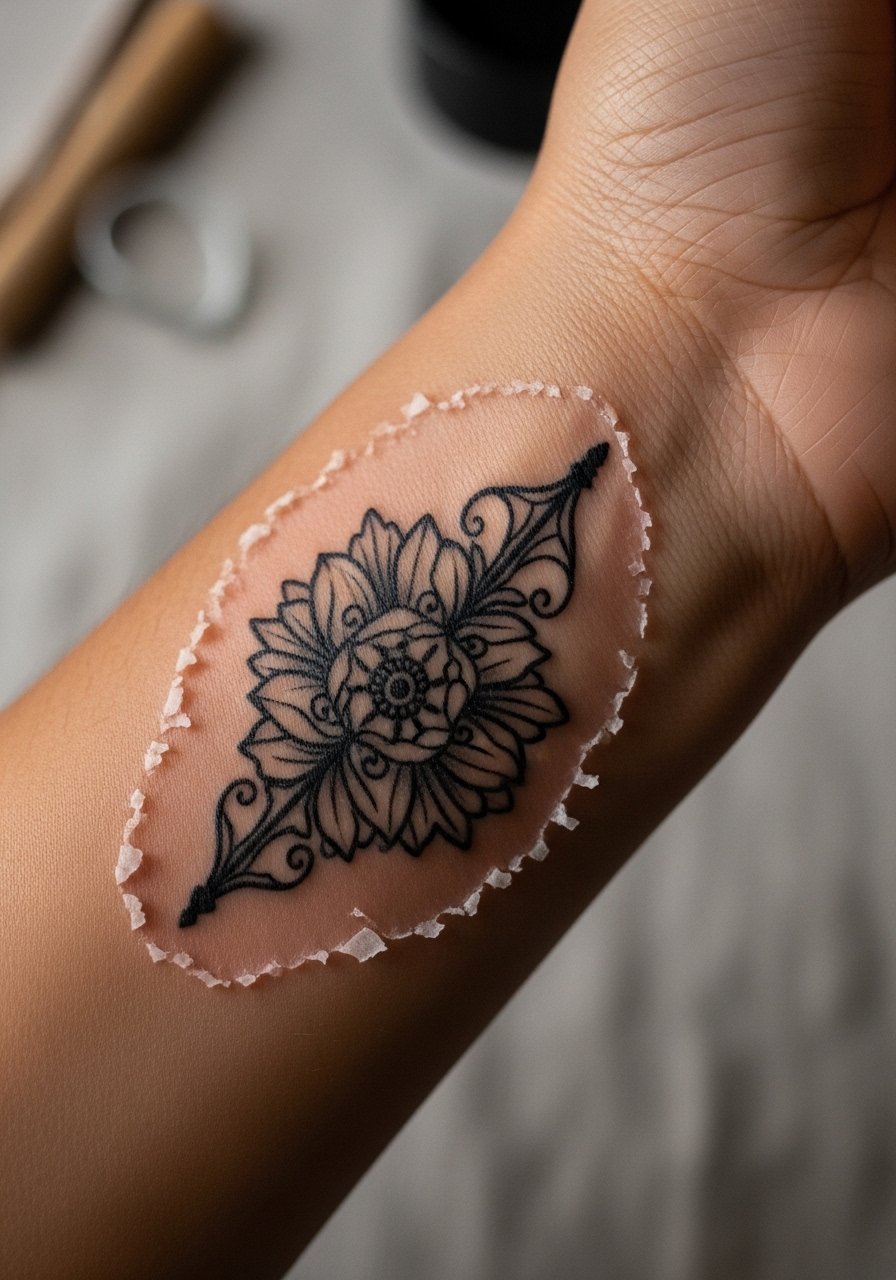
After your session, follow a consistent routine. If your artist used a second-skin bandage, leave it for 3–5 days unless they say otherwise. On removal, wash gently with a fragrance-free, dye-free soap twice a day — try Dr. Bronner's unscented liquid soap. Pat dry, then:
- Apply a pea-sized amount of unscented tattoo aftercare lotion twice daily during peeling.
- For intense dryness or itchy patches, use a thin layer of Hustle Butter Deluxe.
Expect these stages: fresh redness and plasma (days 0–3), light peeling and flaking (days 4–14), and settling color with minor itch (weeks 2–4). Full healed results usually appear around 6–8 weeks. If you see heavy swelling, spreading redness, or yellow discharge, call your artist or a medical professional.
Keeping ink sharp long-term (touch-up timing, sun care)
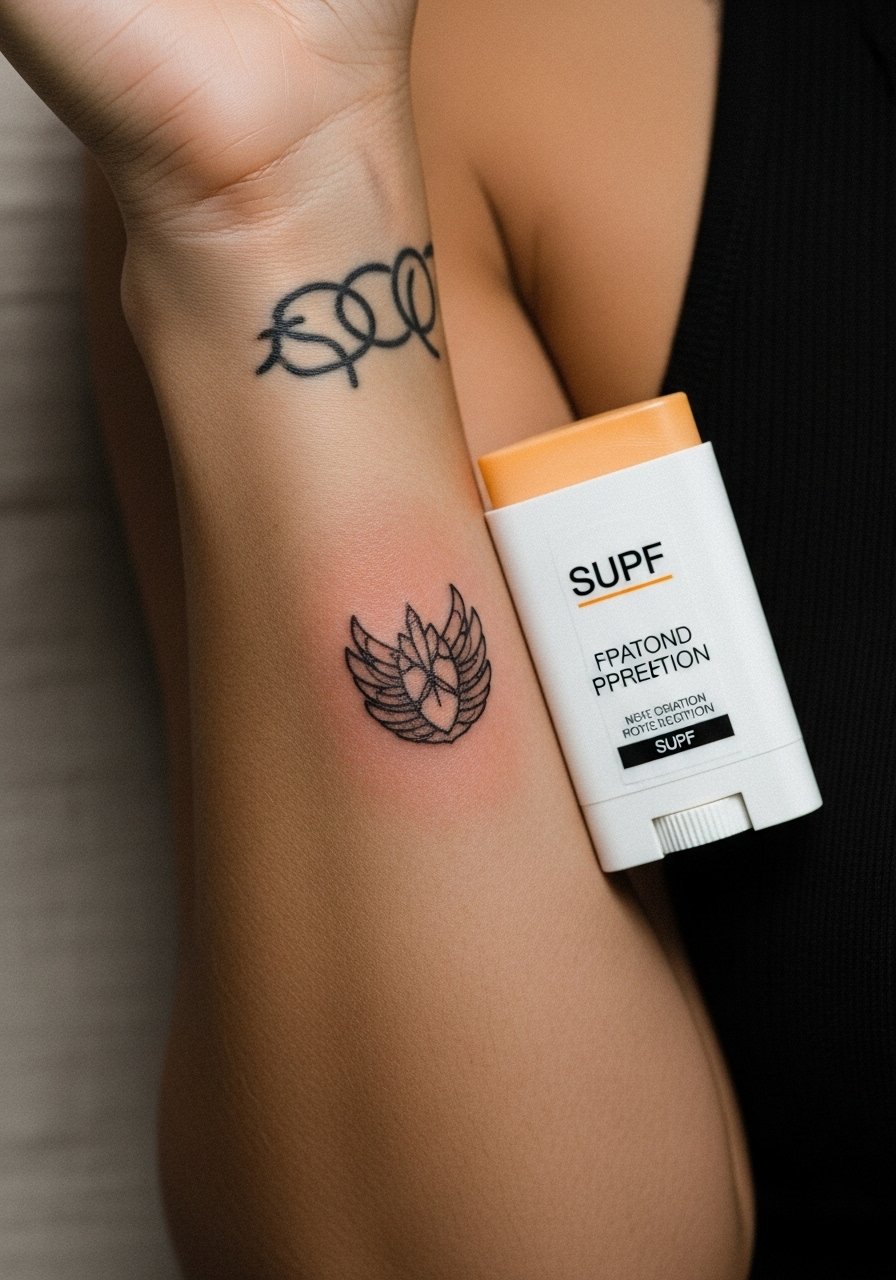
A little long-term care goes far. Keep healed ink out of prolonged sun and apply a mineral SPF 50 stick daily on exposed placements. For months after healing, moisturize with a lightweight, fragrance-free lotion or a vitamin E oil to maintain saturation.
Touch-ups are normal. Wait 8–12 weeks after your session before scheduling a touch-up so the skin is fully stabilized. If lines thin or patchiness appears, a focused session can restore contrast without changing the design.
You’ll also want a backup aftercare tool in your kit. A roll of Saniderm helps protect during the first days, and a jar of After Inked lotion is great for ongoing hydration.
Your never give up tattoo can be unique, readable, and keep its meaning for years. Pin this before your consultation and prep your kit the night before. Which placement are you leaning toward? Drop it below!