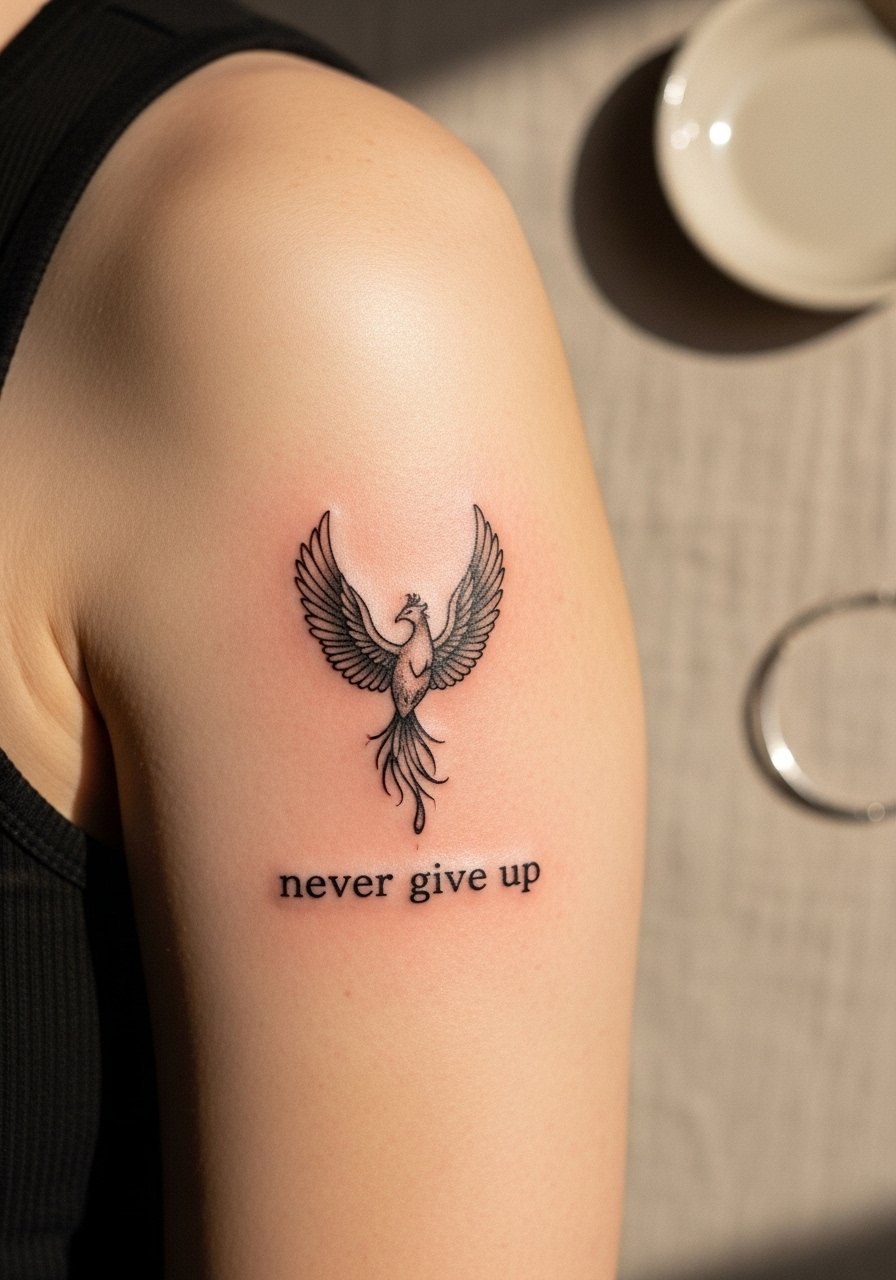
You’re scrolling at 2 a.m., saving the same “never give up” motif and wondering how to turn the phrase into a tattoo that actually reflects your strength. Picking a never give up tattoo design isn’t just about text or symbols — it’s about scale, style, placement, and how it will age with you. The right design will read clearly now and when it’s healed.
Test ideas before committing: try an Inkbox semi-permanent kit to live with a layout for a week, and keep a roll of Saniderm second-skin bandage on hand for post-session protection. Read on for placement tips, artist selection, an aftercare routine, and realistic timelines so your never give up tattoo design actually holds up.
What the guide covers: choosing between fine line and blackwork, testing placement and scale, what to say at your consultation, managing pain and healing, and when to book a touch-up.
Shape the Message: Design Choices That Match Your Story
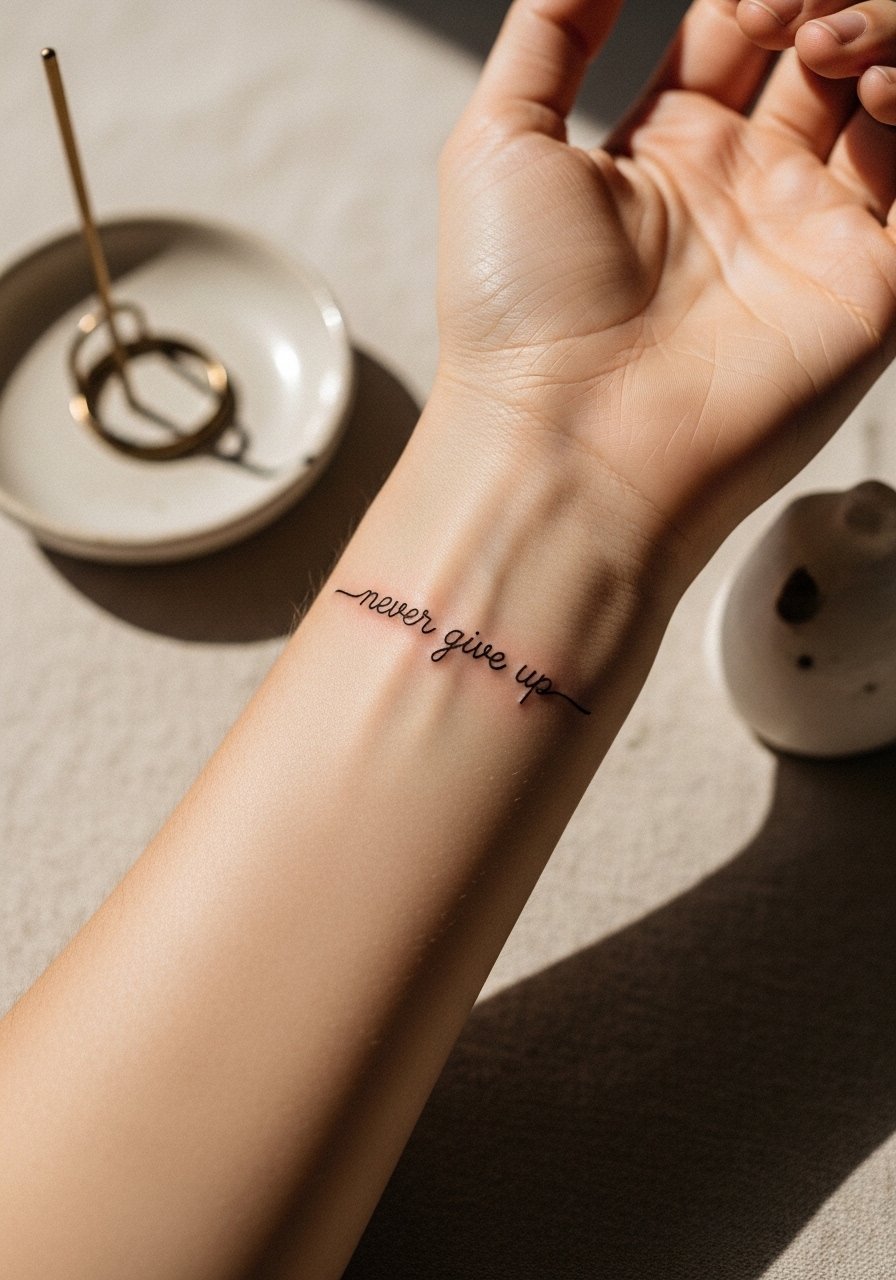
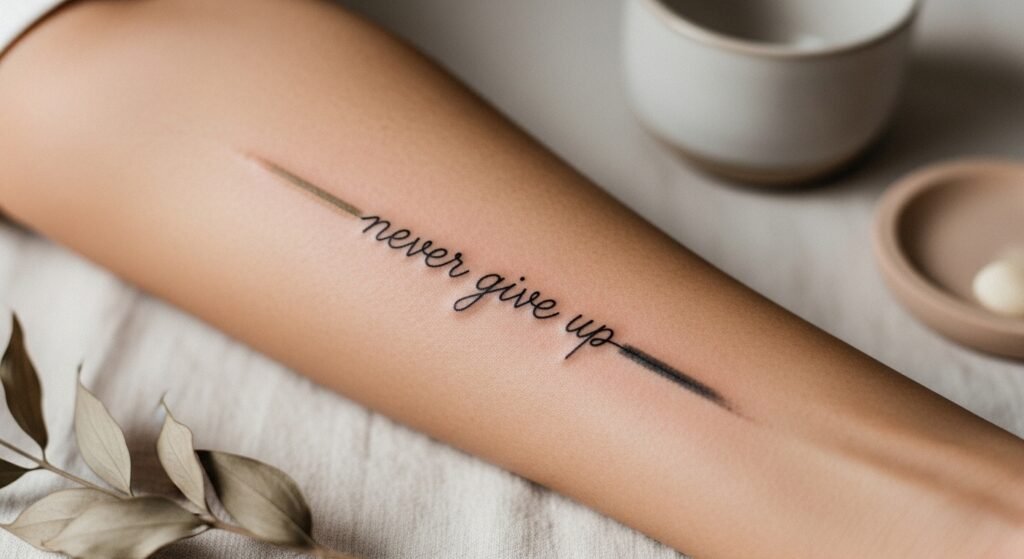
Decide what “never give up” means to you visually — literal script, a symbol (anchor, phoenix, semicolon), or an abstract motif. Consider these style cues:
- Fine line script reads intimate on wrists and behind ears; it needs crisp lines and a steady hand.
- Blackwork or neo-traditional versions suit bold placements like forearms or chests.
- Minimalist designs scale well for beginner placement and are easier to touch up.
Tips:
- Scale down your text slightly for wrists; larger lettering looks better on the chest or rib.
- Ask for a test stencil from your artist and compare how a thin stroke will age.
- If you want a softer look, add a small botanical element or dotwork shading.
Test Placement and Live With It
Don’t guess placement — test it. Use these steps:
- Apply a semi-permanent tattoo or printed stencil to the area and move through daily life for 3–7 days.
- Pay attention to clothing friction, visibility, and how the design feels when you move.
Helpful items:
- Test at-home placement with an Inkbox semi-permanent kit.
- Try a sheet of stencil transfer paper at home if you sketch your own layout.
Find the Right Artist and Communicate Clearly
A skilled artist makes a never give up tattoo design last. Look for:
- Portfolio shots with healed results and consistent fine line work.
- Reviews that mention minimal blowout and crisp healed results.
What to say: - “I want this phrase to remain readable at X cm tall” or “I prefer a fine-line, minimalist look.”
- Ask about touch-up policies and expected fading timeline.
Pre-appointment helpers:
- If you’re nervous about sensitive spots, consider a Zensa numbing cream or a comparable topical numbing product an hour before the session.
- Use a single-use prep razor to ensure the skin is smooth for the stencil.
Prep, Pain, and a Real Aftercare Routine
Plan your aftercare before you sit. Immediate steps:
- Keep the initial studio wrap on until instructed — usually a few hours.
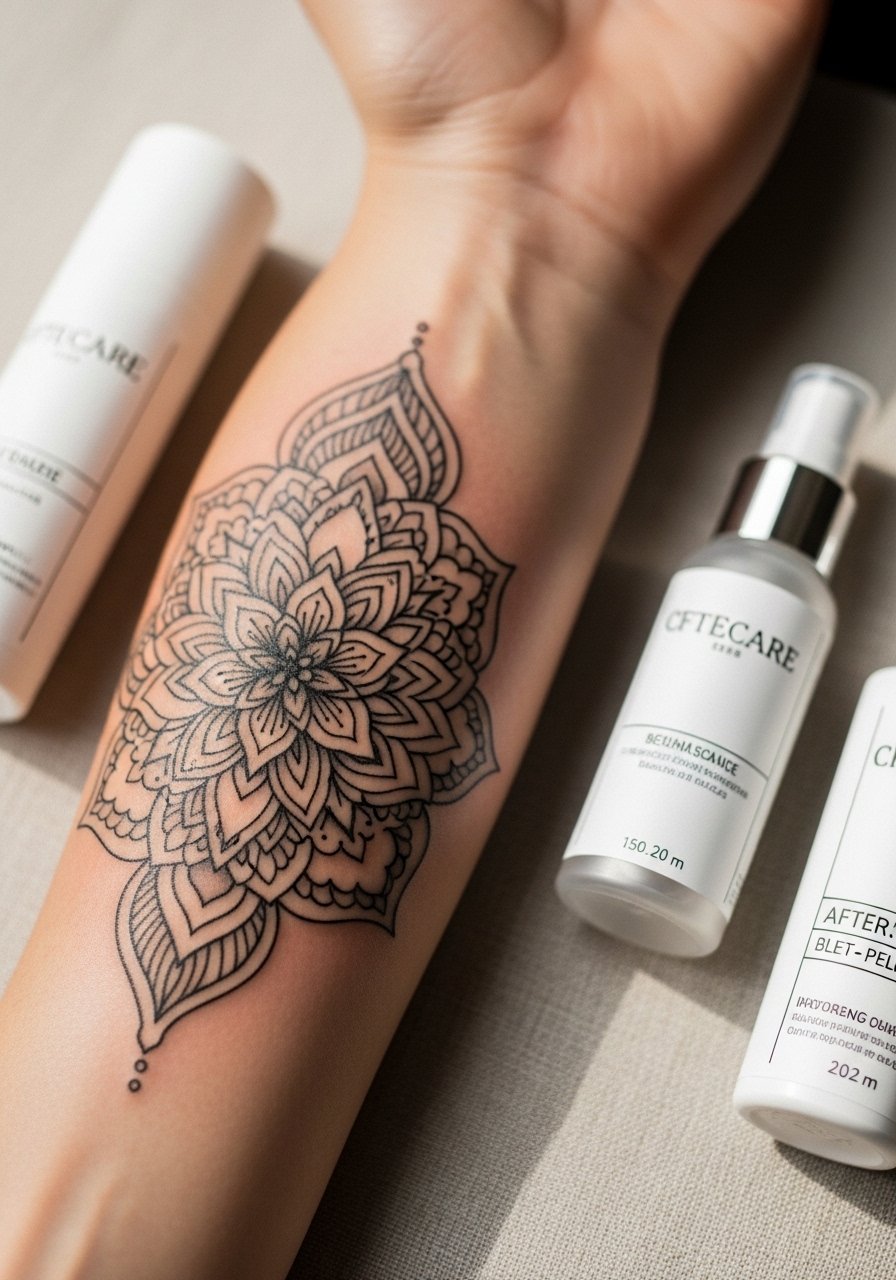
- First wash: gently clean with a fragrance-free, dye-free soap twice a day for the first two weeks. I use Dr. Bronner’s unscented castile soap.
- Apply a thin layer of unscented tattoo aftercare lotion twice daily during peeling.
Healing benchmarks:
- Days 1–3: Tender, some plasma; keep clean and lightly moisturized.
- Days 4–14: Flaking and itching — do not pick scabs.
- Weeks 3–6: Skin smooths; colors settle. Book a touch-up if lines look patchy.
Products that help:
- For occlusive protection, a Saniderm roll left for 3–5 days can simplify the first stage.
- A small jar of Hustle Butter Deluxe soothes dry, healing skin.
- After fully healed, protect ink with a mineral SPF 50 sunscreen stick to prevent fading.
Common mistakes to avoid:
- Over-moisturizing daily (thin layers only).
- Picking peel or scabs.
- Skipping sunscreen on healed ink.
Your healed never give up tattoo design should look clear, intentional, and like a part of you. If areas fade or blur after six months, plan a touch-up with your artist — small fixes keep fine-line work readable.
You’ve got the roadmap: shape a design that matches your meaning, test placement, pick an artist who shows healed results, and follow a strict aftercare routine. Build your aftercare kit tonight — include Saniderm, fragrance-free soap like Dr. Bronner’s unscented, and unscented tattoo lotion. Pin this guide before your consultation and then go book that appointment — which placement are you leaning toward?