You’re staring at your saved reference board at 2 a.m., trying to figure out how to combine Japanese traditional tattoo elements into one flowing sleeve without it feeling crowded. You want cultural balance, clear negative space, and a sleeve that reads beautifully from elbow to wrist. Combining Japanese traditional tattoo elements doesn’t have to be intimidating—you just need a plan for motifs, flow, and healing.
I always prep an aftercare kit the night before: a roll of Saniderm bandage roll and a tube of EMLA numbing cream for sensitive placements. This guide shows how to pick motifs, test placement, manage pain, and lock in healed results with practical aftercare routines.
Plan the Sleeve: Motifs, Scale, and Cultural Rhythm
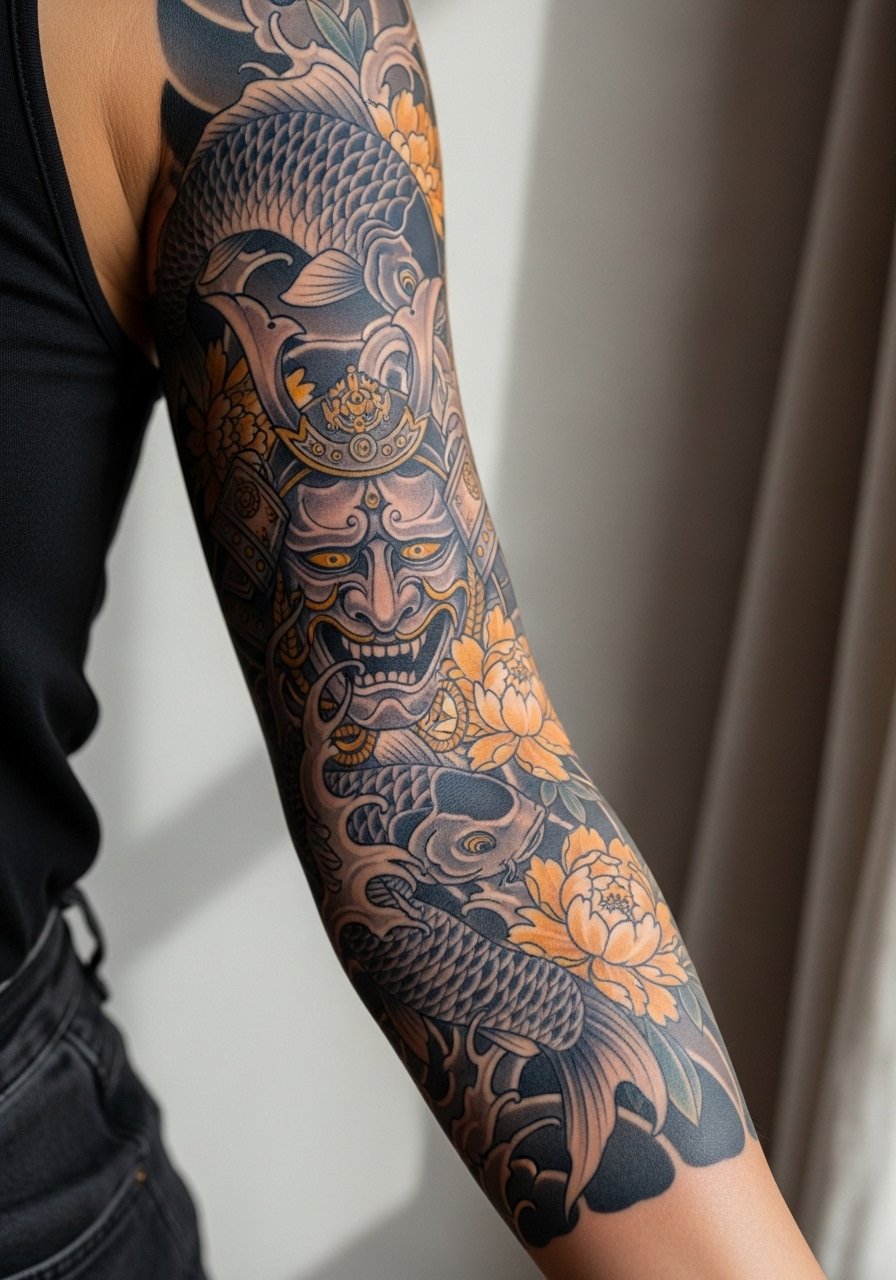
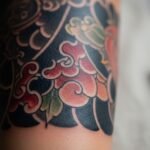
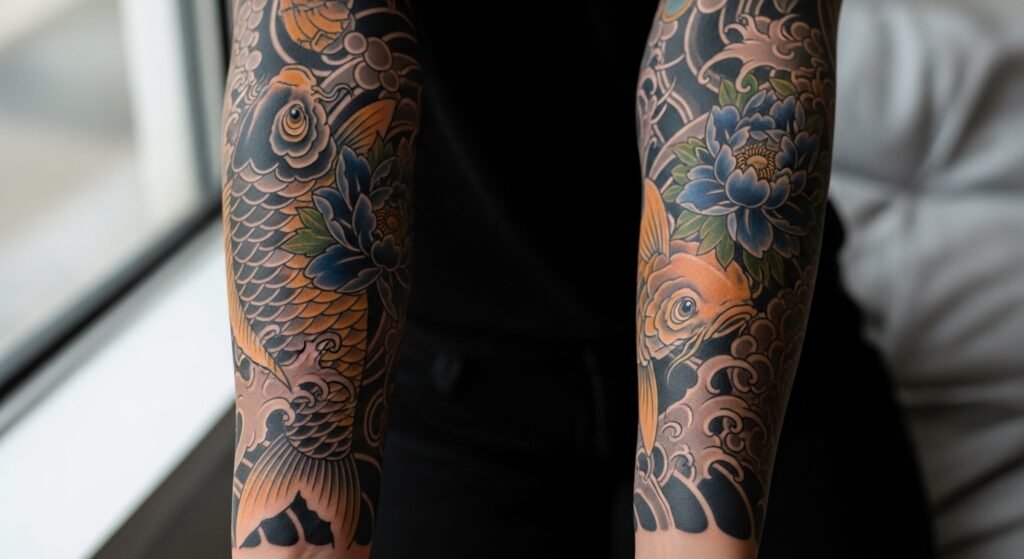
Start by deciding which Japanese traditional tattoo elements you want to combine—koi, peony, chrysanthemum, wind bars, waves, and mythic masks are classic choices. Combine bold blackwork outlines with fine line details to create contrast. Use negative space as a breath between dense motifs.
- Choose a dominant motif (koi or mask) and treat others as supporting elements.
- Scale: large motifs sit on the upper arm or shoulder; repeat smaller elements down the forearm.
- Test motifs on skin with an Inkbox semi-permanent tattoo kit to see flow before committing.
Test Placement & Get the Flow Right
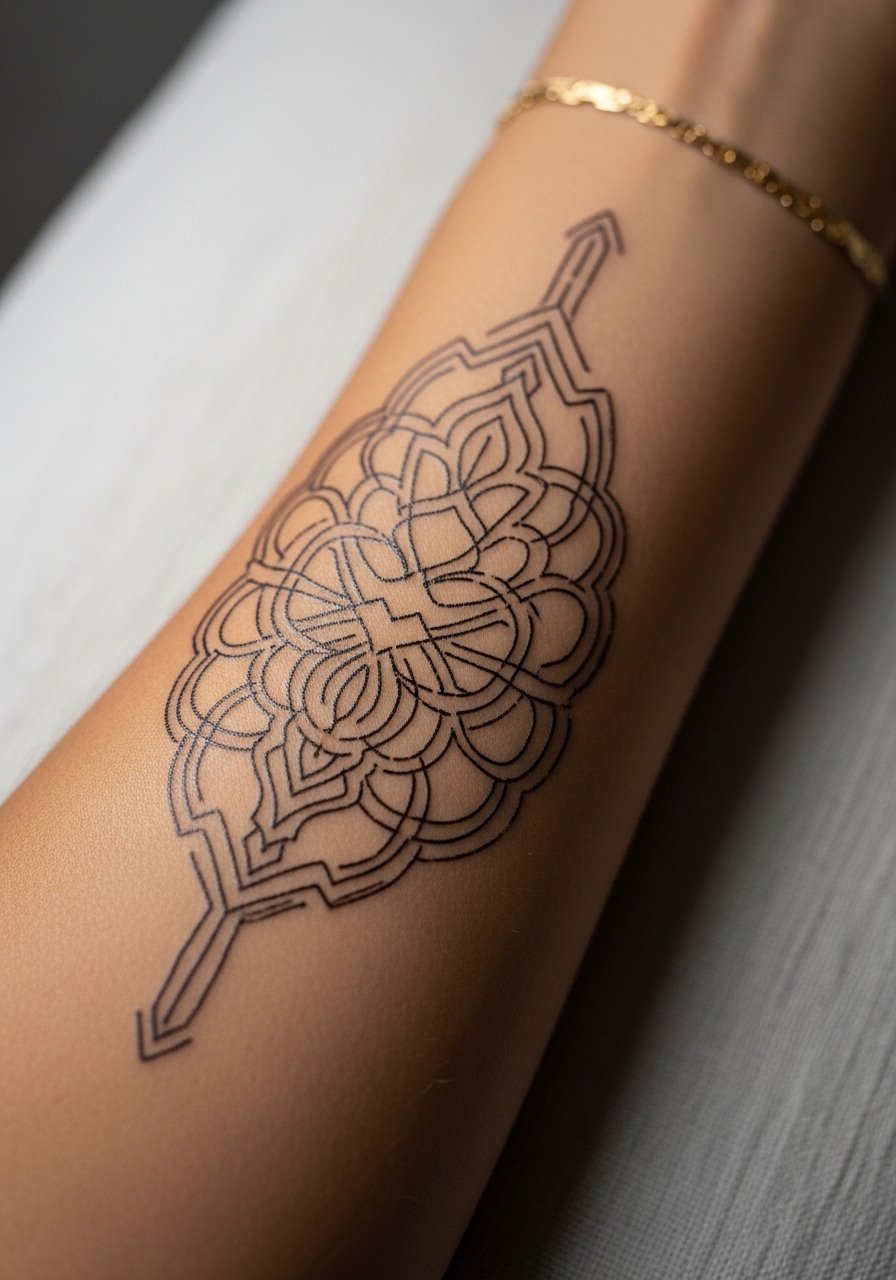
Testing is where sleeves either succeed or need a redesign. Use stencil transfer paper to mock up exact placement and scale; it’s the best way to confirm arm movement won’t distort a face or koi eye.
- Print the design at full scale and apply with tattoo stencil transfer paper.
- Wear it for a day—move, flex, and check in mirrors.
- Shave the area with a single-use prep razor the night before the session.
If you’re experimenting with minimalist fills or fine line accents, testing prevents elements from blurring together after healing.
During the Session: Pain, Timing, and On-Body Adjustments
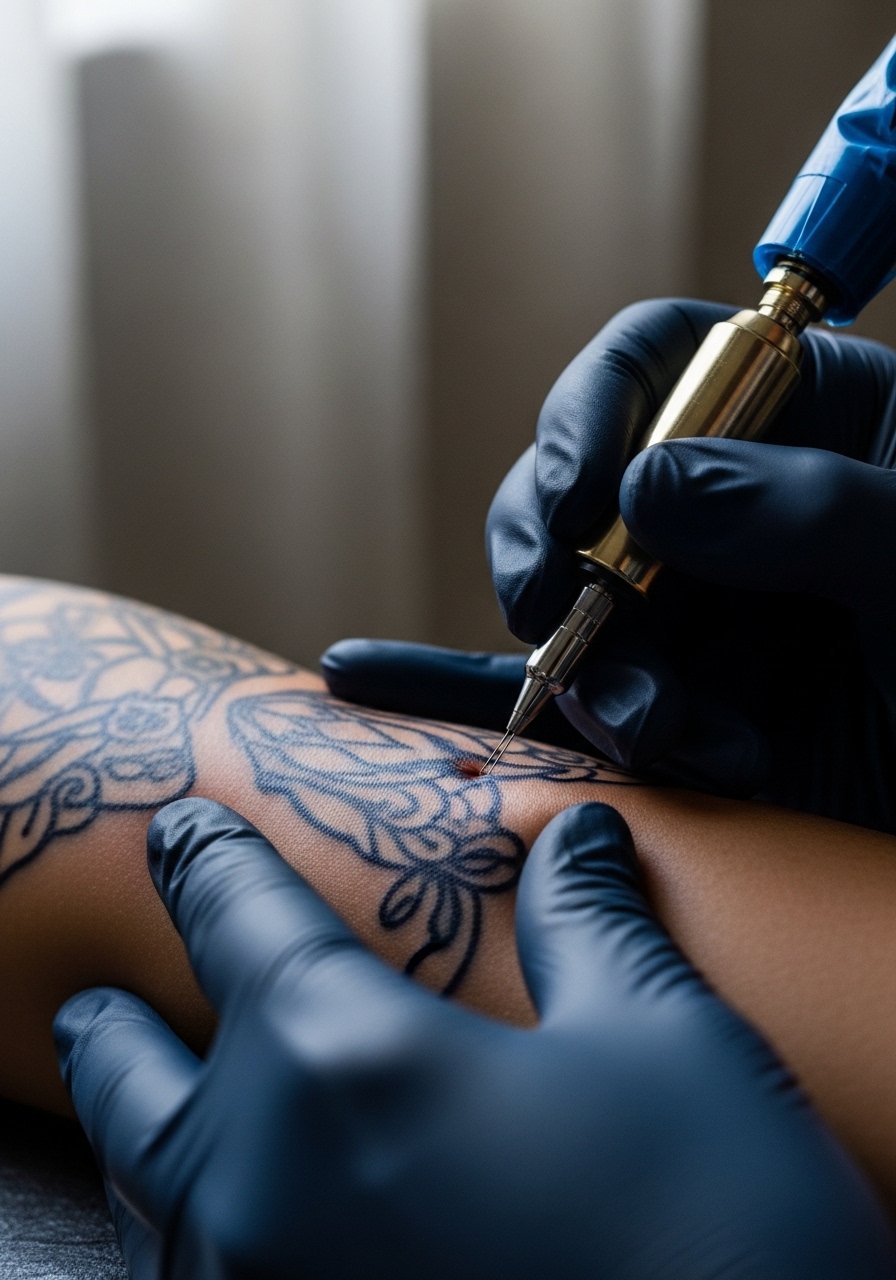
Sessions vary—rib or inner bicep will hurt more than outer arm. For sensitive spots, apply Zensa numbing cream about an hour before your appointment per product instructions. Plan sessions in chunks: outlines first, shading later. Expect:
- Short sessions (2–3 hours) for fine line or touch-up work.
- Long sessions (4–6 hours) for dense blackwork or color packing.
- Let your artist know you’re combining traditional elements so they can pace shading to reduce excessive plasma and scabbing.
Bring hydration and snacks; a calm body heals better.
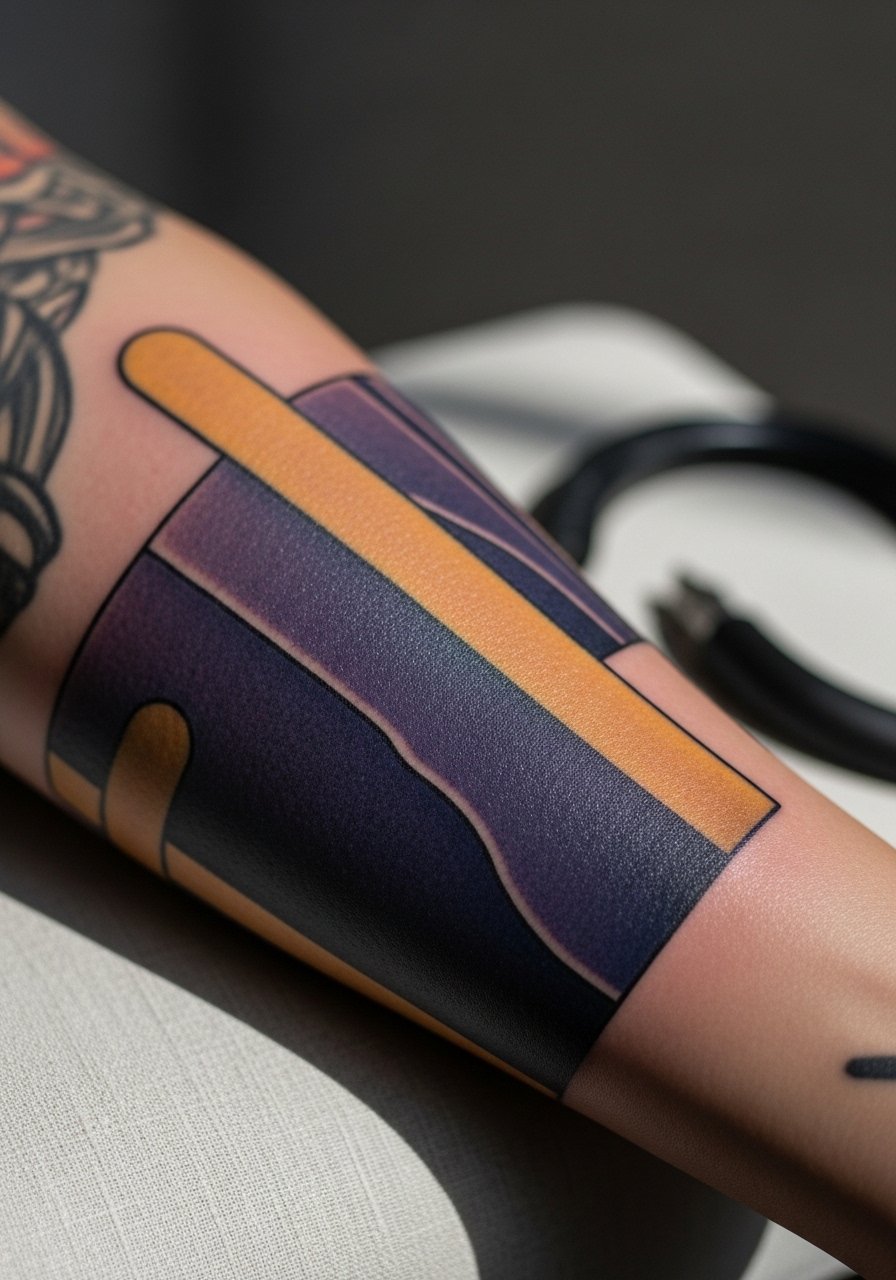
Aftercare Routine & Long-Term Care for Healed Results
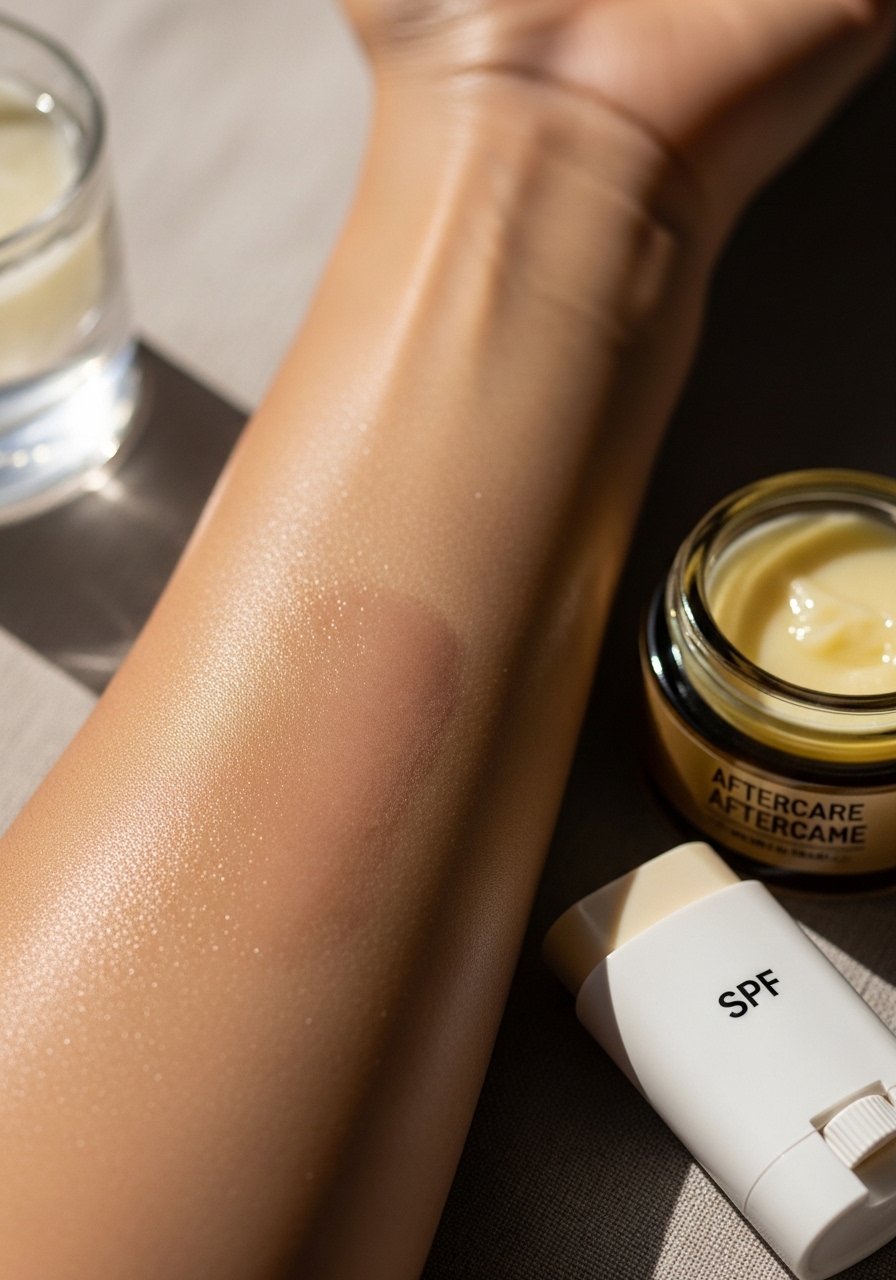
Healing determines how clean your sleeve looks long-term. For the first wash, use a fragrance-free antibacterial soap and gently pat dry. I recommend Dr. Bronner’s unscented liquid soap for the first two weeks. Use a second-skin wrap like Tegaderm/Saniderm for 3–5 days if your artist suggests it.
- Apply a thin layer of unscented tattoo aftercare lotion twice daily during peeling.
- For heavy peeling or dry patches, switch to a balm like Hustle Butter Deluxe tattoo aftercare sparingly.
- After healed (6–8 weeks), protect with a mineral SPF 50 sunscreen stick whenever sun exposure is likely and use a vitamin E oil occasionally for long-term vibrancy.
Common mistakes: over-moisturizing, picking scabs, or skipping SPF. Touch-up timing is typically after 3–6 months if areas fade or patch during healing.
You can combine Japanese traditional tattoo elements and trending aesthetics—fine line accents, neo-traditional color, or blackwork backgrounds—to create a sleeve that reads cohesive and culturally respectful. Communicate clearly with your artist and follow a consistent aftercare routine.
Building a sleeve is a process, not a race. Pack your aftercare kit tonight with Saniderm bandage roll, fragrance-free soap, and a good unscented lotion so you’re ready for every stage. Pin this guide before your consultation and save the stencil tests—it’ll make combining Japanese traditional tattoo elements feel sensible, creative, and achievable. Which motif are you starting with?