You’re scrolling at 2 a.m., sketchbook open, thinking about that tiny sun and the words you’ve hummed since childhood. Designing a You Are My Sunshine tattoo that feels personal isn’t about copying a trend — it’s about scale, line weight, placement, and small details that make the phrase yours. Whether you want a fine line script over a minimalist sun or a cottagecore neo-traditional lockup, this guide walks you through design choices, testing placement, choosing an artist, and an aftercare routine that protects your healed results.
I always keep a roll of Saniderm roll in my aftercare kit and a small tube of tattoo numbing cream for sensitive placements. These two things smooth the process from chair to healed. Read on for placement tips, realistic healing timelines, and product-backed tricks you can use the night before your session.
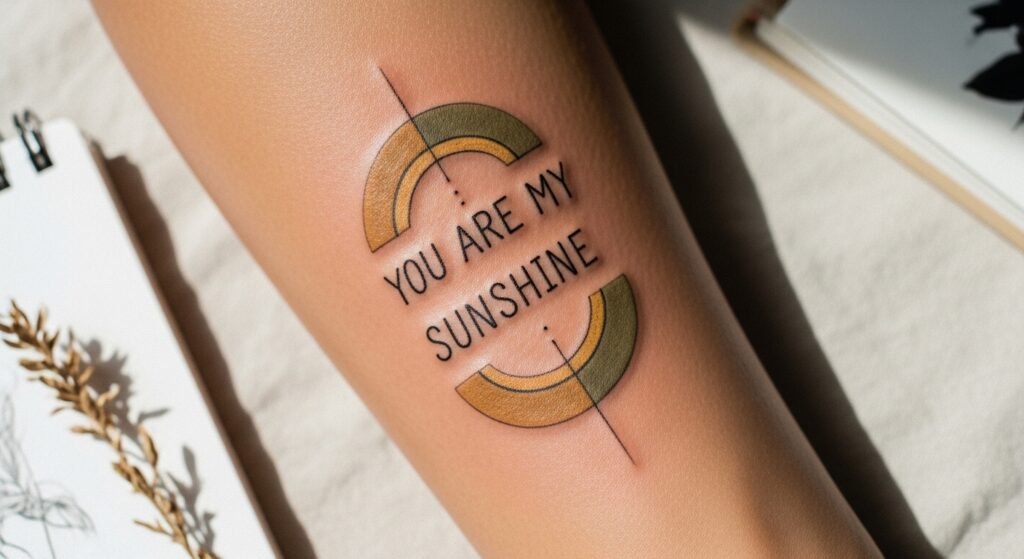
Sketch a personal You Are My Sunshine design (fine line, minimalist)
Start with small studies. Fine line scripts need breathing room — scale your text so each letter’s counters read clearly at the size you want. Try two approaches:
- Minimalist: single-line sun with tiny rays and a delicate script phrase beneath.
- Neo-traditional/cottagecore: slightly bolder sun, soft shading, and a serifed script.
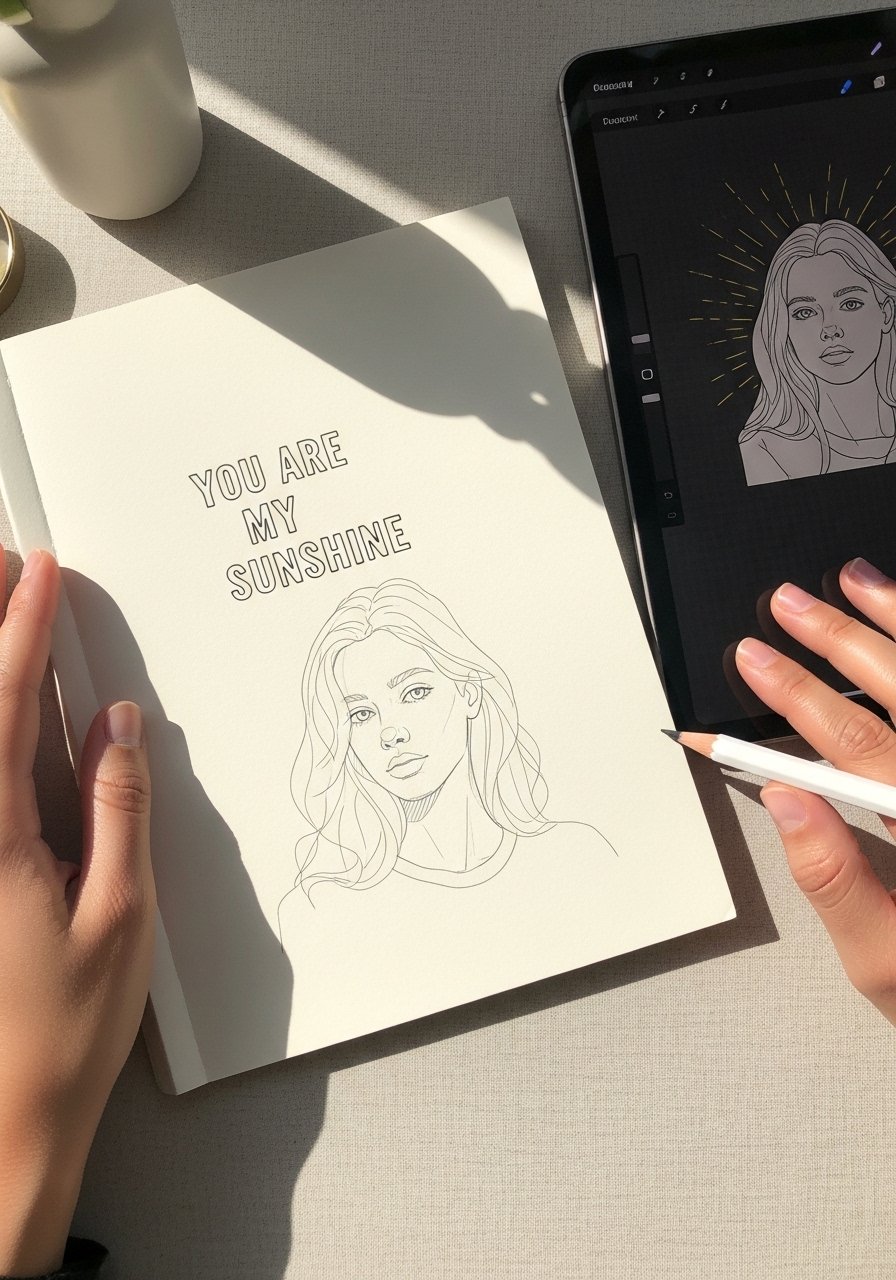
Try a semi-permanent test of scale with an Inkbox semi-permanent tattoo kit or draft on an iPad using an iPad and Apple Pencil for design. Artists appreciate clear, scaled references — include a few size variants so you can pick in consultation.
Test placement before committing (beginner placement, stencil tricks)
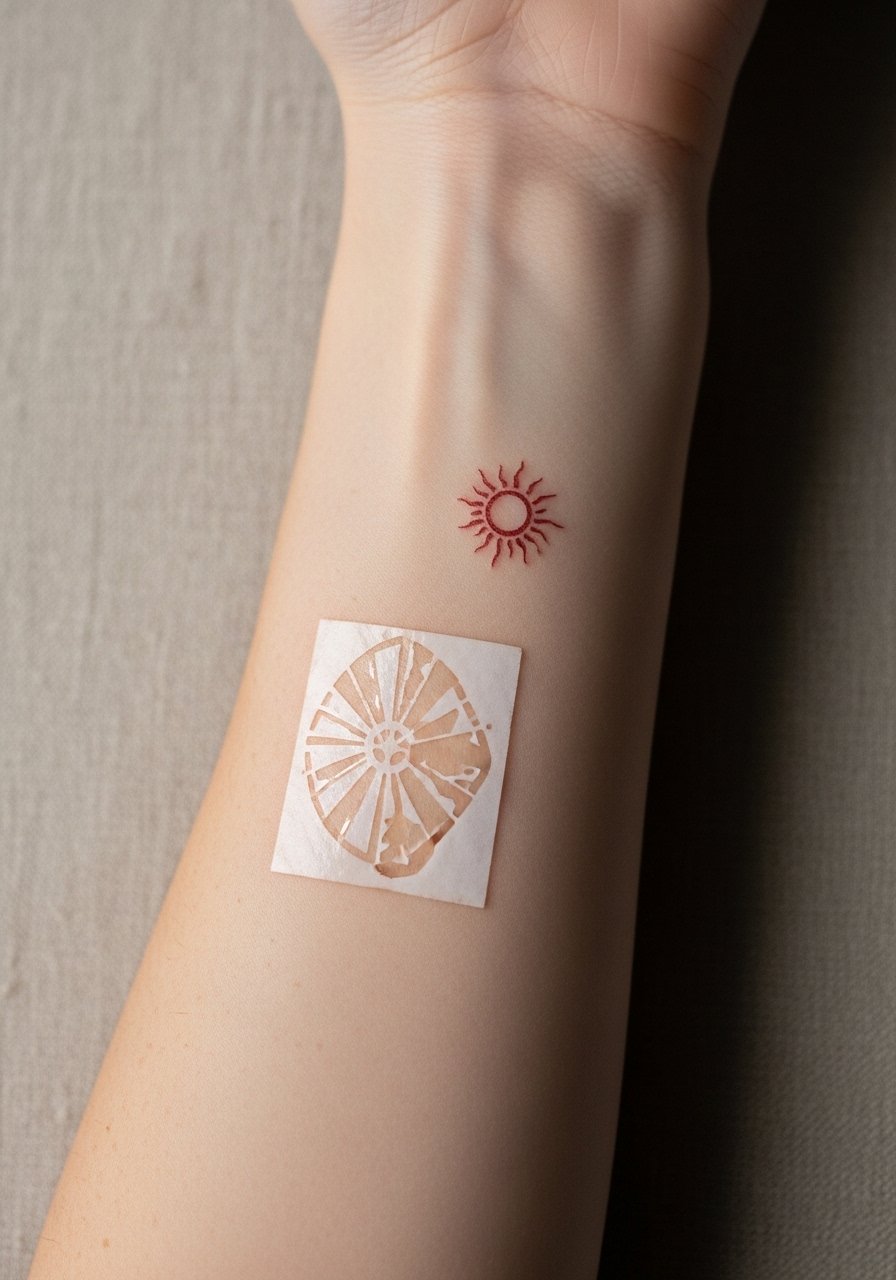
Placement changes meaning and pain. Try these stencil moves:
- Trace your design on transfer paper and stick it on while standing and sitting.
- Wear the temporary stencil for a day to see how it reads with clothing.
Quick tips:
- Inner wrist or forearm is beginner-friendly with low distortion.
- Ribs and ankles read smaller and hurt more.
Use tattoo stencil transfer paper and a clean single-use prep razors for a close shave right before your appointment.
Choose the right artist and prep your body (artist selection, pain, numbing)
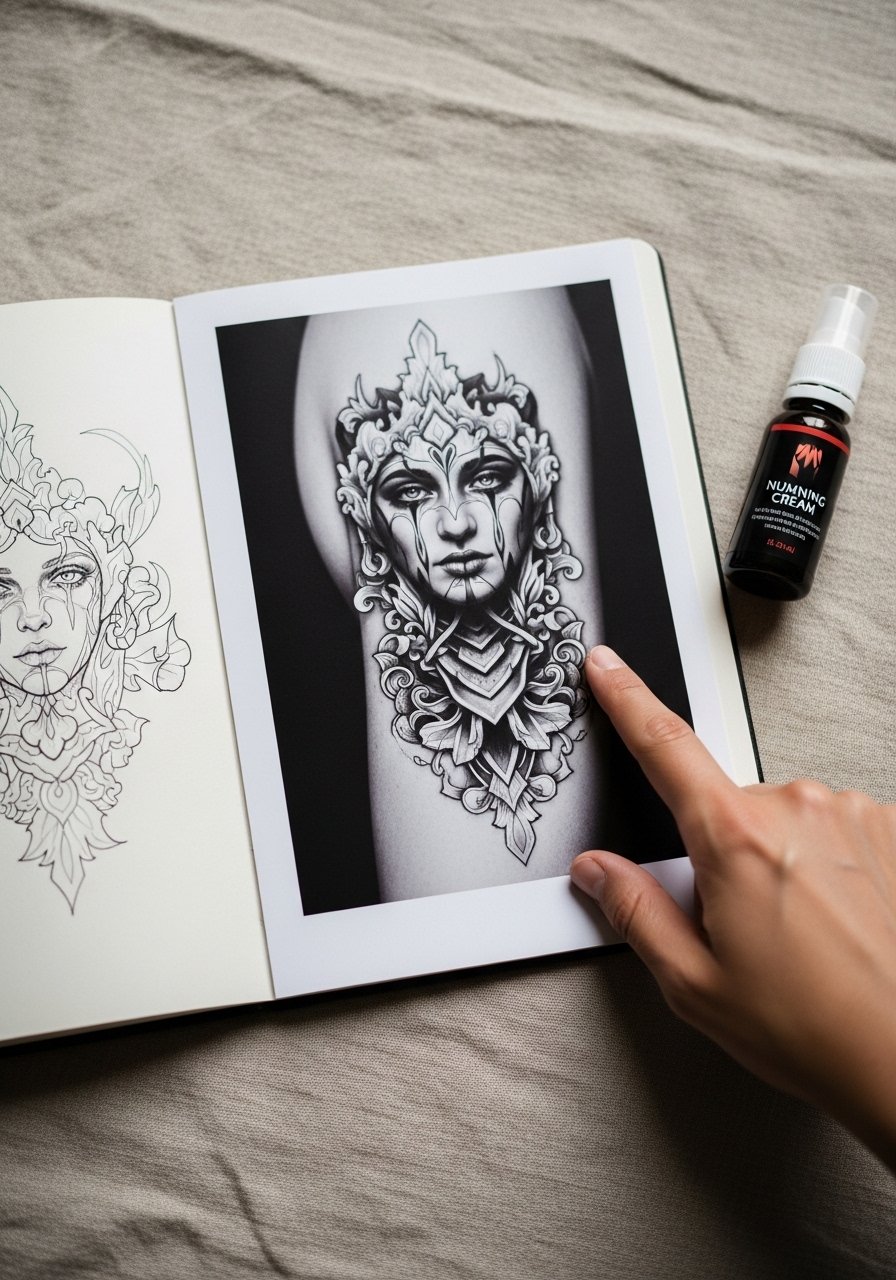
Find an artist whose healed portfolio matches your style — search for “fine line healed results” in portfolios. During consultation, discuss:
- Needle size for thin script and how shading will age.
- Touch-up policies if thin lines blow out.
For sensitive areas, apply a thin layer of EMLA numbing cream about an hour before your session (confirm with the artist first). Prep your skin the day before with gentle exfoliation and a fresh shave using a single-use razor.
Follow a realistic aftercare routine (aftercare routine, healed results, touch-up)
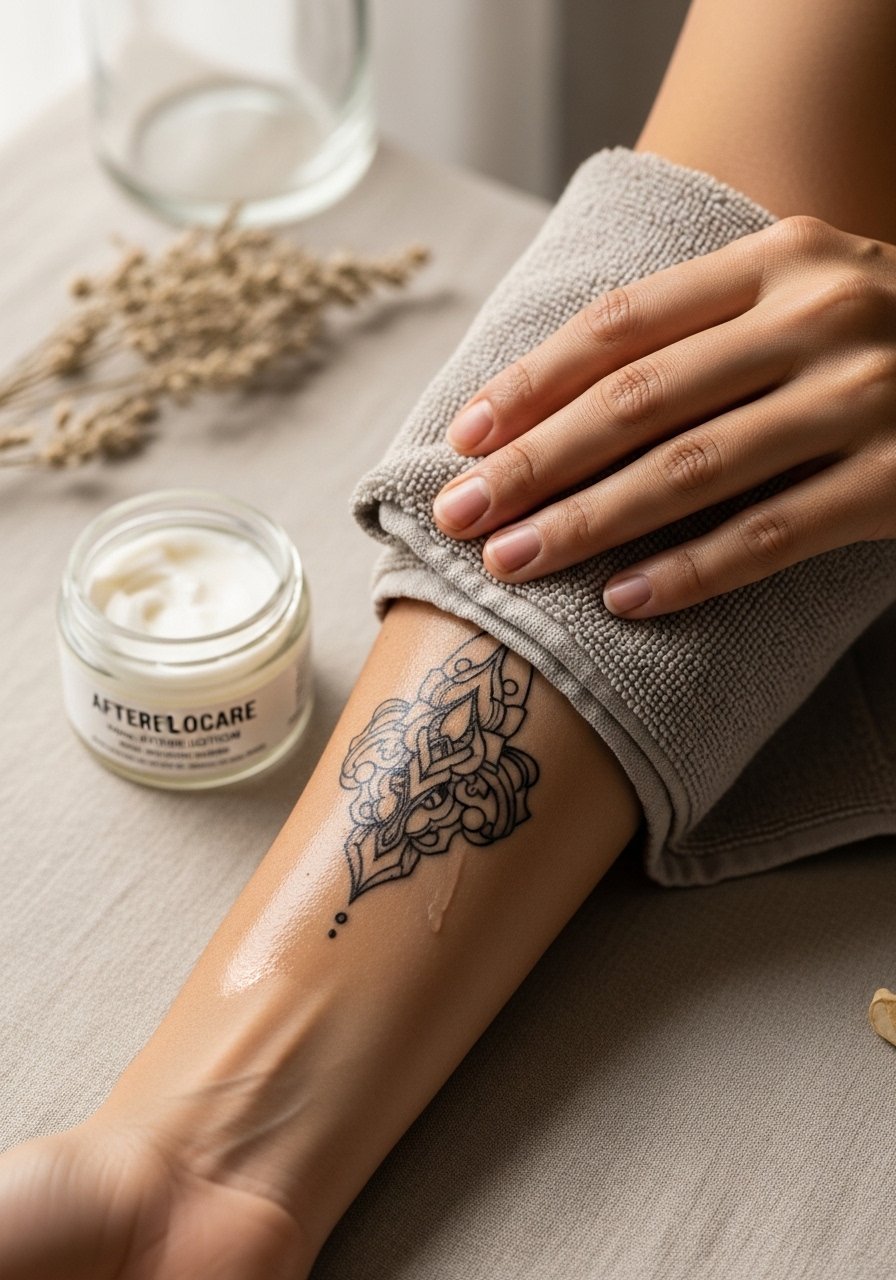
What to do right after:
- If your artist used a standard wrap, remove it after 2–4 hours, wash gently with a unscented antibacterial soap twice a day, pat dry, and apply a thin layer of unscented tattoo aftercare lotion.
- If you or your artist applies a second-skin like Saniderm, leave it 3–5 days then wash and follow the lotion routine.
Healing benchmarks: - Days 1–3: plasma and light swelling — expect sticky residue.
- Days 4–10: peeling and itching — do not pick scabs.
- 2 weeks: surface looks healed.
- 6–12 weeks: fully healed; safe to schedule touch-ups after 8–12 weeks if needed.
Avoid soaking and direct sun for 2 weeks. If itching spikes, a thin layer of lotion helps; never over-moisturize. Long-term, keep the piece protected with SPF and consider a color-brightening balm if colors fade.
You’ve planned, tested, and prepped. You can get a You Are My Sunshine tattoo that reads like your story — not a copy. Book a consult, pack your aftercare kit, and breathe.
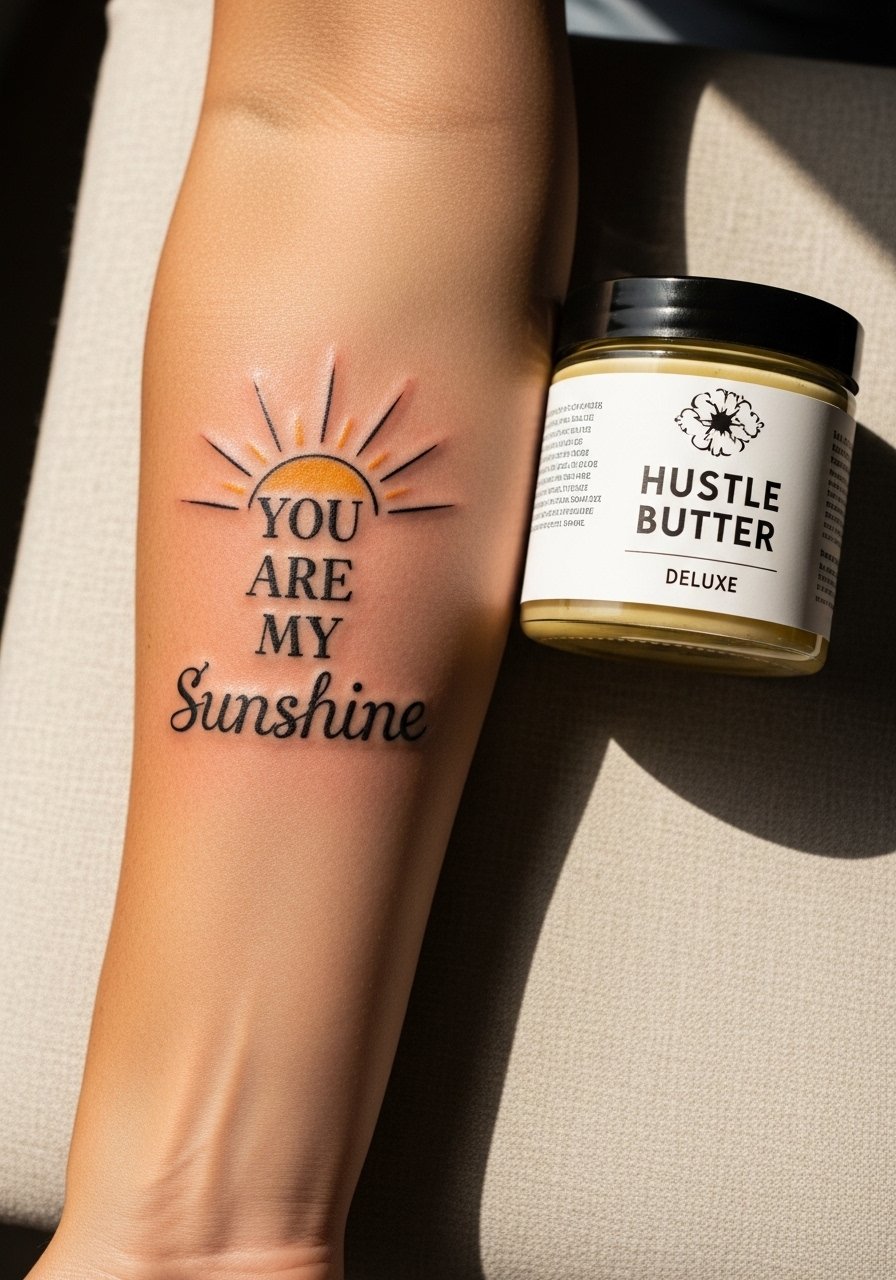
Hustle Butter Deluxe is my go-to for nightly skin hydration during the long-term care phase. If you want a single helper product for healed ink maintenance, try Hustle Butter Deluxe tattoo aftercare.
You’re ready — book that consultation, prep your aftercare kit, and save this guide for the night before your session. Which placement are you leaning toward for your You Are My Sunshine tattoo? Pin this before your consultation and share it with your artist.