You’re twenty minutes into scrolling and finally land on the perfect collarbone design you’ve been sketching in your head. The challenge now is finding the right tattoo artist for collar bone tattoos — someone who nails fine line work, understands shallow curves, and knows how to place art that moves with your body.
This guide gives you a step-by-step plan to find that artist, test placement, and set expectations for pain, healing, and touch-ups. Pack a small aftercare kit the night before: I keep a roll of Saniderm bandage and a travel-size unscented tattoo aftercare lotion ready so I’m not scrambling post-session.
You’ll learn how to spot healed results, test size with temporary options, what to ask at consultation, and a realistic collarbone aftercare routine.
Narrow by Style: fine line, minimalist, blackwork, neo-traditional
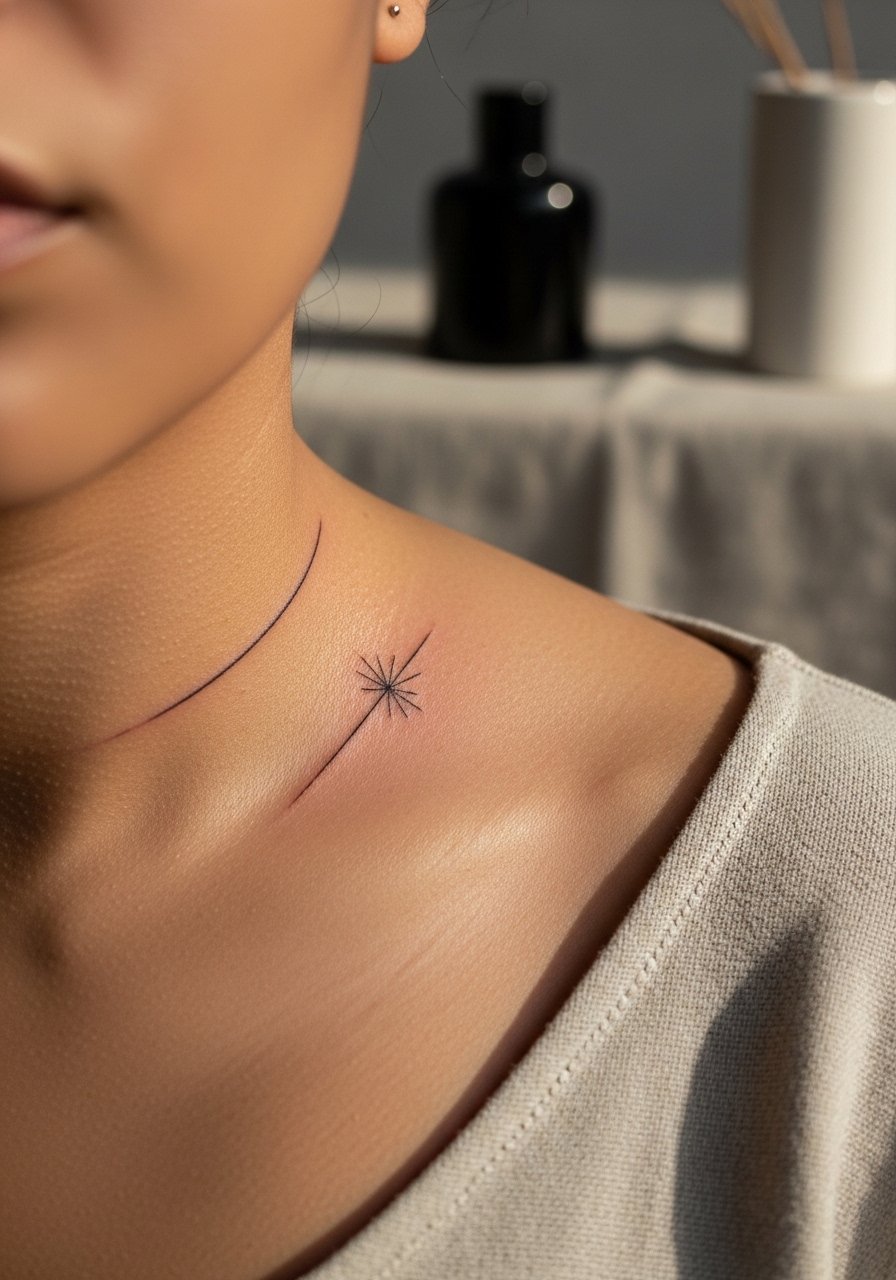
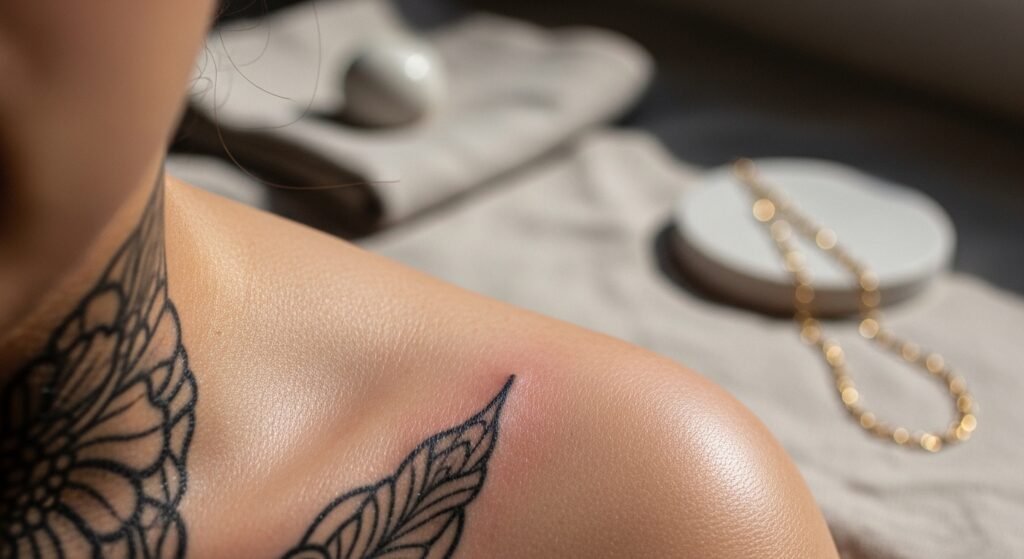
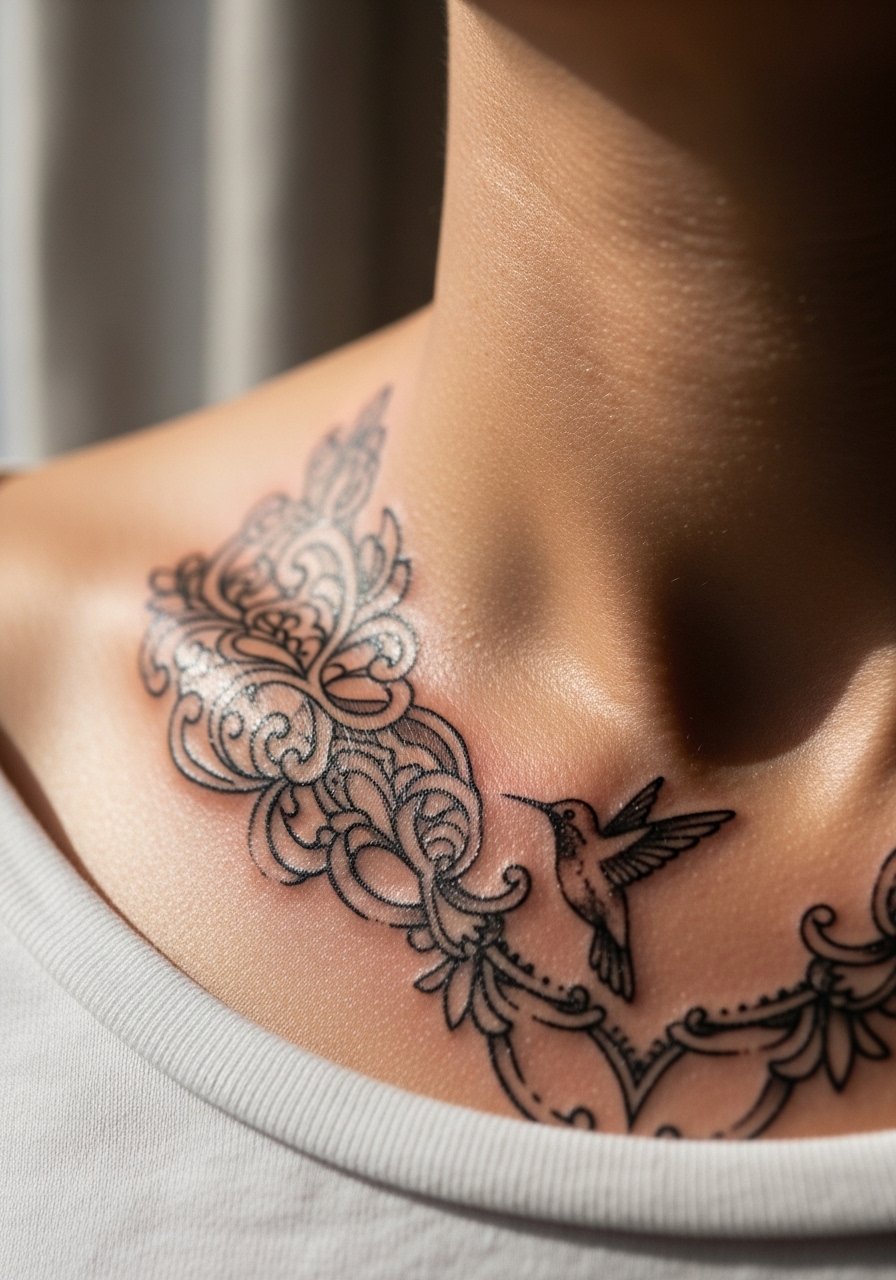
Start by searching portfolios for the specific style you want. Collarbone tattoos demand precision for fine line and minimalist pieces; blackwork or neo-traditional pieces need strong line weight and shading that sits cleanly on bone.
- Look for healed photos in portfolios — healed results are the best indicator of an artist’s true line control.
- Save 10–15 examples that show similar size and curvature to your collarbone.
- If pain is a big concern, consider asking about a numbing option like EMLA numbing cream (applied per directions ~45–60 minutes before the sit).
Vet Portfolios for healed results and touch-up policies
When you’re trying to find the right tattoo artist for collar bone tattoos, prioritize portfolios that show healed images, not just fresh work. Fresh photos hide how lines settle; healed photos show how ink holds on thin skin.
- Check for consistency: crisp edges, even shading, and minimal blowout near bone.
- Ask how long ago healed photos were taken and whether the artist offers free or discounted touch-ups after the standard healing window.
- If an artist posts fresh-only photos, request healed shots or client references before booking.
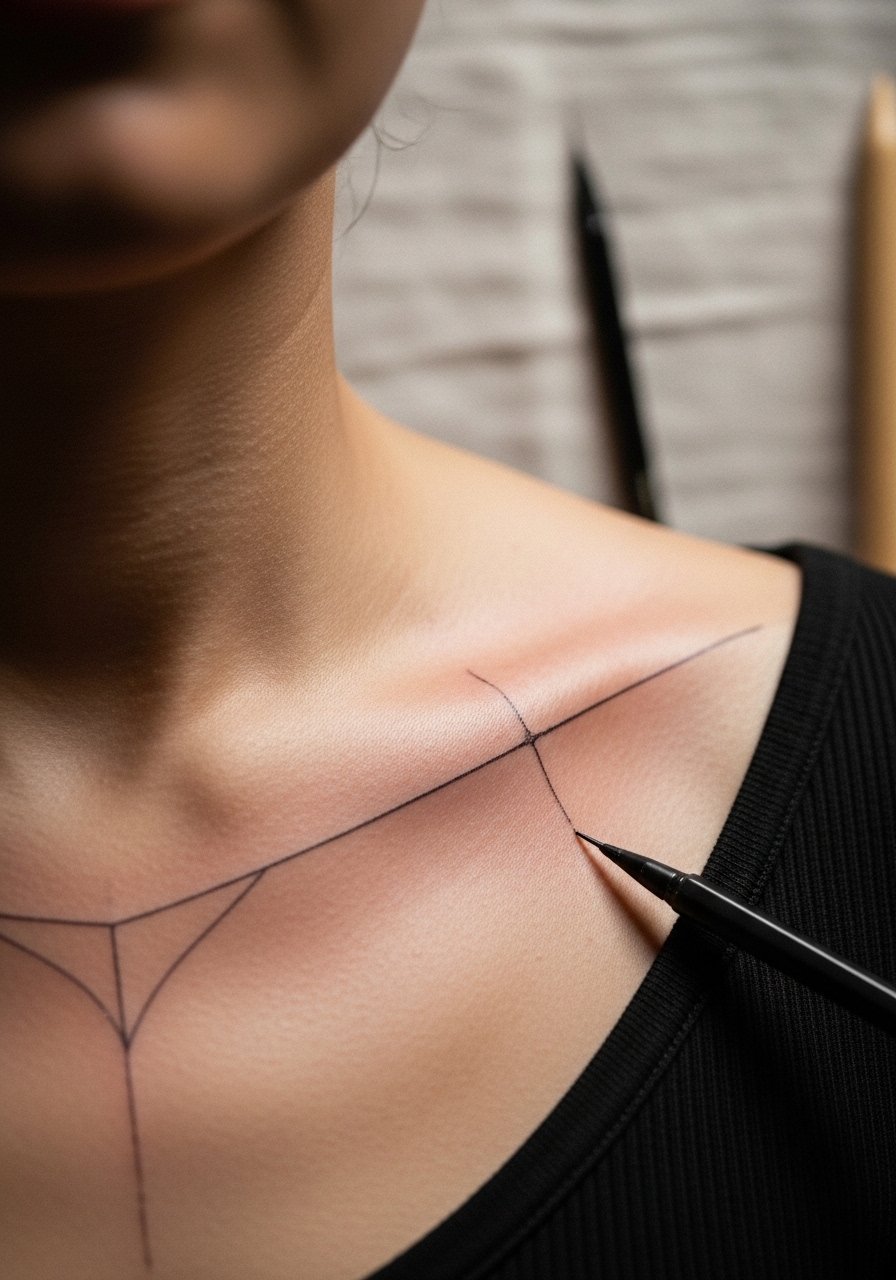
Test placement: beginner placement tools, stencils, and temporary tattoos
Before committing, test scale and flow on your body. Collarbone pieces can read larger or smaller depending on curve and clothing.
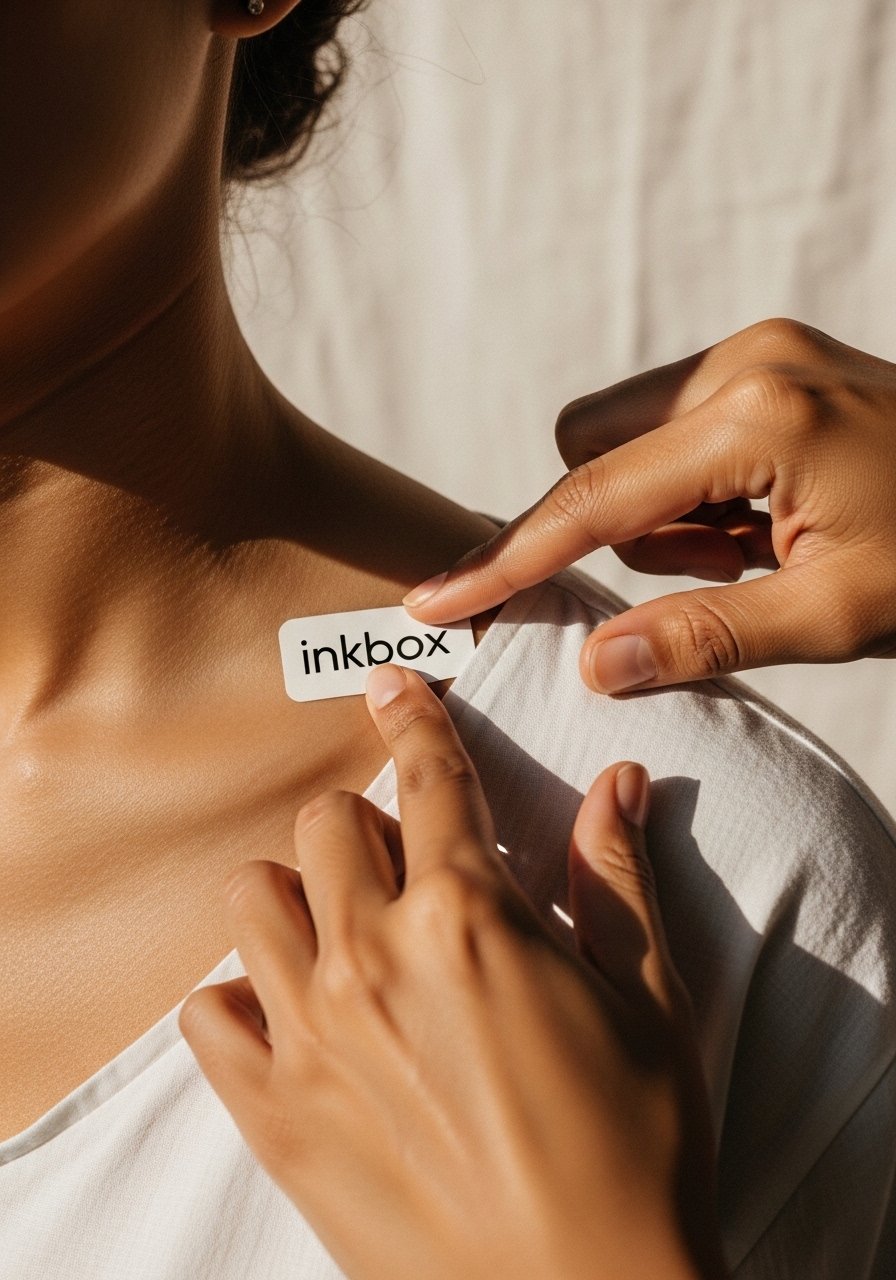
- Use an Inkbox semi-permanent tattoo kit or stencil transfer paper to try the exact placement.
- Wear it for a day to judge visibility, how it looks with necklines, and how the design moves.
- If shaving is required, use a single-use prep razor the morning of your appointment to avoid irritation.
Testing saves money and prevents regret — it’s how you know your artist’s mock-up will sit right.
Consultation checklist: sizing, pain expectations, and touch-up timing
A good consultation reveals process, not just price. When you’re trying to find the right tattoo artist for collar bone tattoos, ask direct questions.
- How many sessions will this take and where do you expect touch-ups? (Touch-ups often happen 8–12 weeks after initial work.)
- What aftercare do you recommend? Many artists prefer second-skin like Saniderm for the first 3–5 days.
- Discuss pain management: collarbone is bony — realistic pain expectations help you prepare.
Aftercare routine & long-term care for collarbone tattoos
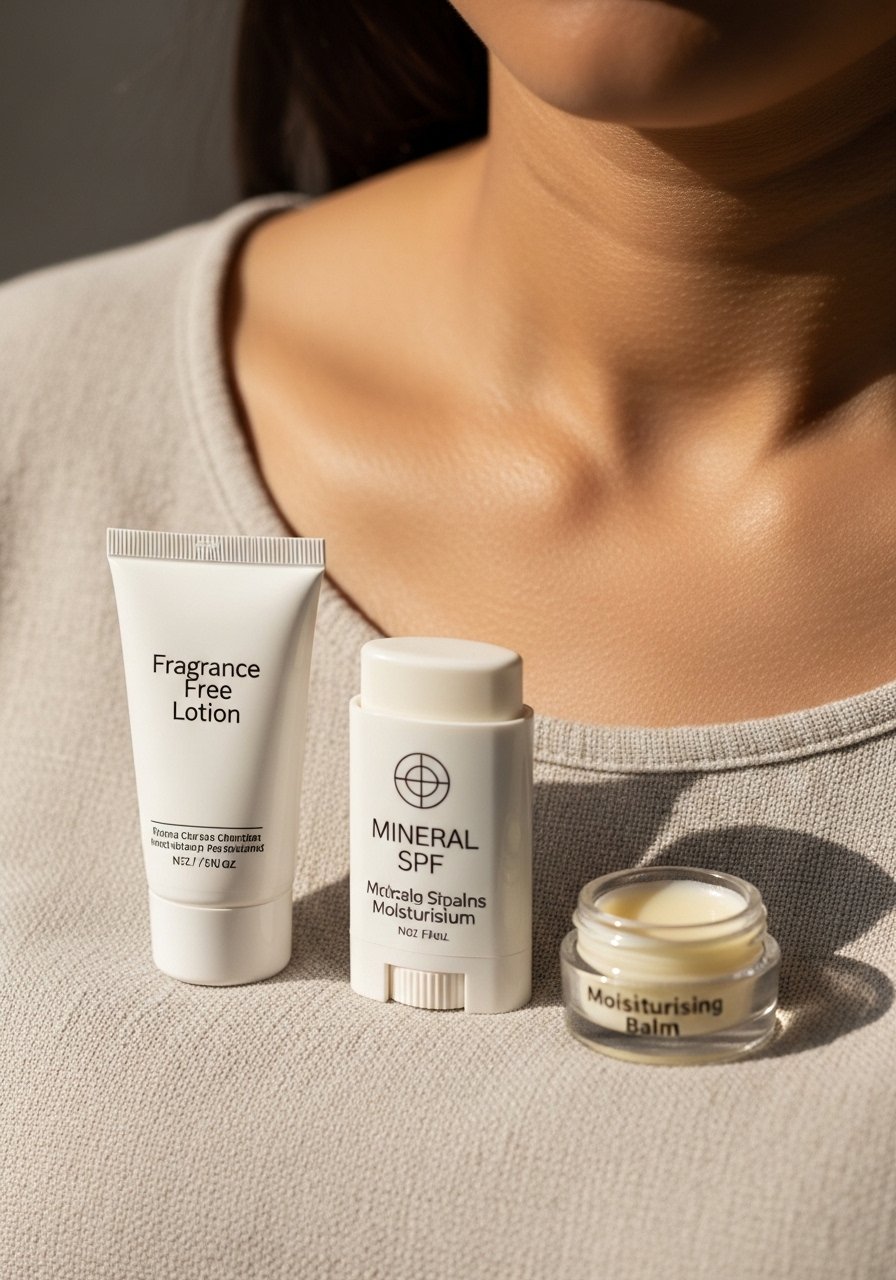
Healing on the collarbone can be slower where clothing rubs. Plan for proper care so healed results stay crisp.
- First wash: after 3–6 hours remove bandage if not second-skin, wash gently with a fragrance‑free antibacterial soap like Dr. Bronner’s unscented soap twice daily.
- Moisturize thinly 2–3 times daily with an unscented tattoo aftercare lotion or Hustle Butter Deluxe when scabbing subsides.
- Avoid picking scabs; expect flaky peeling in days 4–14, surface healed by 2–4 weeks, fully settled by 6–8 weeks.
- Once healed, protect with a mineral SPF stick daily and consider a light layer of Vitamin E oil or After Inked balm to keep colors vibrant long-term.
Avoid over‑moisturizing, heavy creams during peeling, and sun exposure — those are the fastest ways to lose fine detail.
You now have a clear checklist to find the right tattoo artist for collar bone tattoos, test the placement, and keep the piece looking its best. Pin this guide before your consultation and pack that aftercare kit tonight — a Saniderm roll and an unscented lotion make the first week far less stressful. Which collarbone design are you testing first? Drop it below and save this for your appointment.