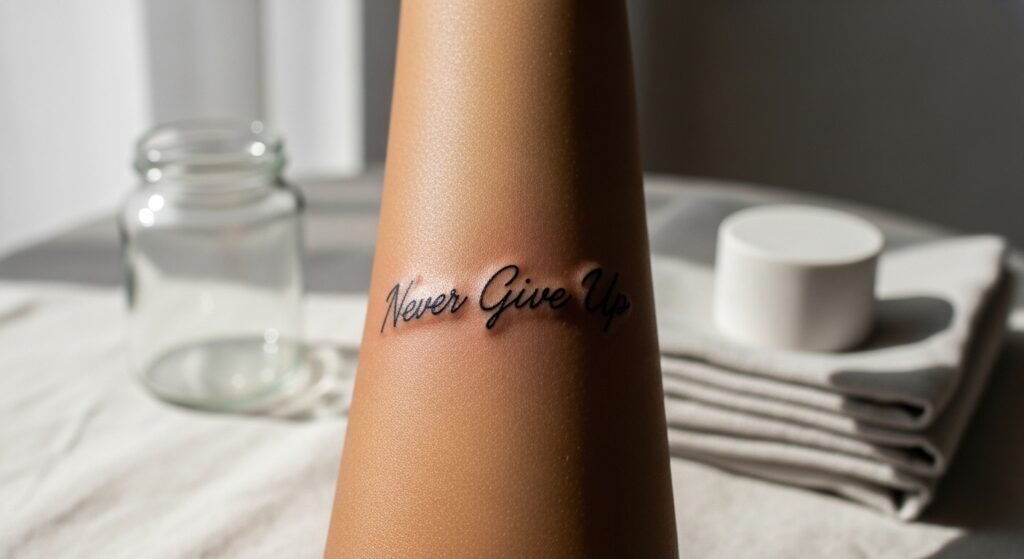
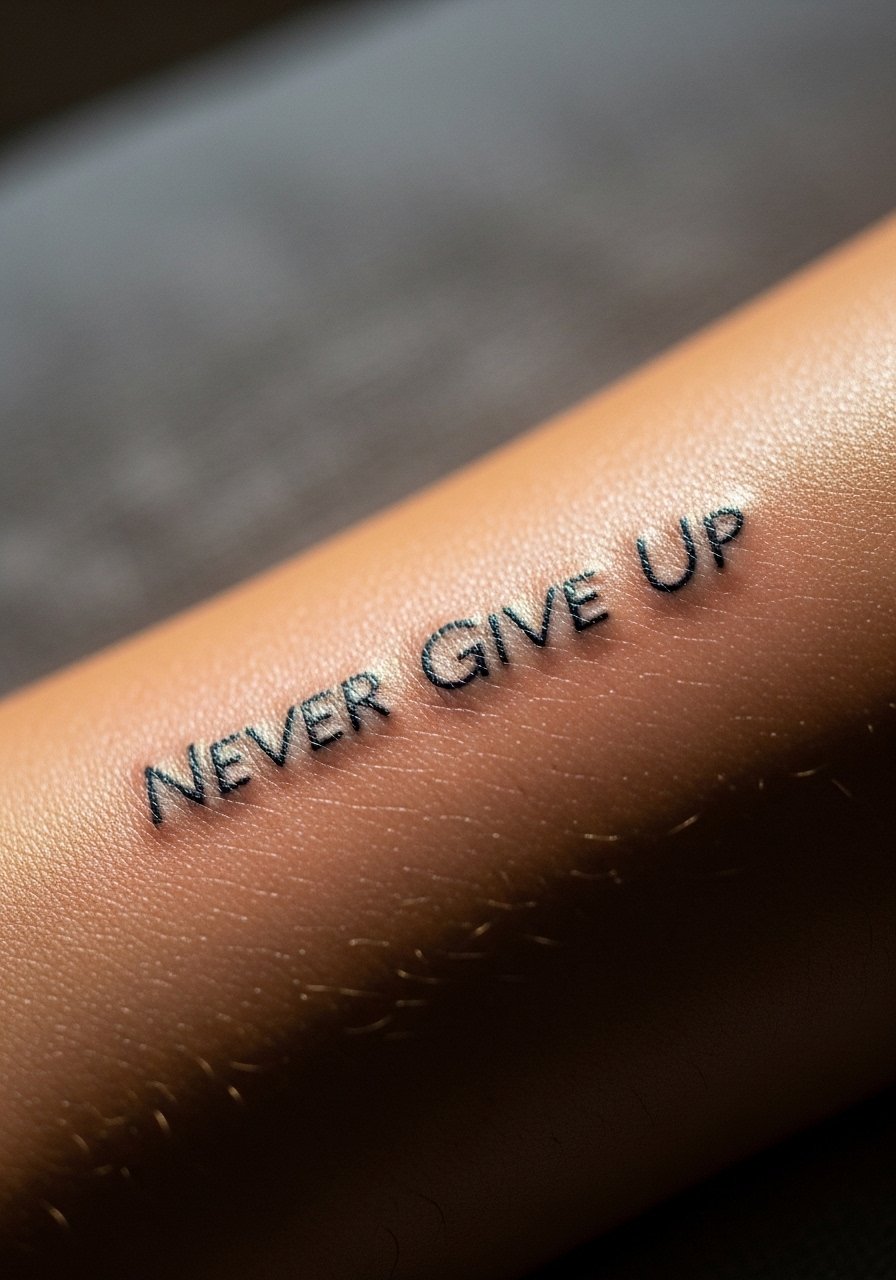
You’re scrolling at 2 a.m., staring at ten versions of that “Never Give Up” script you’ve been refining for months. Maybe you want it small and minimalist, or bold with roses for a darker vibe. Combining a Never Give Up tattoo with other elements gives it personality and context, and the right choices make it feel like yours instead of a stock phrase.
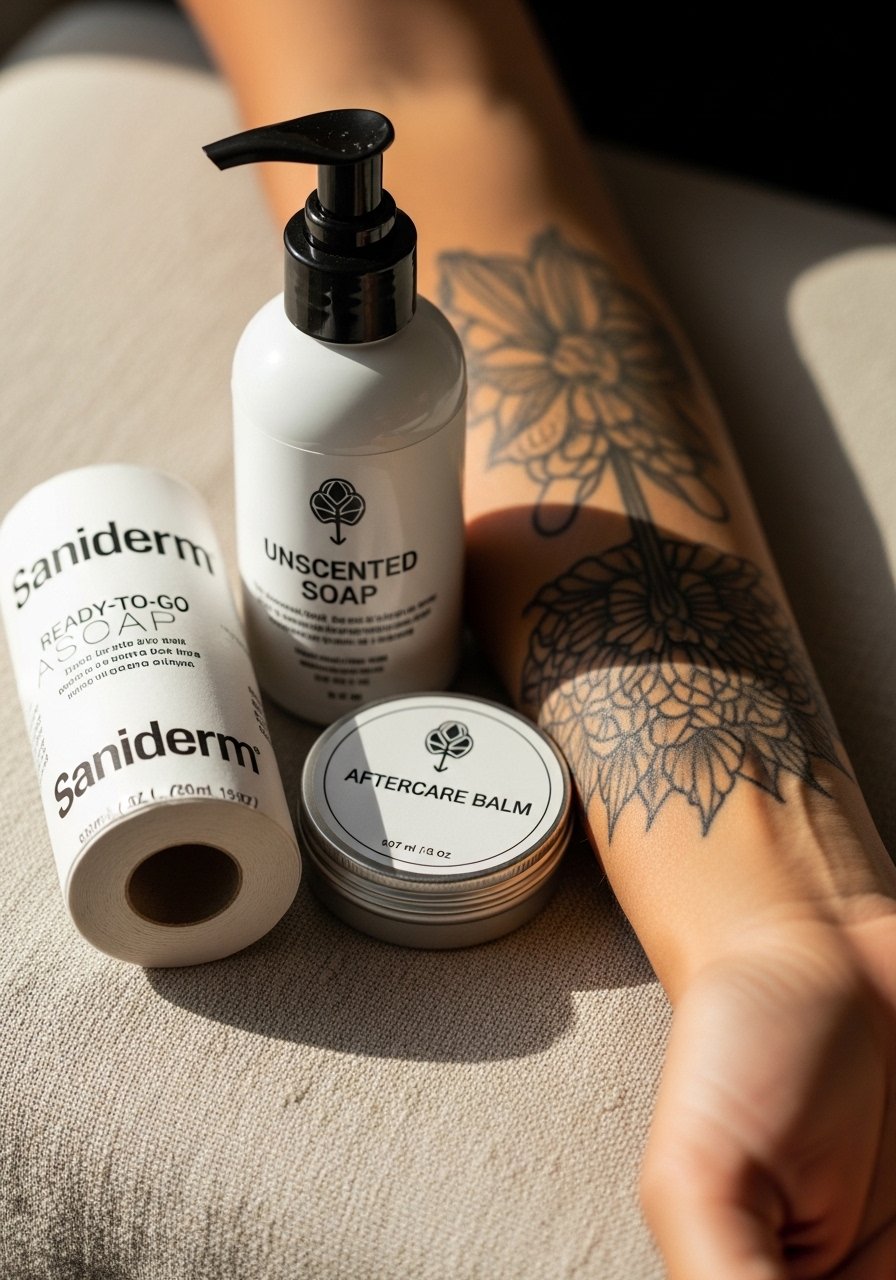
I always keep a roll of Saniderm second-skin bandage in my aftercare kit and a numbing cream for sensitive placements. These two things solve more stress than you’d expect.
This guide shows how to pair styles (fine line, blackwork, neo-traditional), test placement, prep for the chair, and follow an aftercare routine that protects healed results and touch-up needs.
Blend your Never Give Up tattoo with a complementary style (fine line, blackwork, neo-traditional)
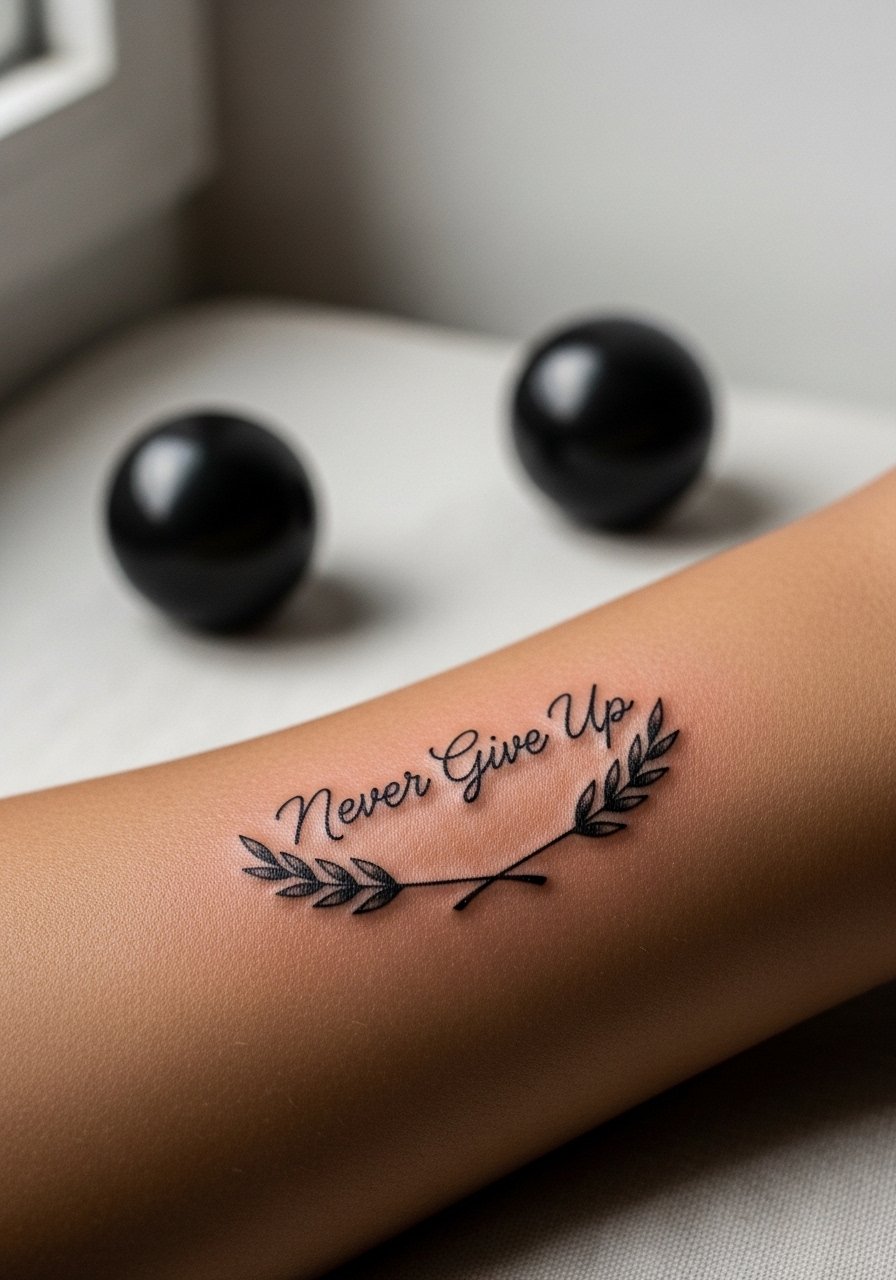
Decide if the phrase is the focal point or a supporting element. Fine line scripts sit well with minimalist dots, tiny florals, or subtle line-work arrows. For a bolder statement, add blackwork shapes or a neo-traditional rose behind the letters to create depth.
Tips:
- Scale the added element to the script: keep extras about 30–70% of the script’s height to avoid overpowering it.
- Ask your artist for a value study (black-and-white mock) so contrast reads at different skin tones.
- If you’re testing a cottagecore or dark academia vibe, choose muted flora or inked quill motifs rather than high-saturation color.
If you plan on color later, mention it now—colors behave differently on healed black script.
Test placement and scale before you commit (beginner placement, stencil tricks)
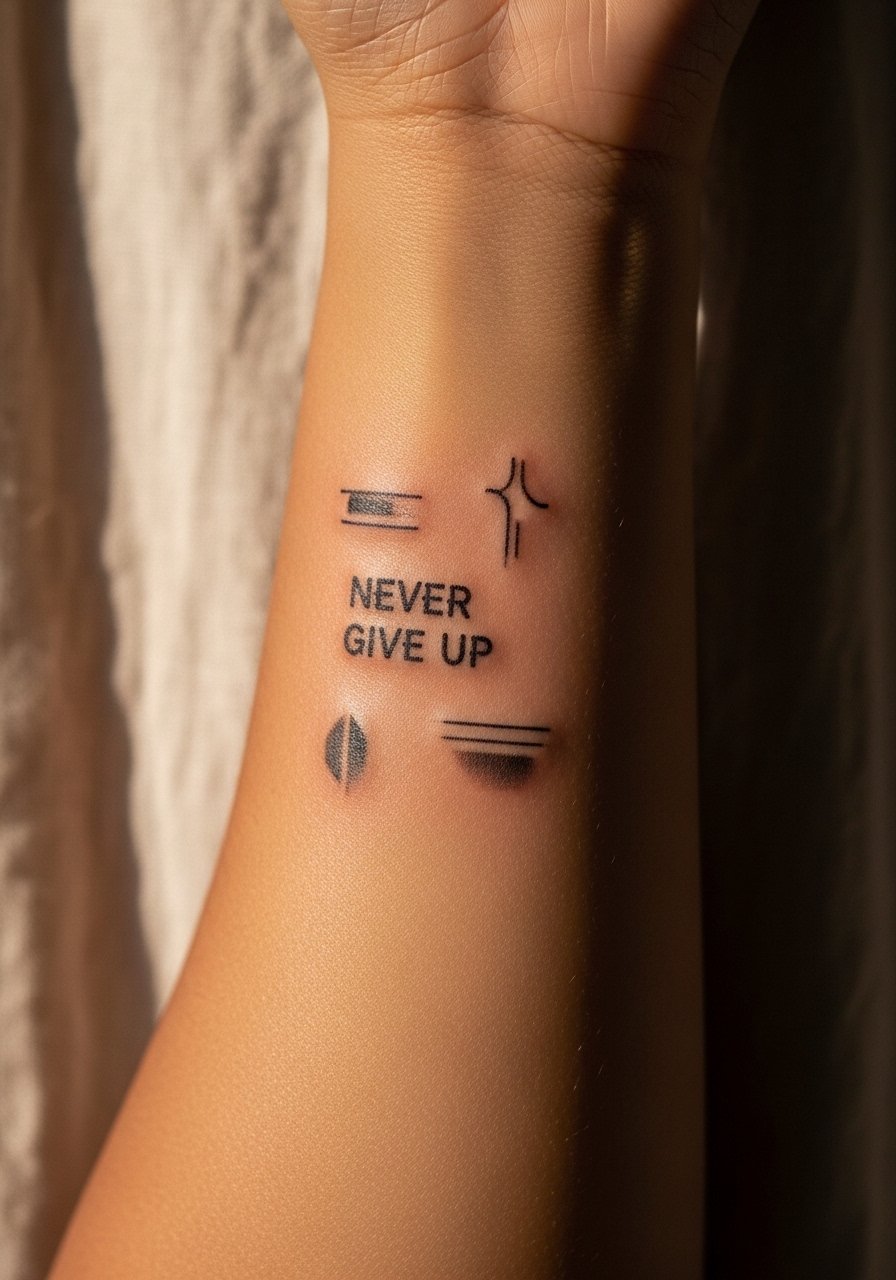
You want to see the phrase on your skin in motion. Use an Inkbox semi-permanent tattoo kit or print a stencil on transfer paper to test size and flow. Wear it for a few days and note how it sits when you bend your arm or reach.
Quick steps:
- Apply the semi-permanent design and live with it for 48–72 hours.
- Move your wrist, flex, and photograph the area in different outfits.
- Adjust scale if letters cramp when skin creases.
For clean shaves of small placements, use single-use prep razors the morning of your session to avoid irritation.
Prep for the chair and manage pain (session prep, numbing, what to bring)
Prepping reduces surprises. Hydrate for 48 hours and avoid aspirin or alcohol before your appointment. If you have a sensitive rib, inner arm, or chest spot, a numbing cream applied about 45–60 minutes beforehand can soften the edge—test it once if you’ve never used it.
Bring:
- A photo of your final reference and placement mock.
- Small snacks and water.
- A light layer for chilling after the session.
If your artist uses a second-skin wrap, it’s okay—otherwise apply a Saniderm second-skin bandage at home for extra protection.
Follow an aftercare routine for clean healing and long-term color (aftercare routine, healed results, touch-up)
Healing timeline to expect:
- Days 0–3: Plasma and surface sealing; keep the factory wrap or apply Saniderm for 3–5 days.
- Days 3–14: Peeling and itching—wash twice daily with a fragrance-free antibacterial soap like Dr. Bronner’s Unscented.
- Weeks 2–6: Color settling; apply a thin layer of unscented lotion such as After Inked tattoo lotion 2× daily.
Do:
- Pat dry with a clean towel—never rub.
- Apply a thin film of Hustle Butter Deluxe if skin feels tight or flaky after peeling.
- Use a mineral SPF stick on healed ink anytime it's exposed—UV is the fastest way to fade script.
Troubleshooting:
- Excess plasma first 24–48 hours is normal; if persistent drainage or redness increases after 72 hours, contact your artist or a clinician.
- Avoid picking scabs—this causes patchy healed results and forces a touch-up later. Most artists recommend touch-ups after 3–6 months if needed.
For long-term upkeep, a little Vitamin E oil on healed skin keeps surrounding skin supple and helps color longevity.
You’ve got the design language, placement testing, chair prep, and a realistic aftercare plan. Pin this before your consultation, prep a small kit tonight, and book the consult when you’re ready. Which placement are you leaning toward—inner forearm, rib, or collarbone?