You’re scrolling inspo at 2 a.m., finally ready to commit to that small Japanese tattoo you sketched months ago. The design reads delicate, but execution matters—the wrong artist can flatten fine details or blur crisp blackwork. Finding the right artist for a small Japanese tattoo gives you crisp fine line work, balanced composition, and healed results that still sing years later.
I always prep a Saniderm roll in my aftercare kit and keep a tube of Zensa numbing cream in the cabinet for sensitive placements. That simple prep makes the whole session smoother and protects the finished linework. This guide shows how to vet artists, test placement, prep your skin, and run a reliable aftercare routine for flawless results.
What you'll learn: where to look for artists who understand small Japanese tattoo scale, how to test placement, realistic pain and healing timelines, and the exact aftercare steps that preserve fine lines.
Search smart: find artists who specialize in fine line and small Japanese tattoo styles
Start by looking for healed results, not flash. Focus on portfolios with:
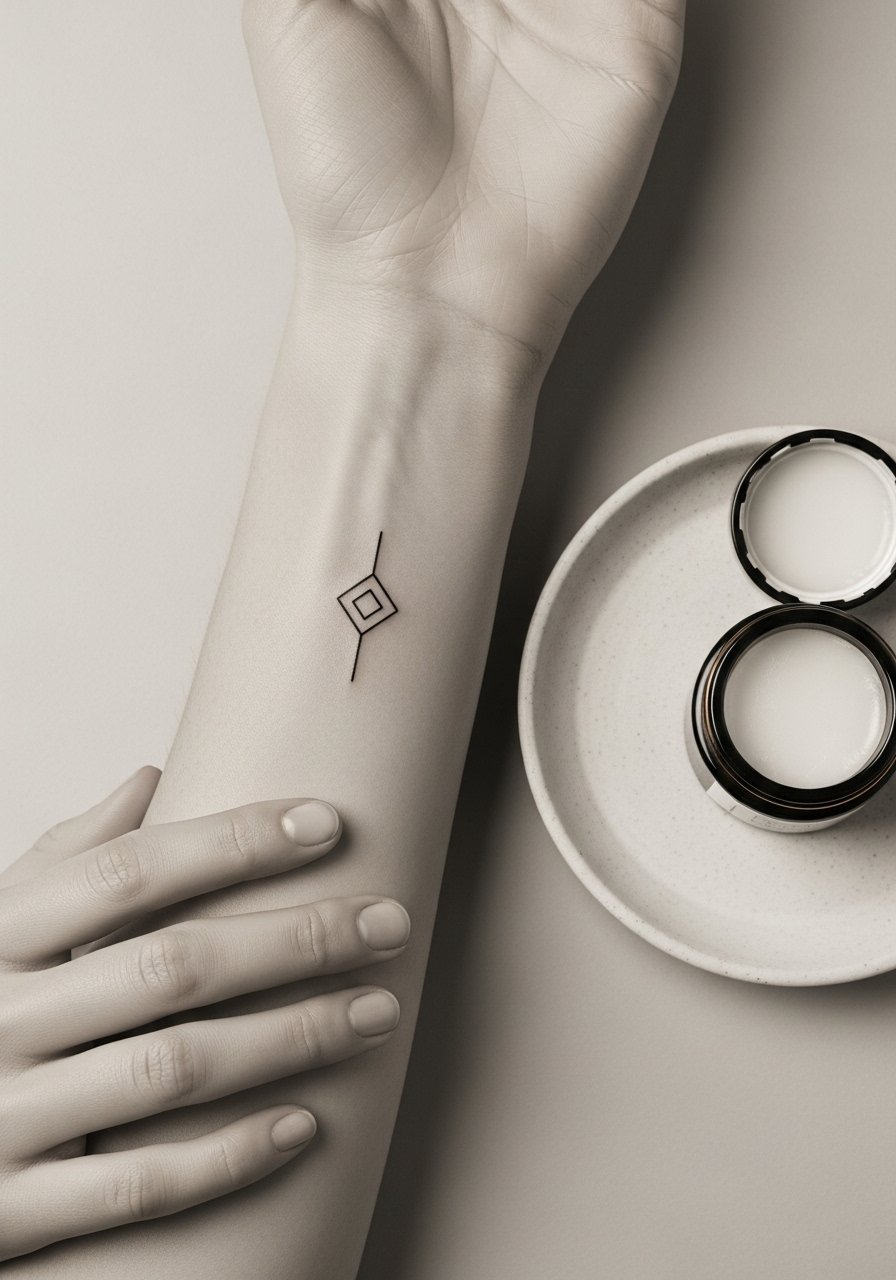
- Clean crisp outlines and consistent thin lines (fine line, blackwork).
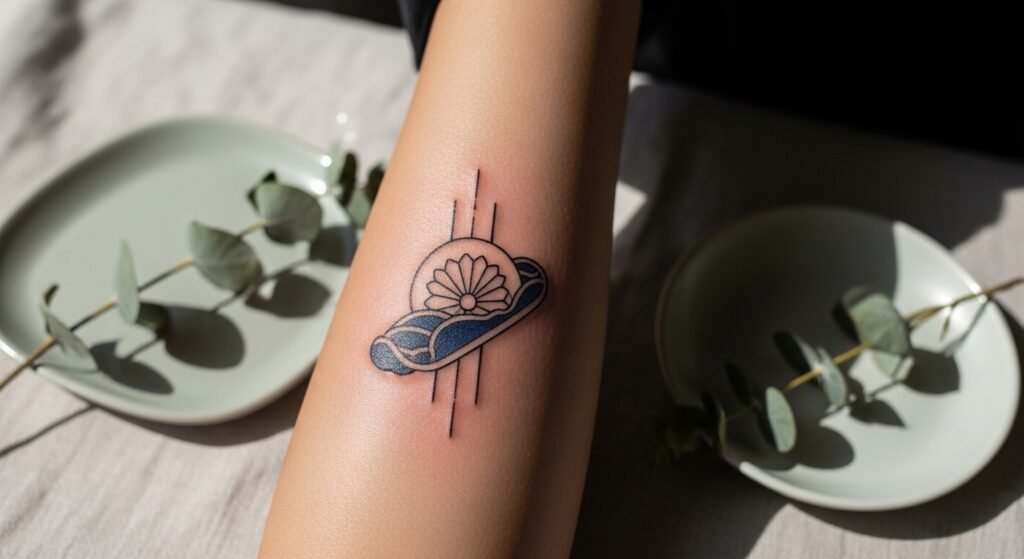
- Small-scale Japanese motifs that keep proportion and negative space.
- Photos of healed results, not just fresh work.
Tips:
- Bookmark 3–5 artists and read client comments about touch-ups and healed results.
- Ask for a consultation photo of a healed piece similar in size and placement.
- If an artist posts mostly neo-traditional or heavy shading, they might not be best for minimalist Japanese work.
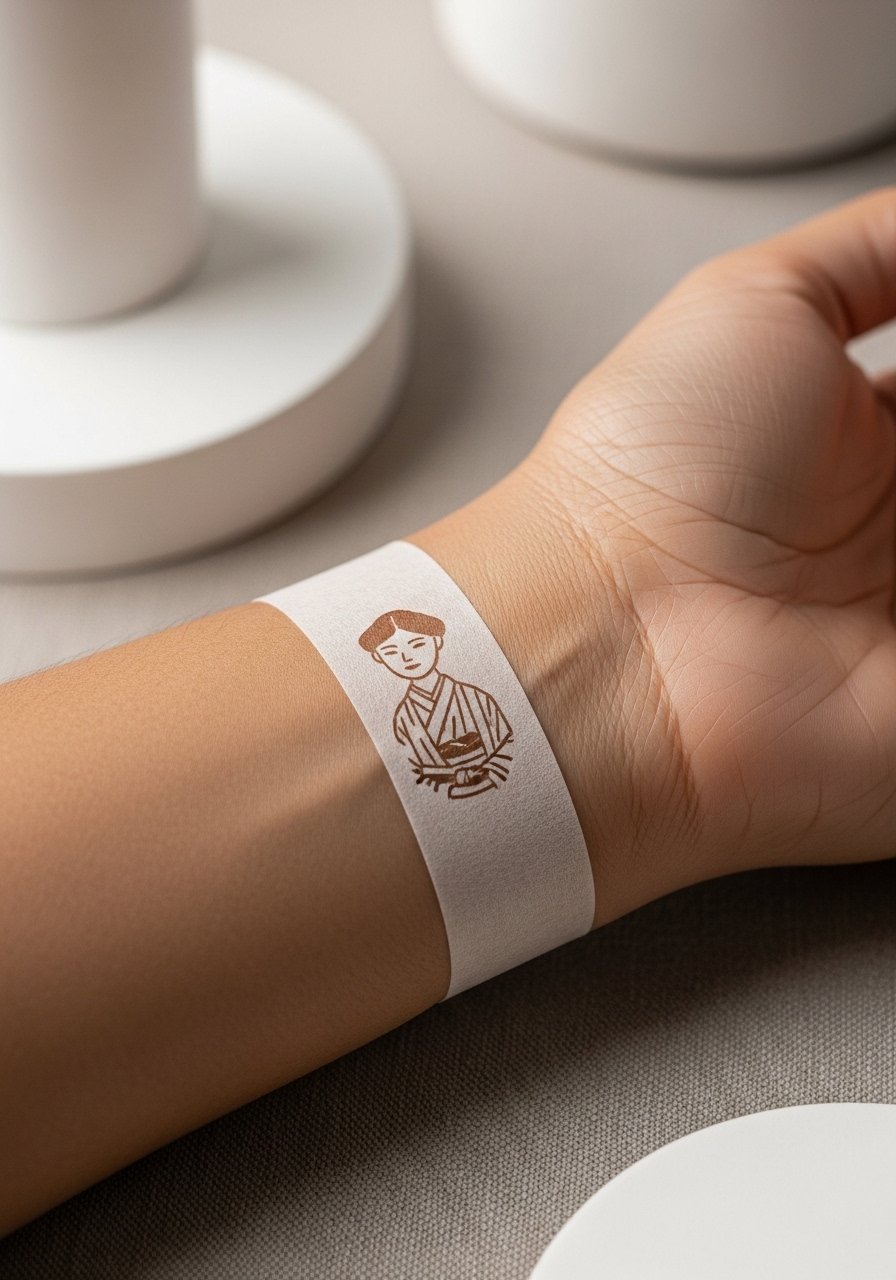
If you want to test a placement at home, try an Inkbox tattoo kit to wear the design for a few days. Also consider a tattoo placement reference guide to visualize how the piece moves with your body.
Test placement and communicate clearly during consultation
Testing placement avoids regret. Use these steps:
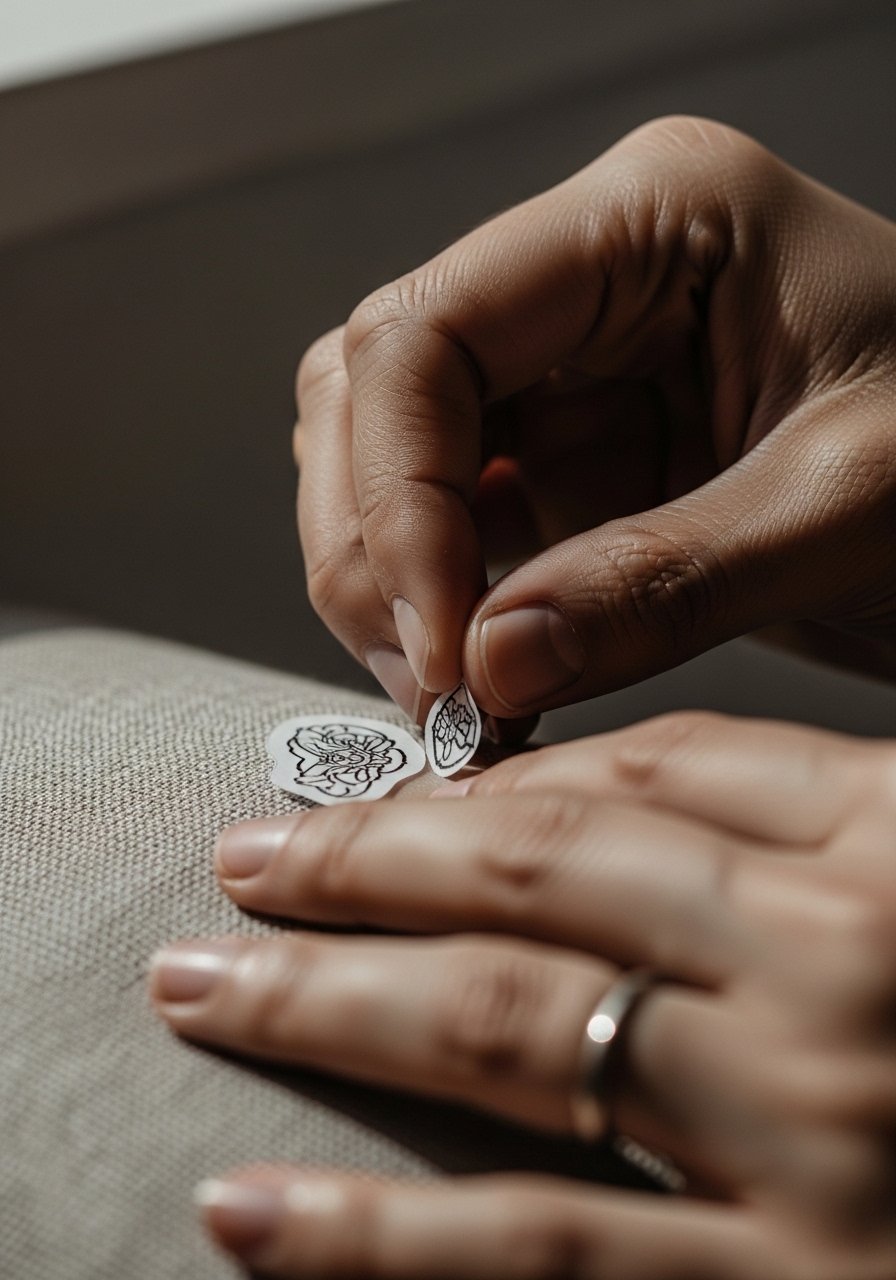
- Print a stencil and wear it for a day to watch how clothing and movement affect it.
- Ask your artist about scale—small Japanese motifs need slightly bolder keylines to age well.
- Bring clear reference photos and say what you like about each one.
Helpful tools: a sheet of stencil transfer paper helps you create accurate home stencils. Use a single-use prep razor the morning of your session for a smooth surface.
Prep your body and manage pain for sensitive placements
Prepping changes the session entirely. Do this:
- Hydrate well for 48 hours before your appointment.
- Eat a solid meal two hours before sitting.
- Shave the area gently the morning of with a single-use razor.
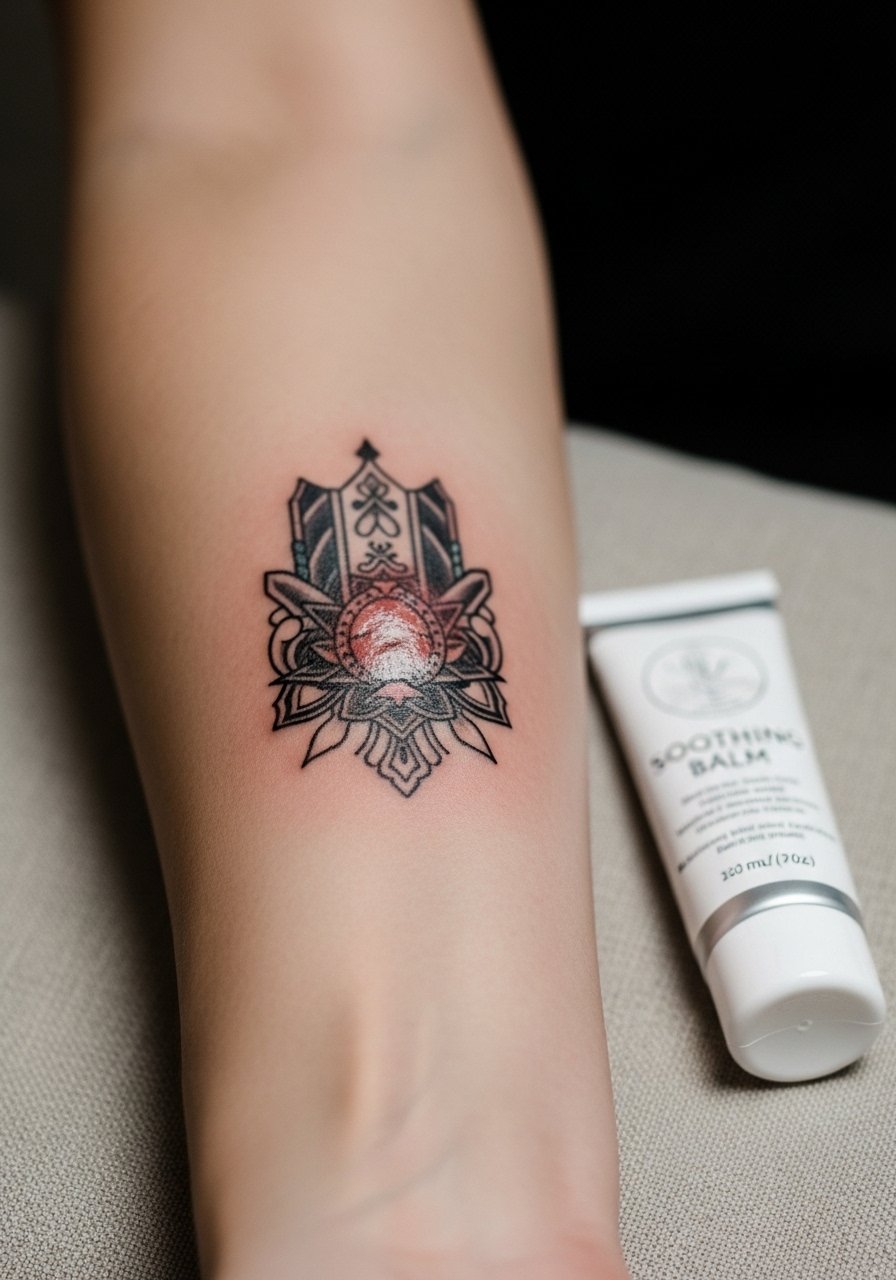
For very sensitive spots, apply a thin layer of EMLA numbing cream about an hour before. After the session, your artist may recommend a barrier. I like Hustle Butter Deluxe for gentle hydration once initial scabbing finishes.
Follow an aftercare routine that protects fine lines and prevents fading
Healed results depend on consistent aftercare. Timeline and steps:
- Immediately: If your artist uses second-skin, leave it for 3–5 days. After removal, wash gently.
- Days 1–14: Clean twice daily with an unscented wash, pat dry, then apply a thin layer of unscented tattoo aftercare lotion 2× daily.
- Avoid soaking, pools, or heavy sweating for 2 weeks. Expect light peeling and itching around day 4–10.
Specific products that help:
- A fragrance-free cleanser like Dr. Bronner's unscented soap for gentle washing.
- A breathable second-skin bandage if recommended by your artist: search for Saniderm.
Troubleshooting:
- Excess clear plasma is normal in the first 24 hours. Dab gently.
- If you see persistent redness, swelling, or pus after 48 hours, contact your artist or a clinician.
I keep a simple aftercare kit ready the night before my appointment. It saves stress and prevents rushed mistakes.
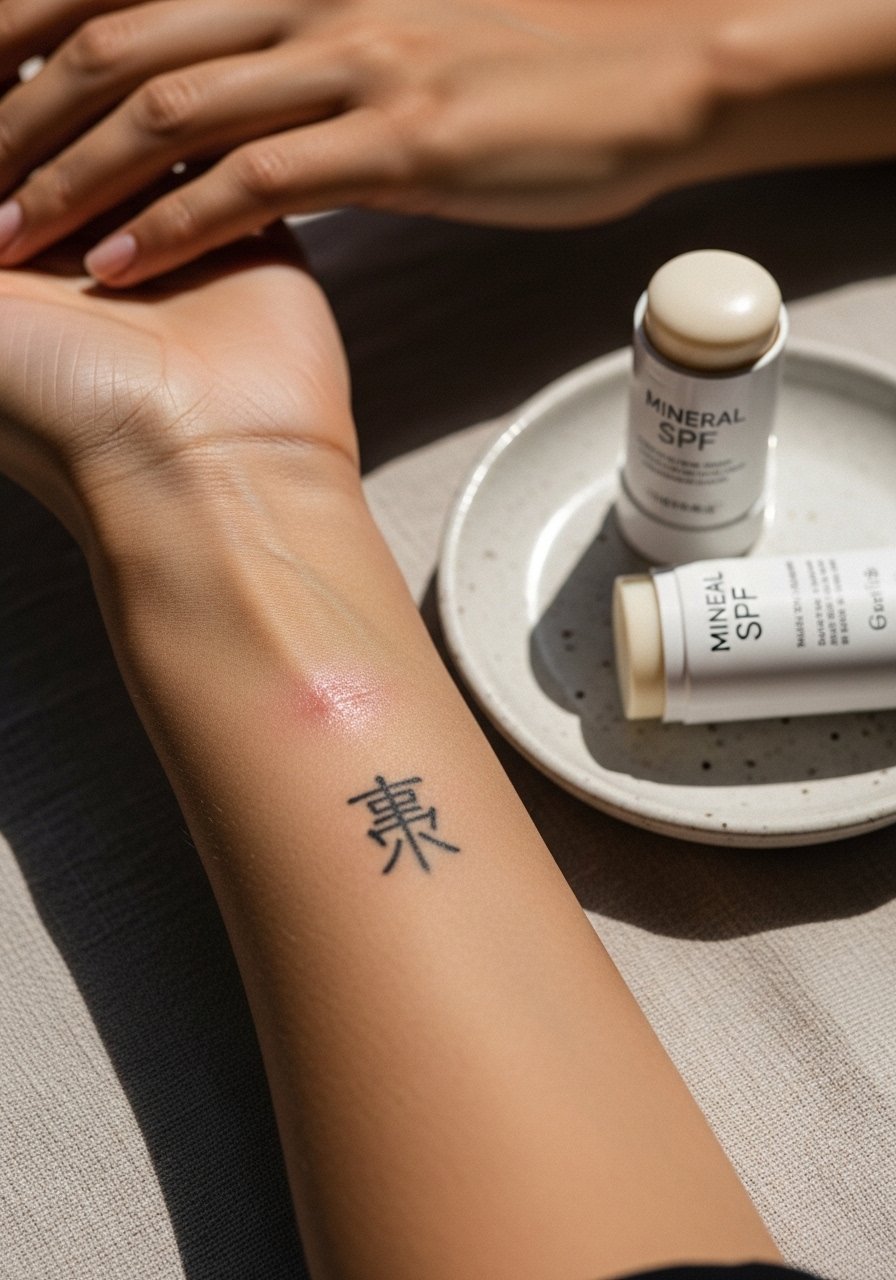
Your small Japanese tattoo should look crisp for years if you choose the right artist and follow a strict healing routine. Pin this guide before your consultation, prep your aftercare kit with a Saniderm roll and plan for a touch-up at 6–12 months if needed. Which placement are you leaning toward? Drop it below and save this guide for the night before your appointment.