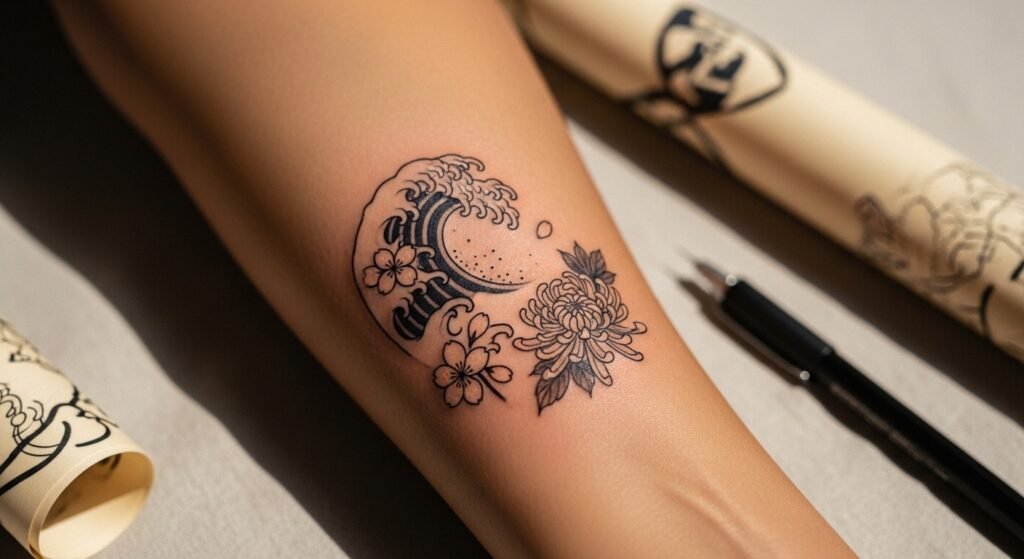
You’re scrolling midnight inspo and suddenly the tiny koi, wave, and sakura you’ve pinned make sense together. If you want to combine small Japanese tattoo elements into a cohesive, culturally rich design, this guide walks you through planning, testing placement, session prep, and a realistic aftercare routine. You’ll learn how to scale motifs so they read clearly, where fine line works best, and how to protect healed results.
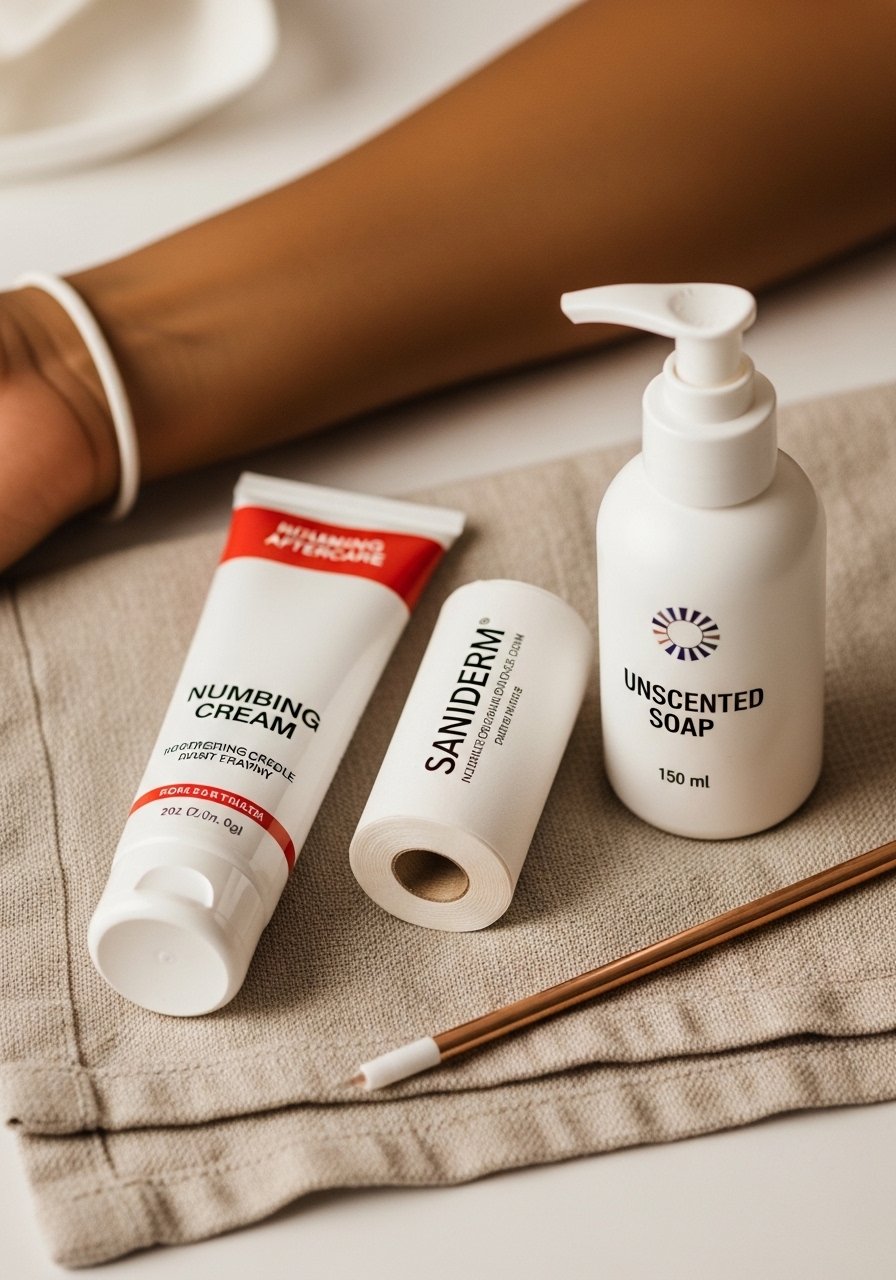
I keep a roll of Saniderm second-skin roll in my kit and a tube of EMLA numbing cream for sensitive spots. These make day-of comfort and the first 72 hours much easier.
What follows: planning your composition, testing placement with semi-permanent tools, day-of prep and pain tips, and a solid aftercare + long-term care routine so your combined Japanese elements heal looking intentional and crisp.
Plan your composition like a pro (fine line, minimalist balance)
Start by defining which small Japanese elements you want to combine and what each will mean visually. Decide a dominant motif (koi or chrysanthemum) and supporting motifs (wave, maple leaf, sakura) to avoid clutter. For fine line or minimalist styles, give each element breathing room—think 0.5–1 inch spacing for small pieces.
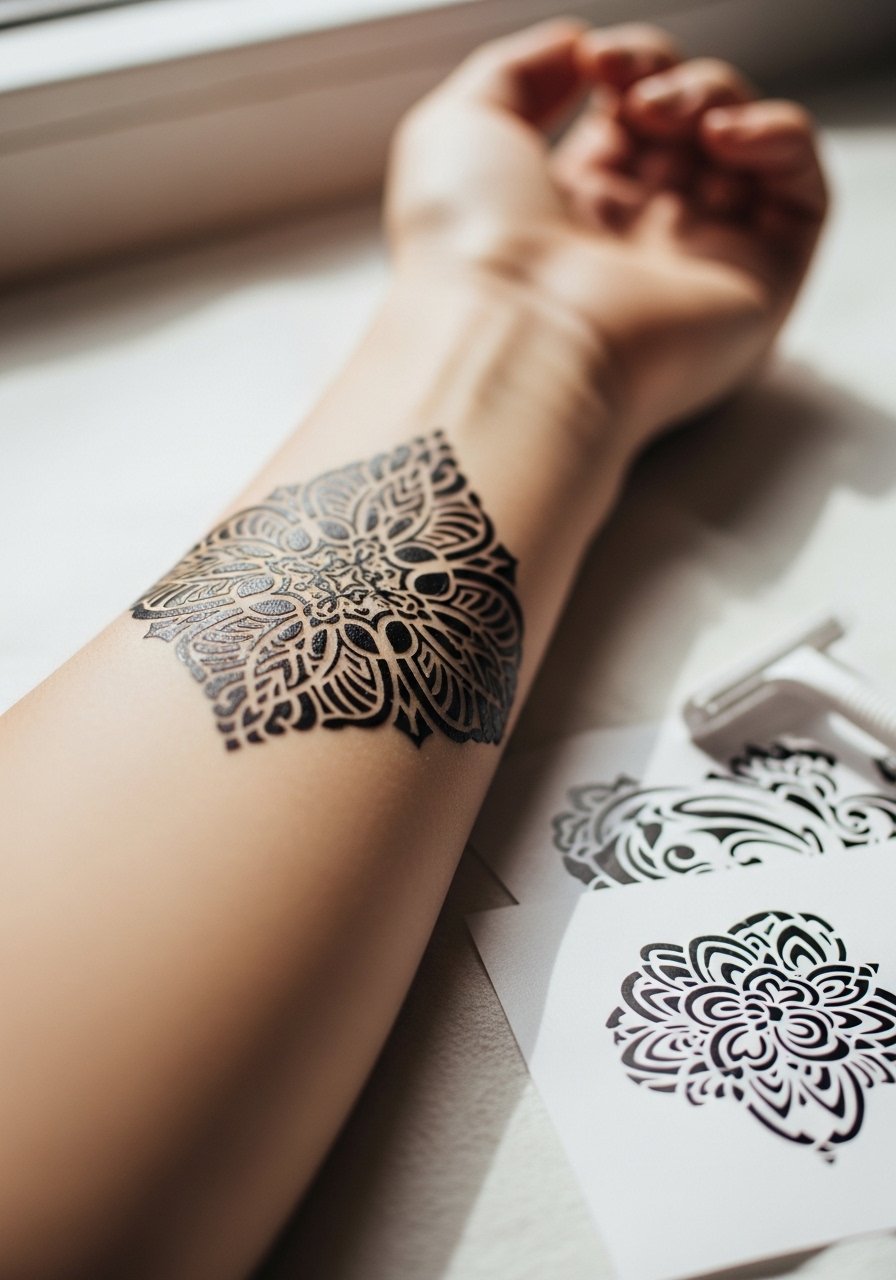
- Use an Inkbox semi-permanent tattoo kit to test visual flow on skin for a week.
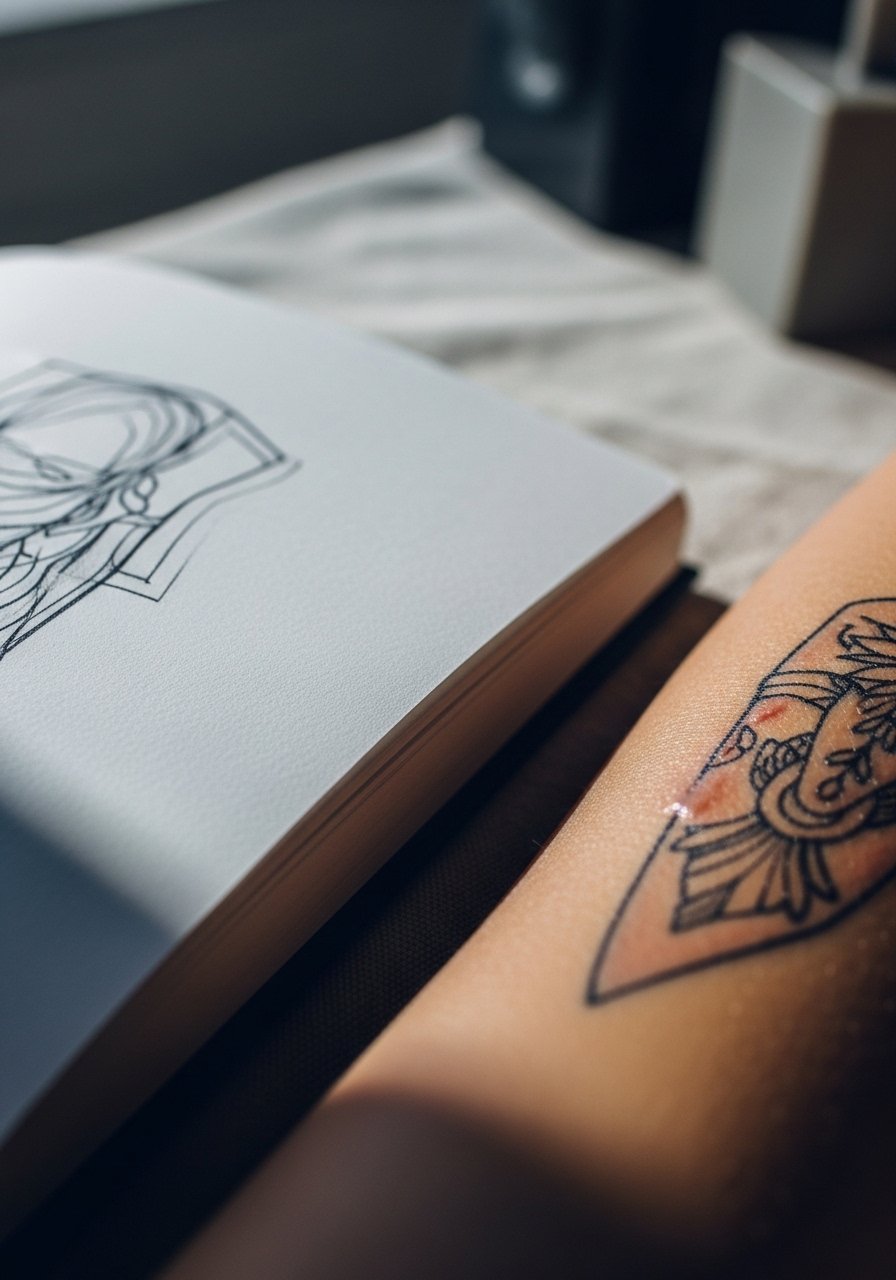
- Scan references into Procreate or a sketchbook to try different arrangements before you commit.
Test placement and scale before the chair (beginner placement, stencil tricks)
Placement changes everything—what reads crisp on the ankle may blur on the wrist. To test placement:
- Apply a temporary stencil or use an Inkbox kit.
- Shave the area with single-use prep razors right before testing to mimic the artist’s prep.
If elements overlap, scale the details down further or convert shaded fills into blackwork outlines for clarity. For beginners, inner forearm and shoulder cap are low-pain, high-visibility options.
Prepare for the session and manage pain (session prep, touch-up planning)
Prep the night before: hydrate, sleep, and lay out your aftercare kit. Apply EMLA numbing cream about 60–90 minutes before a sensitive placement if recommended by your artist. Ask about stencil tweaks in the first 5–10 minutes of the session.
- Expect fine line pieces to take less time but require steady hands; schedule touch-ups after 8–12 weeks if line work fades unevenly.
- Bring water and loose clothing for the area to avoid irritation post-session.
Follow a realistic aftercare routine (aftercare routine, healed results)
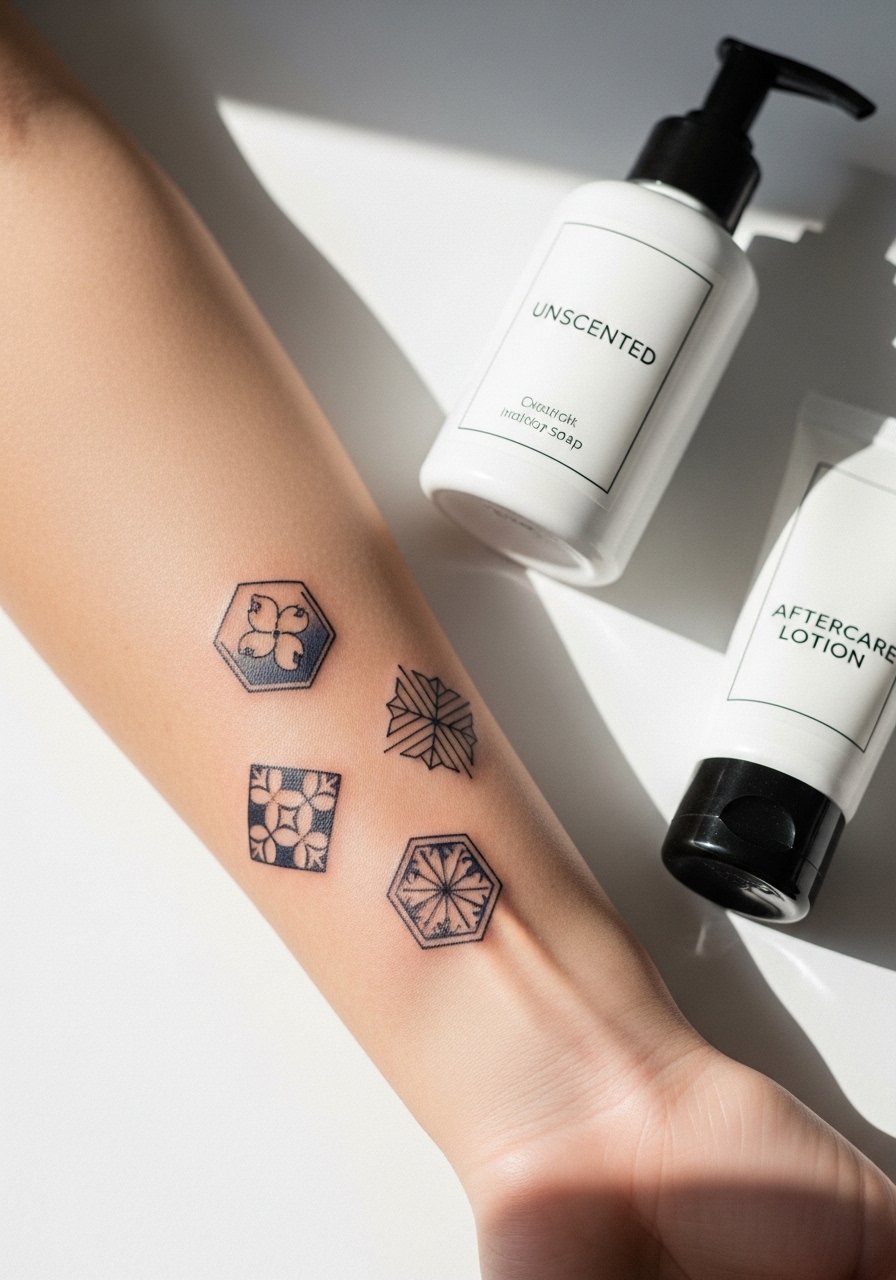
First wash at 4–6 hours or as your artist instructs. For the first two weeks:
- Gently wash twice daily with a Dr. Bronner's unscented soap.
- Pat dry and apply a thin layer of unscented tattoo aftercare lotion 2–3 times a day while peeling.
- If you prefer balms, a light swipe of Hustle Butter Deluxe tattoo aftercare helps itchy days without over-moisturizing.
Keep a Saniderm second-skin roll handy if your artist endorses second-skin; a proper application can stay on 3–5 days and cut down on scabbing. After healed (about 6–8 weeks), protect your placement with a mineral SPF 50 stick daily and consider a weekly rub of vitamin E oil for skin to keep colors vibrant.
If you see excessive swelling, greenish ooze, or intense pain after day three, contact your artist or a clinician—those are warning signs, not normal healing.
You can combine small Japanese tattoo elements so they read like a single, thoughtful piece—if you plan spacing, test placement, respect your body during the session, and follow a strict aftercare routine. Pin this guide before your consultation, prep your aftercare kit tonight, and book that appointment.
Honestly, having a Saniderm second-skin roll and a trusted unscented soap ready is half the peace of mind. Which small Japanese elements are you pairing? Pin this and tell me below.