You’re sitting in a waiting room, scrolling 2 a.m. inspo and finally ready to commit to a small Japanese tattoo that means something. You want respect for the imagery and a design that reads clearly at a tiny scale. Picking a motif that honors cultural roots while reflecting your story is doable — and this guide shows you exactly how.
Prep the practical stuff the night before: I always have a roll of Saniderm second-skin bandage and a tube of unscented tattoo aftercare lotion ready. These cut down healing stress and help preserve fine detail. Read on for placement tips, design choices, artist talk, and a realistic aftercare routine.
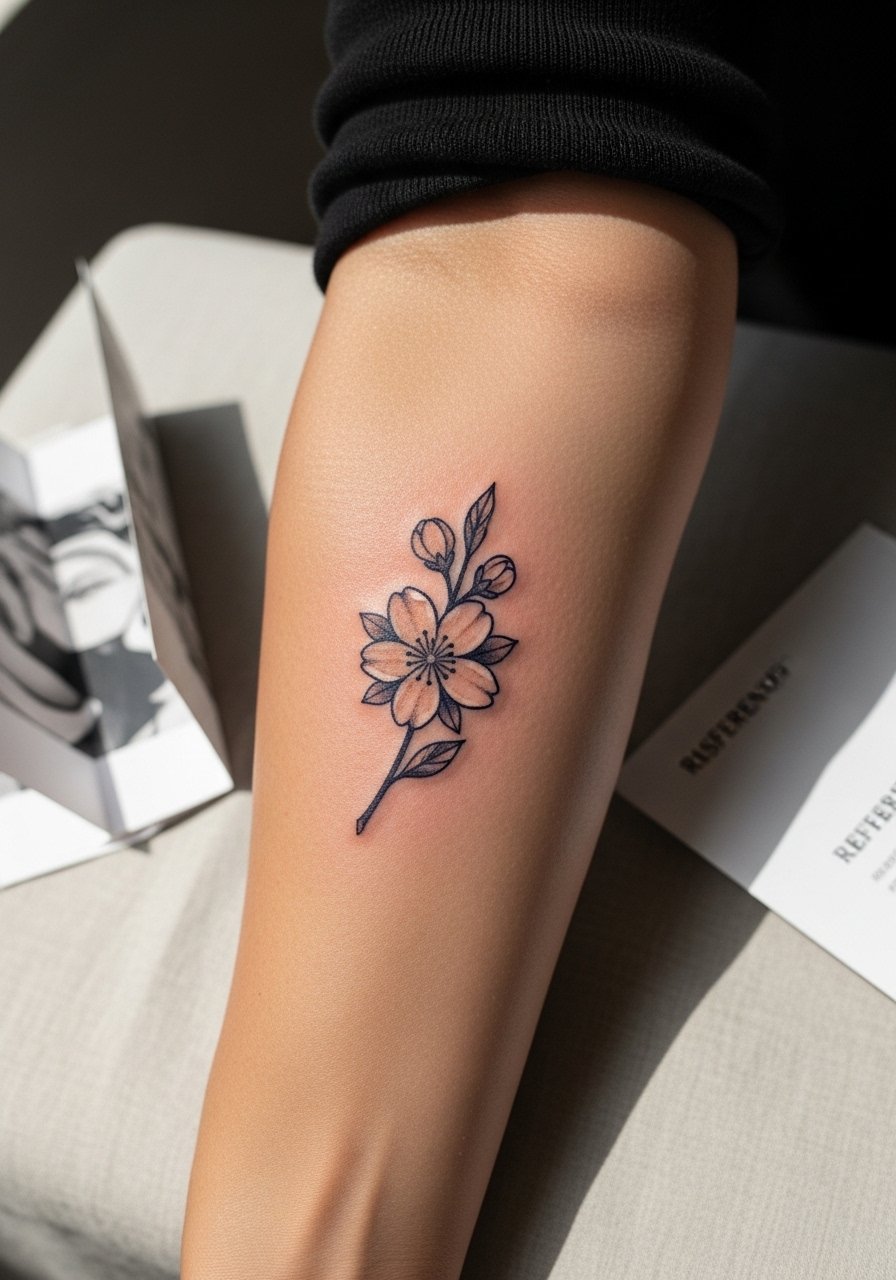
Find motifs that respect Japanese tradition and fit small scale (fine line, minimalist)
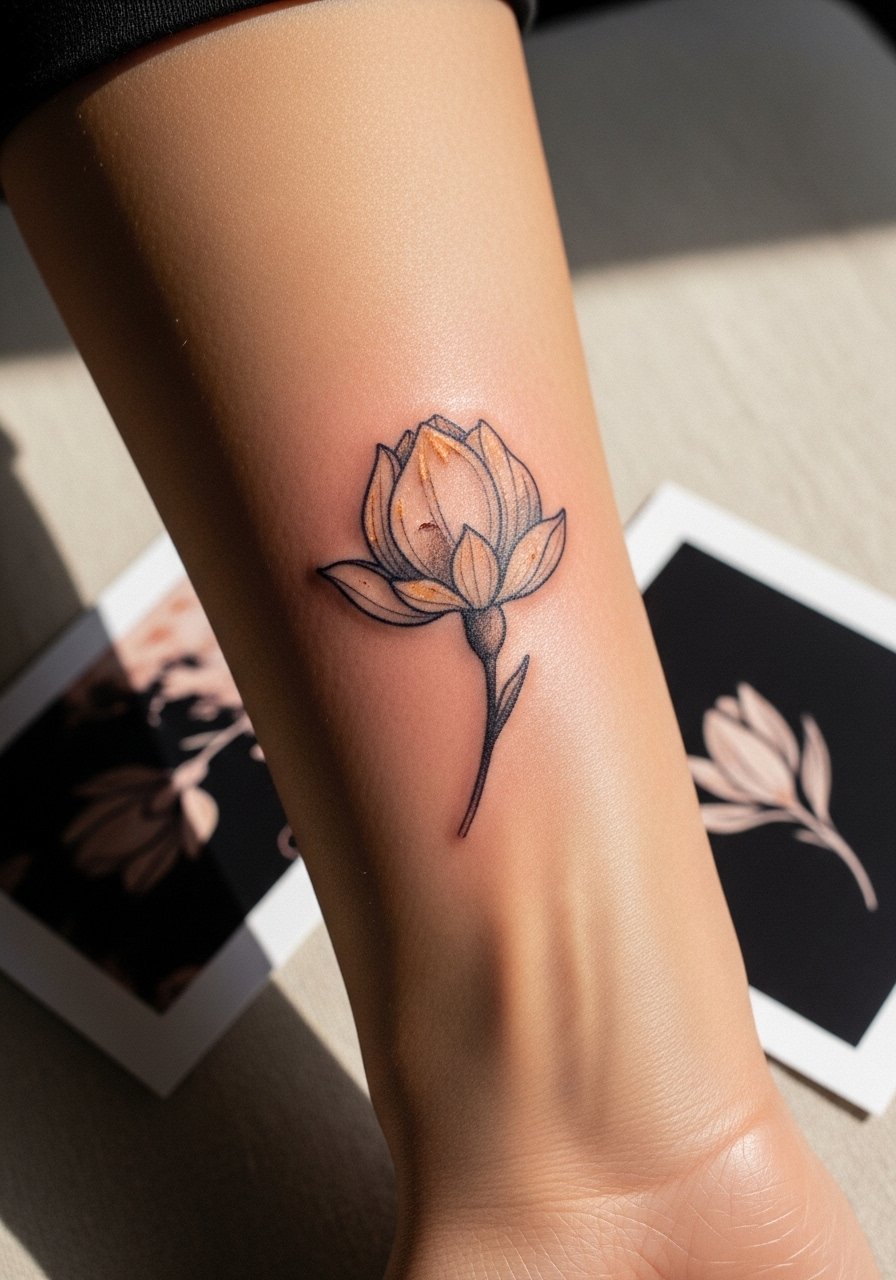
A small Japanese tattoo should simplify complex motifs into clear symbols. Think single sakura bloom, a tiny wave crest, a simplified kanji (after careful research), or a minimal carp silhouette. Fine line and minimalist aesthetics translate best at small sizes because they keep negative space and clarity.
Tips:
- Scale designs so they’re readable at the size you want; avoid busy backgrounds.
- Use reference books or a sketchbook to refine ideas. Try a sketchbook for artists to mock up variations.
- If using kanji, verify meaning with a native speaker and ask your artist to confirm stroke order and balance.
Test placement and size before you commit (beginner placement, stencil tricks)
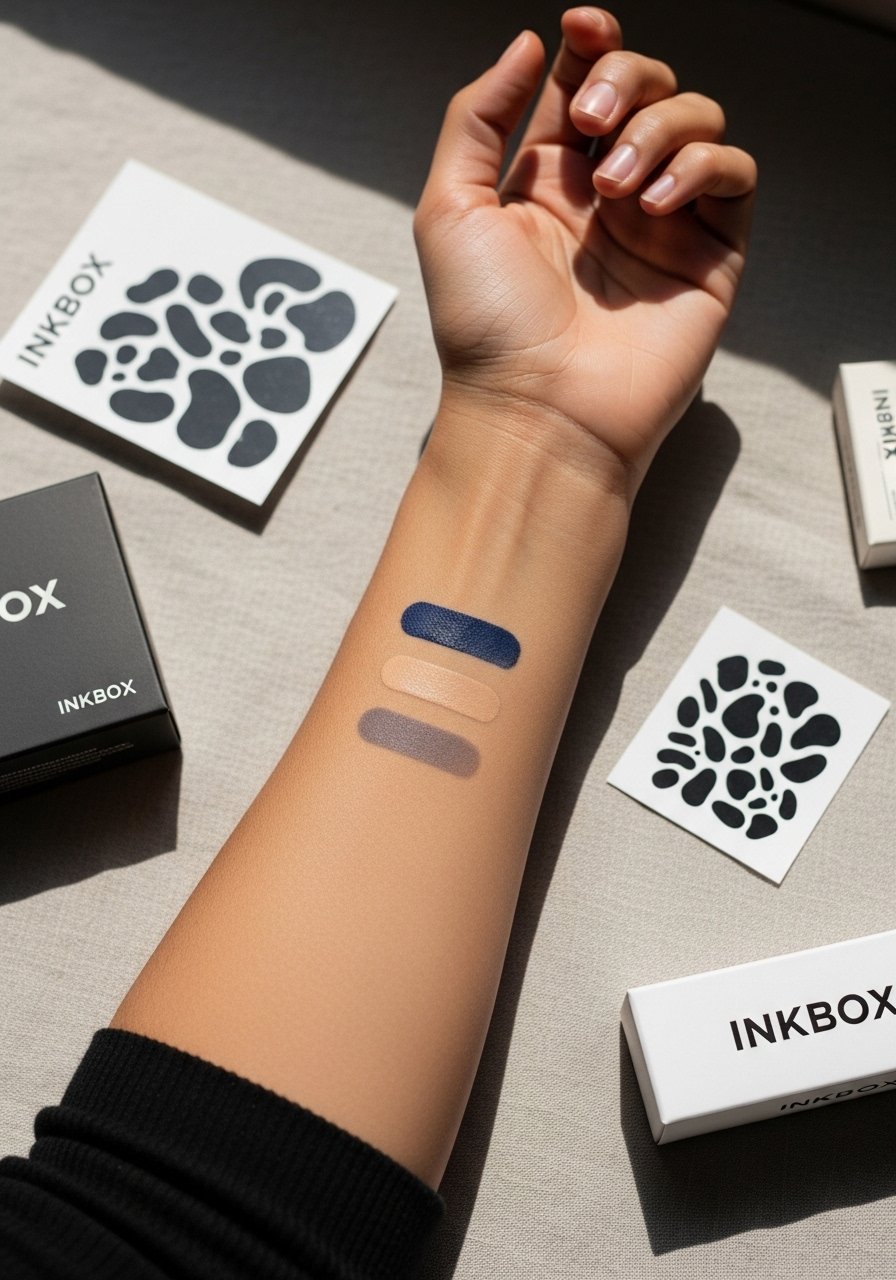
Testing placement prevents regrets. Use temporary options and stencils to see how the small Japanese tattoo flows with your body.
Steps:
- Print a stencil and press it onto the area to check scale for 24–48 hours.
- Try an Inkbox temporary tattoo kit to wear the design for a week.
- If hair interferes with the stencil, use a single-use prep razor for tattoo prep the night before.
Beginner placements that hide fine detail well: inner forearm, upper rib (if you’re used to pain), behind the shoulder. Avoid knuckles or areas with constant friction that blur fine lines faster.
Choose an artist who understands Japanese motifs and fine-line technique
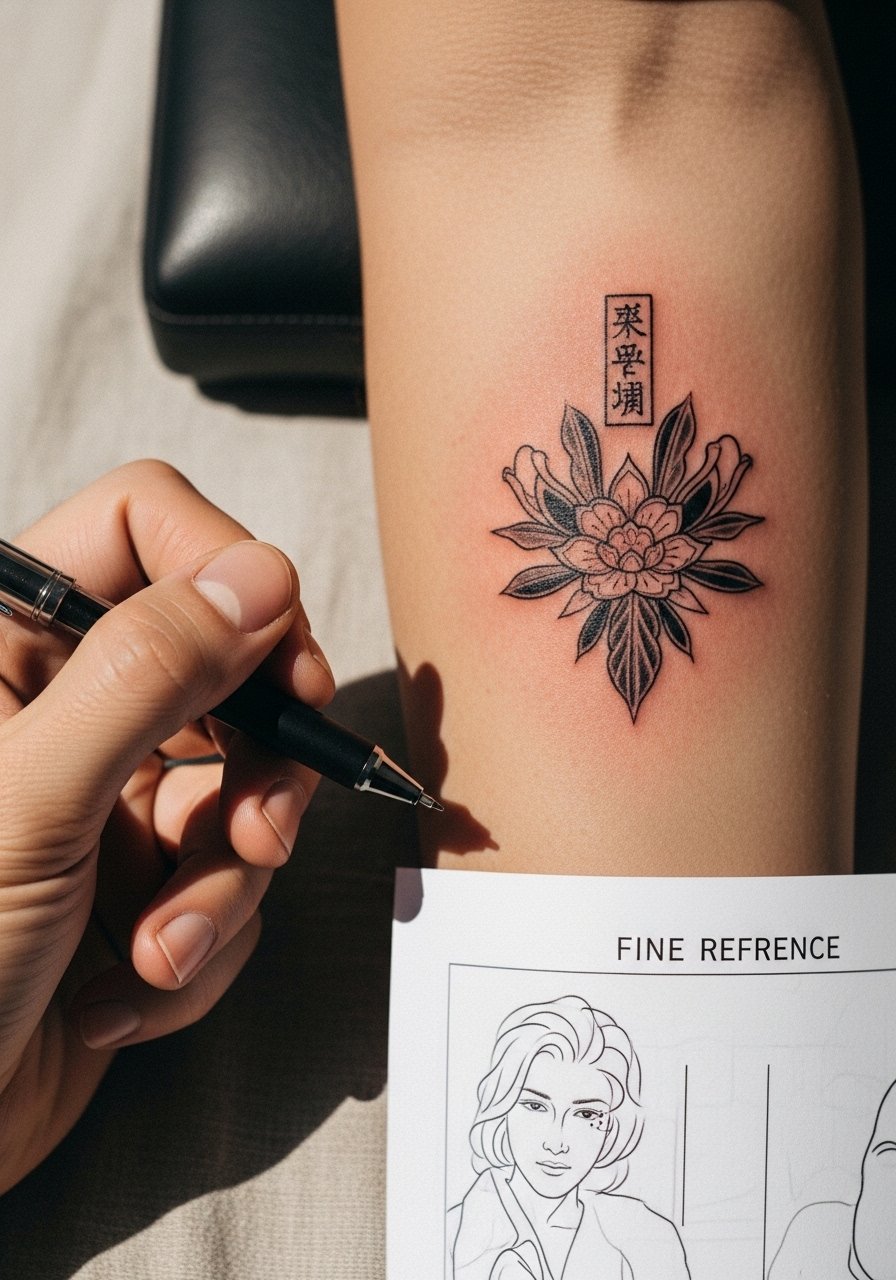
Not every artist can render Japanese iconography with cultural sensitivity. Look for portfolios that show both Japanese-style pieces and crisp small work.
What to ask:
- Can you show healed results of similar small Japanese tattoos?
- How do you simplify designs for small scale?
- What’s your touch-up policy for fine-line pieces?
Bring printed references and a quick written note about the meaning you want to honor. If you’re nervous about pain on a sensitive spot, discuss a numbing cream (EMLA) an hour before the session.
After your session: real aftercare routine and healed results (aftercare routine, touch-up)
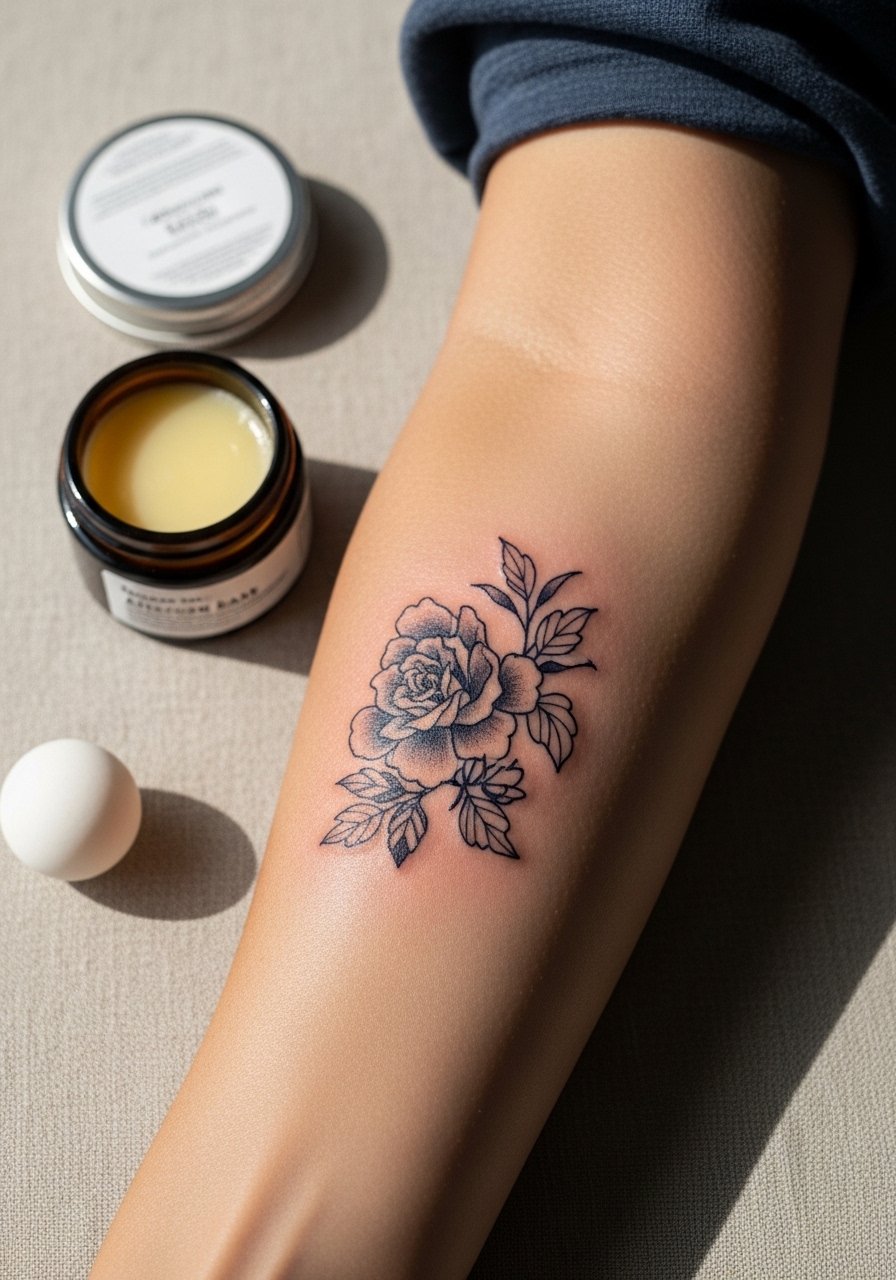
Healing for a small piece still follows clear stages. Expect redness and slight plasma the first 24–48 hours, scabbing and light peeling days 3–10, and settled color by 4–8 weeks. Real care prevents blowouts and fading.
Routine:
- First wash: 2–6 hours after the session, gently wash with a fragrance-free antibacterial soap and pat dry.
- Cover or not: If your artist uses a second-skin, you can keep Saniderm second-skin bandage on for 3–5 days. If not, use the wash/lotion cycle.
- Moisturize: Apply a pea-sized amount of unscented tattoo aftercare lotion twice daily during peeling.
- For itching: A small dab of Hustle Butter Deluxe tattoo aftercare can soothe without clogging.
- Long-term: Use a mineral SPF 50 stick daily on any exposed tattoo to prevent fading.
Warnings:
- Don’t pick scabs or over-moisturize; both cause ink loss.
- If you see excessive swelling, pus, or fever, contact your artist or a clinician.
Touch-ups for fine-line small Japanese tattoos are common around 8–12 weeks. Plan one follow-up if your artist recommends it.
You can honor Japanese roots and keep your story visible without sacrificing clarity. Use tests, thoughtful artist questions, and a reliable aftercare routine to protect detail and meaning.
Building an aftercare kit before your appointment makes the whole process calmer — Saniderm, fragrance-free soap, and a good unscented lotion are the basics. Pin this guide before your consultation and save it for the night before your appointment. Which small Japanese motif are you leaning toward? Drop it below.