You’re in the waiting room scrolling reference photos at 2 a.m., certain this time the koi or dragon has to be perfect. Finding a tattoo artist specializing in Japanese traditional tattoos feels like matchmaking: you want technical mastery, knowledge of placement and flow, and someone who understands color packing and negative space.
This guide walks you through vetting artists, testing placement, talking through pain and session pacing, and setting up a real aftercare routine so your traditional piece heals clean and bold. I always bring a roll of Saniderm second-skin bandage for long sessions and a bottle of Dr. Bronner’s unscented soap for the first two weeks after — they make the whole process less chaotic. Read on for clear steps on placement, what to ask at consults, realistic healing timelines, and product tips that actually help.
Start by vetting portfolios like a pro (gallery review + red flags)
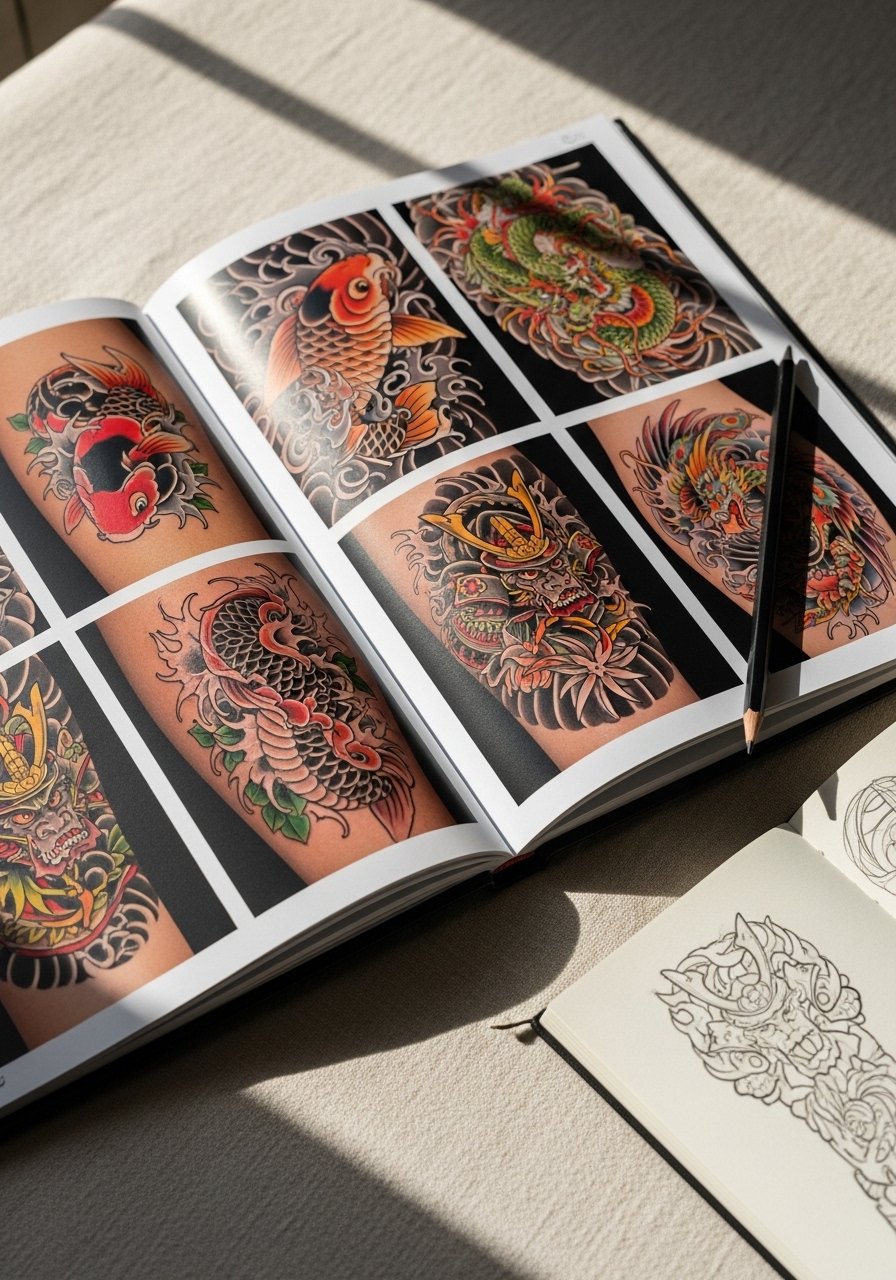
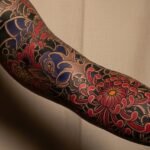
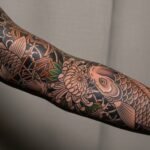
Look for healed photos, not just fresh work. A tattoo artist specializing in Japanese traditional tattoos should show full-body flow — how the design sits on the back, arm, or thigh — and healed shots that prove solid saturation and line retention.
- Red flags: lots of photos of scabby, red ink only; inconsistent line weight; color that looks washed in healed images.
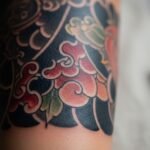
- Green flags: consistent contrast, smooth gradients in black and grey, and healed color density on similar skin tones.
- Ask to see studio licenses and client testimonials during consults.
Test placement and size before the needle
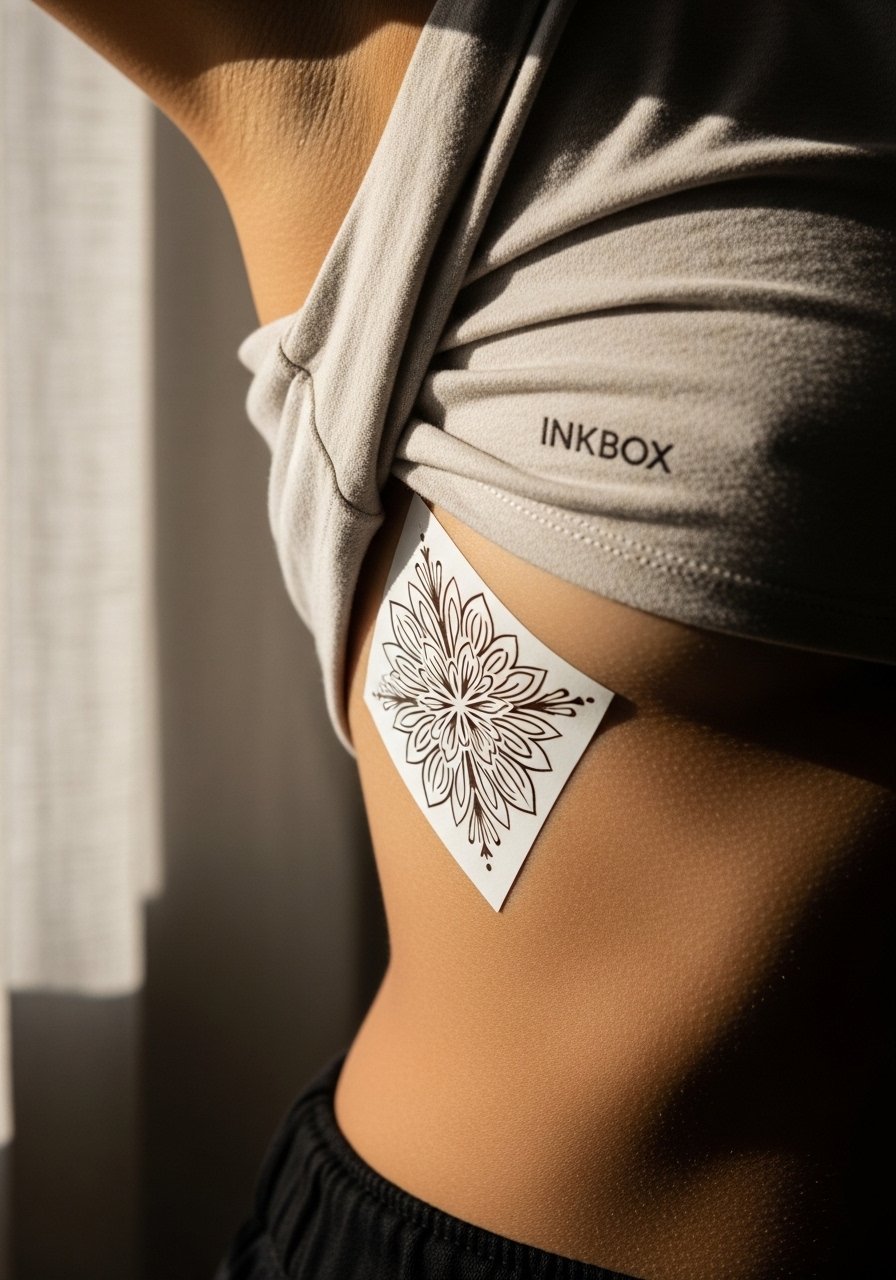
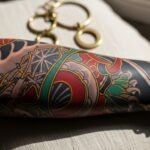
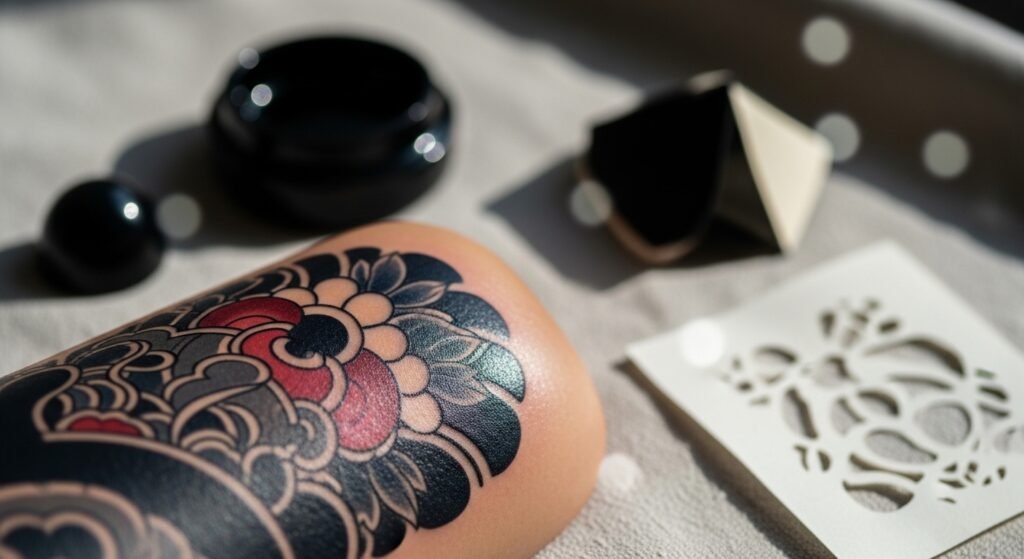
Testing placement prevents regret. Use an Inkbox temporary tattoo kit or print a taped stencil to check how the design wraps and moves with your body.
- Try the stencil for 24–48 hours to see clothing friction points.
- Scale the image up and down to ensure details read at the chosen size.
- Discuss size changes with your artist — Japanese traditional designs need room for shading and background elements.
Also bring a trimmed patch of skin to the consult; a single-use prep razor prevents irritation from studio shaving.
During the session: communication, pain management, and pacing
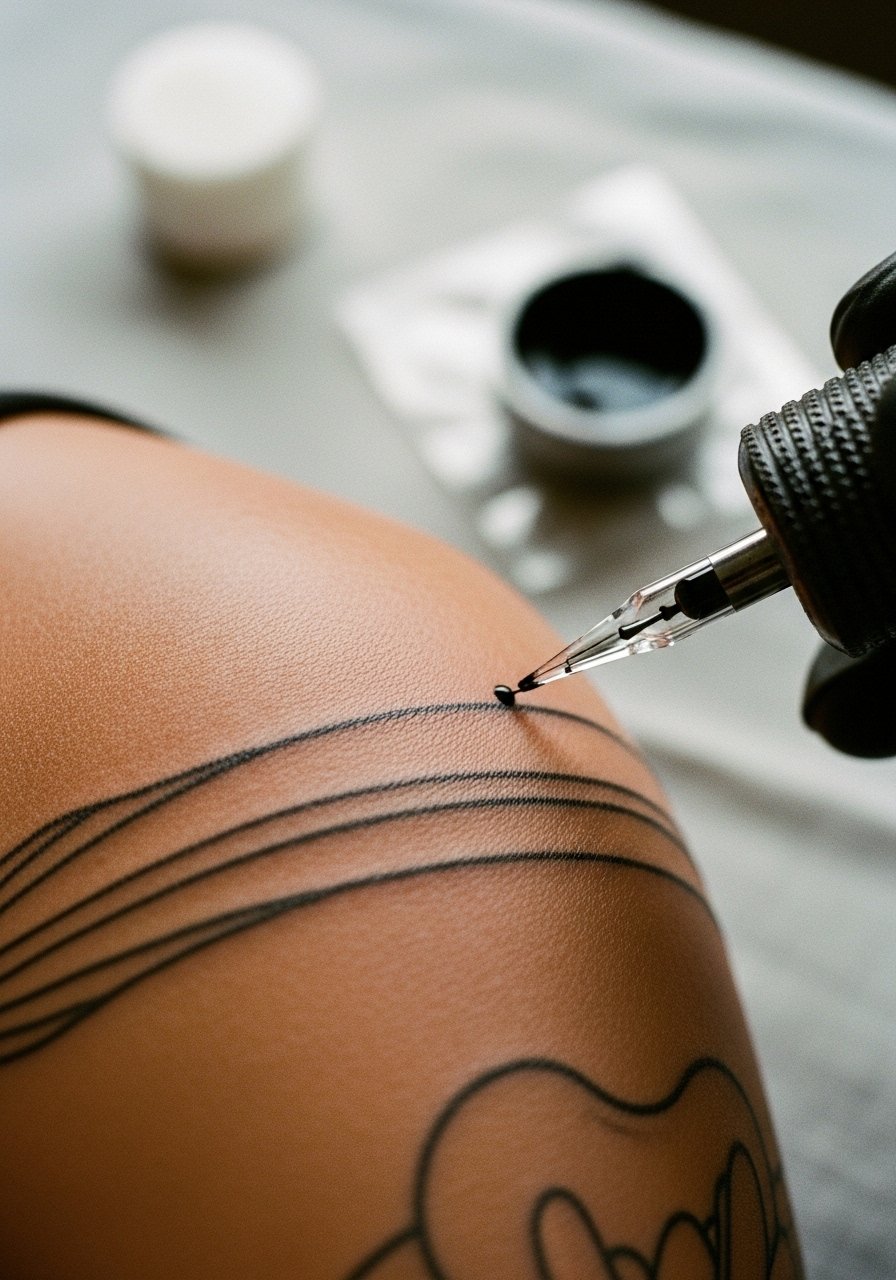
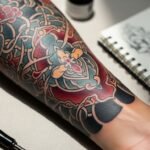
Talk through the session plan before the needle. A tattoo artist specializing in Japanese traditional tattoos will map flow lines, background wind bars, and where to leave skin for negative space.
- Pain management: For ribcage or inner arm placements, consider a topical EMLA numbing cream applied about 60 minutes before the session; follow product instructions.
- Pacing: Expect multiple hours for complex pieces and plan breaks every 60–90 minutes. Hydrate and eat before you sit.
- Real-talk: Fine-line elements in traditional work still need bold outlines; don’t ask to micromanage line thickness during the tattoo — trust the artist’s flow.
Aftercare routine and long-term maintenance for lasting color
What you do in the first two weeks decides long-term results. Immediate aftercare and ongoing sun protection matter more than touch-ups later.
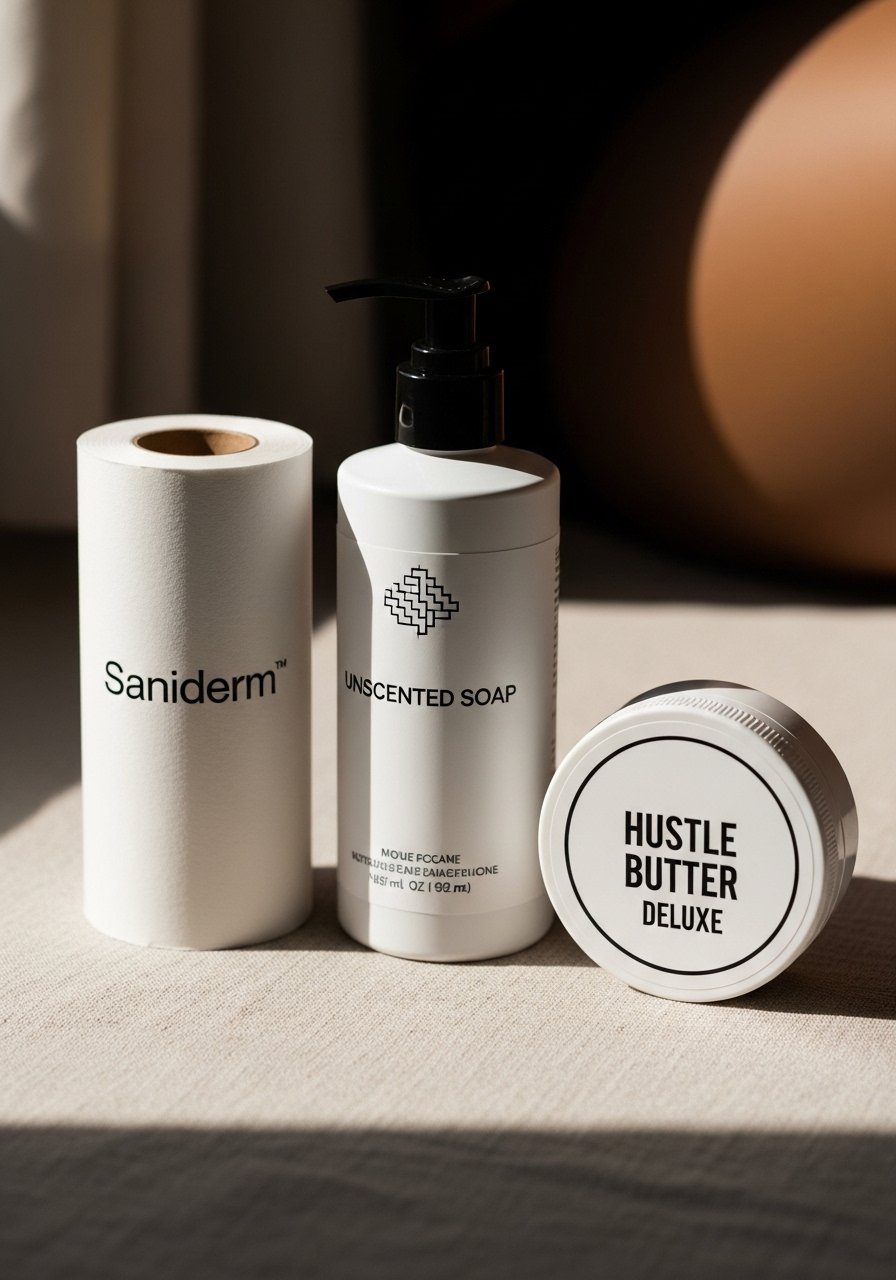
- First wash (within 2–6 hours): Gently remove bandage, wash with Dr. Bronner’s unscented soap twice a day for 14 days. Pat dry.
- Bandage option: A second-skin like Saniderm left on for 3–5 days reduces scabbing and contamination.
- Moisturize: Apply a thin layer of After Inked tattoo moisturizer or Hustle Butter Deluxe 2–3 times daily during peeling. Less is more — don’t smother.
- Sun protection: Once healed, use a mineral SPF 50 stick daily on exposed ink to prevent fading.
- Long-term: Massage with vitamin E oil occasionally to keep skin supple and colors bright.
Common healing issues: excess plasma that crusts (re-wash gently), prolonged redness (contact your artist or doc), or patchy fading (may need a touch-up after 3–6 months).
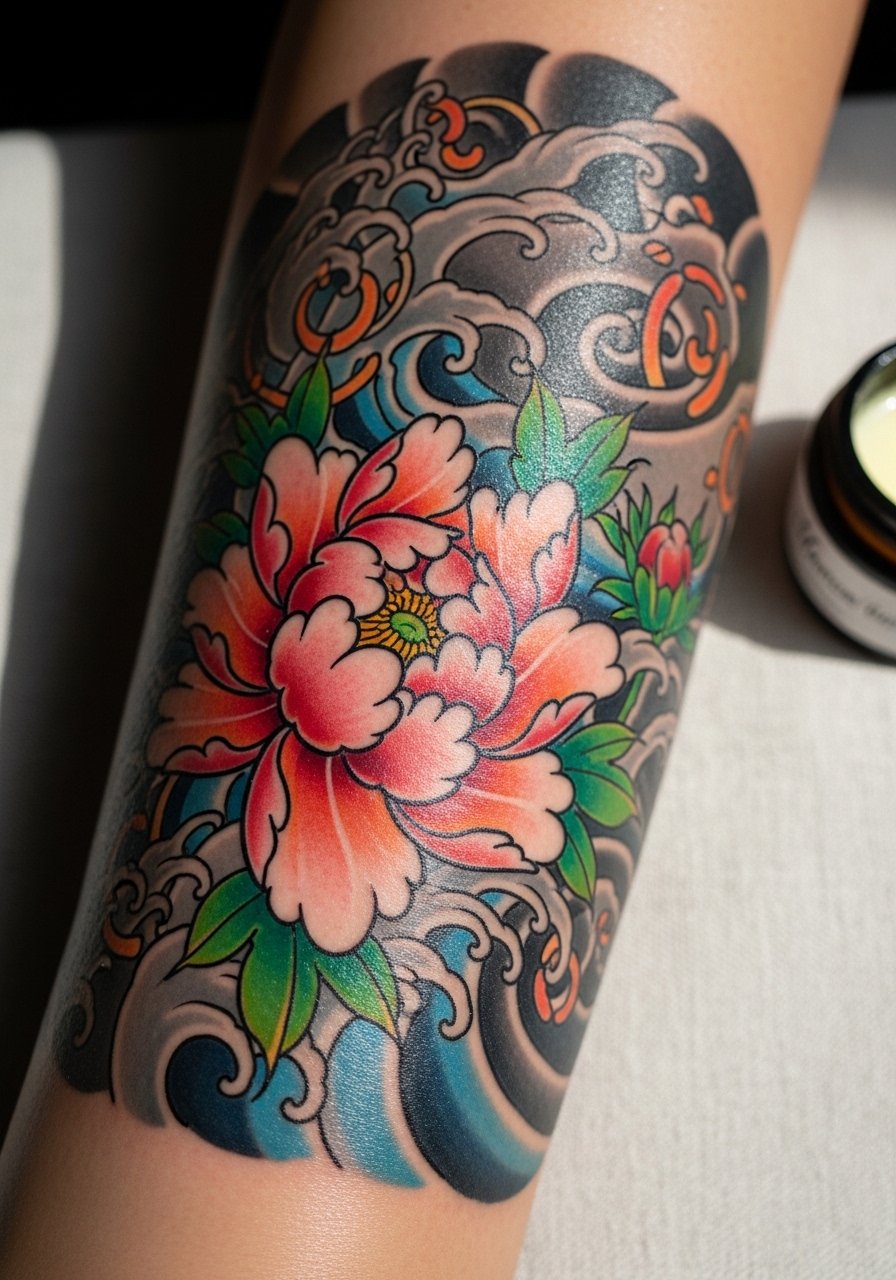
I kept the same visual approach across photos so you get a consistent idea of healed texture and color on medium olive skin.
You’ve got the roadmap: find an artist who shows healed Japanese traditional tattoos, test placement with a temporary tattoo, be honest about pain and pacing in the chair, and follow a simple aftercare routine. Build your aftercare kit tonight — grab Saniderm, fragrance-free soap, and a reliable aftercare balm so you’re ready the minute you leave the studio. Pin this before your consultation and tell me: which traditional motif are you booking next?