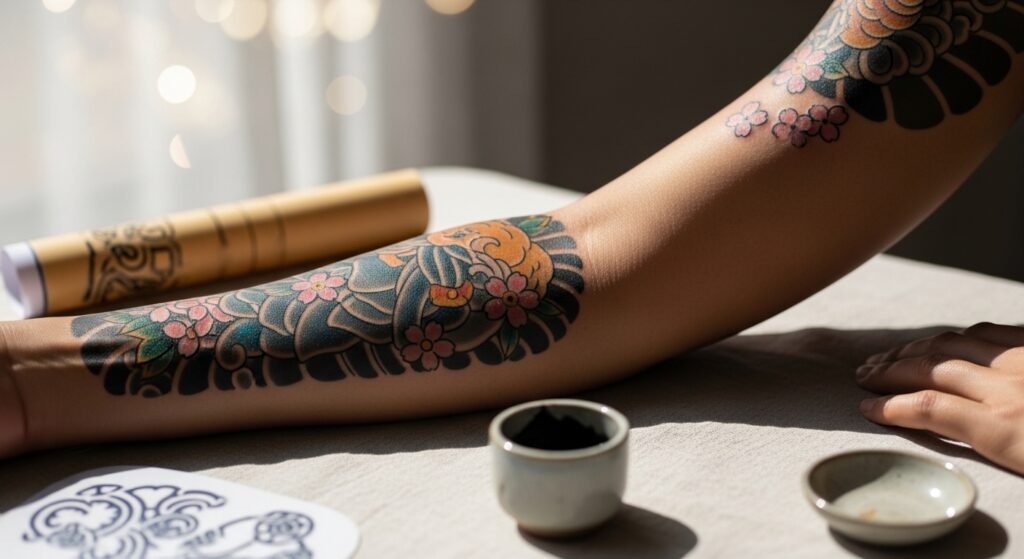
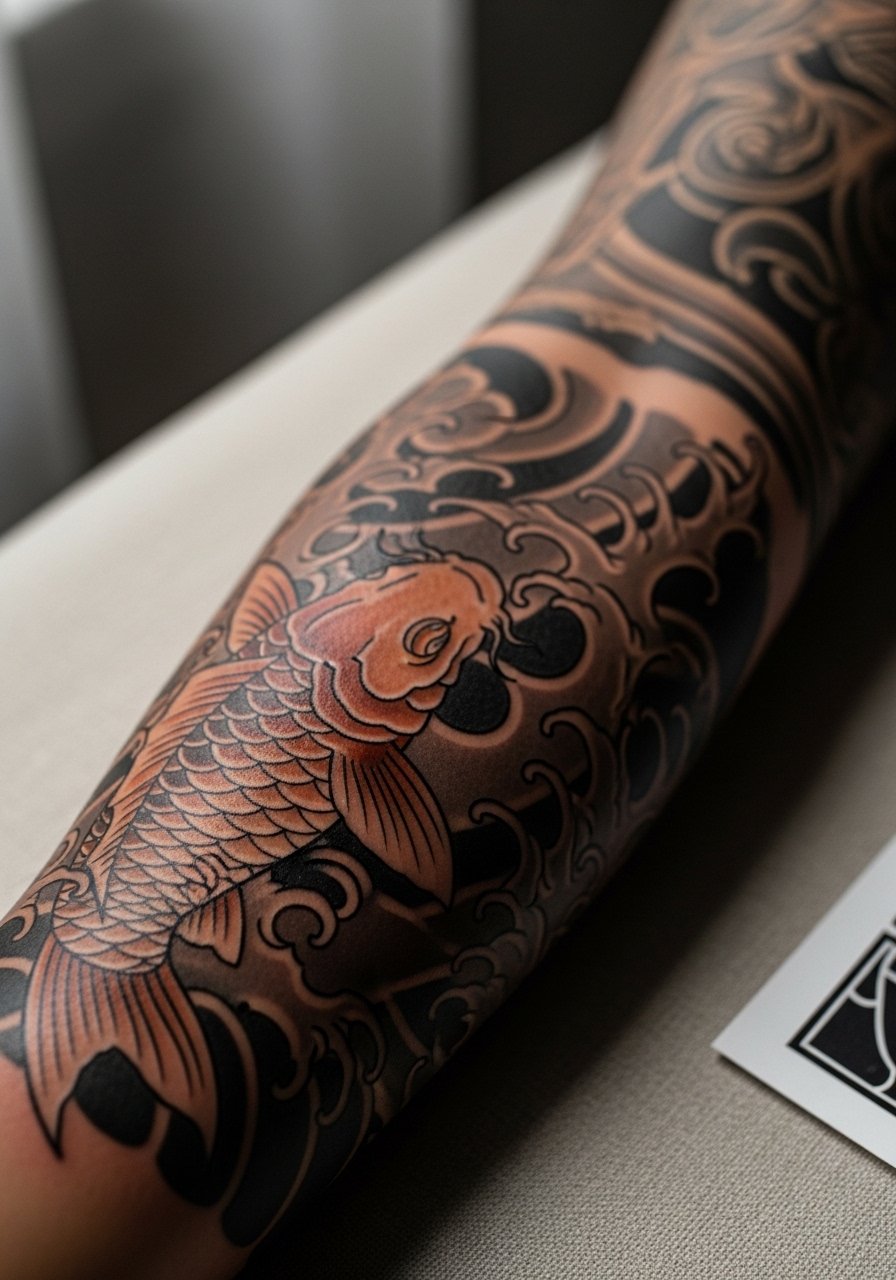
You’re sitting in the waiting room scrolling 2 a.m. reference boards, finally certain the koi and chrysanthemum belong on your body. Placing a Japanese traditional tattoo is as much about body flow as it is about the artwork — the right spot makes the design read like it belongs to you, not pasted on.
Learning how to place a Japanese traditional tattoo on your body means testing stencils, prepping skin, and setting up an aftercare routine that protects color and linework. I keep a roll of Saniderm second-skin bandage in my kit and a tube of Zensa numbing cream for sensitive placements — both change the experience. Below you'll get step-by-step placement advice, testing tricks, what to say to your artist, and a practical aftercare timeline.
What to consider when choosing placement (flow, scale, visibility)
Start with body flow: Japanese traditional tattoos rely on large, curved shapes and negative space. Pick a placement that allows broad swaths (shoulder, upper arm, thigh, or back). Think about:
- Visibility: Do you want this visible daily or mostly covered? Healed results on sun-exposed areas fade faster.
- Scale: Fine line and minimalist variations read poorly if shrunk; keep traditional motifs at a size where details breathe.
- Movement: Place the main subject where muscles move naturally — a koi on the outer forearm follows flexion; a back piece sits on flat canvas.
Quick placement checklist:
- Hold a printed 1:1 stencil in natural light for 30–60 minutes.
- Step back and view from different distances.
- Consider clothing and neckline changes.
Test placement before you commit (temporary tattoos and stencils)
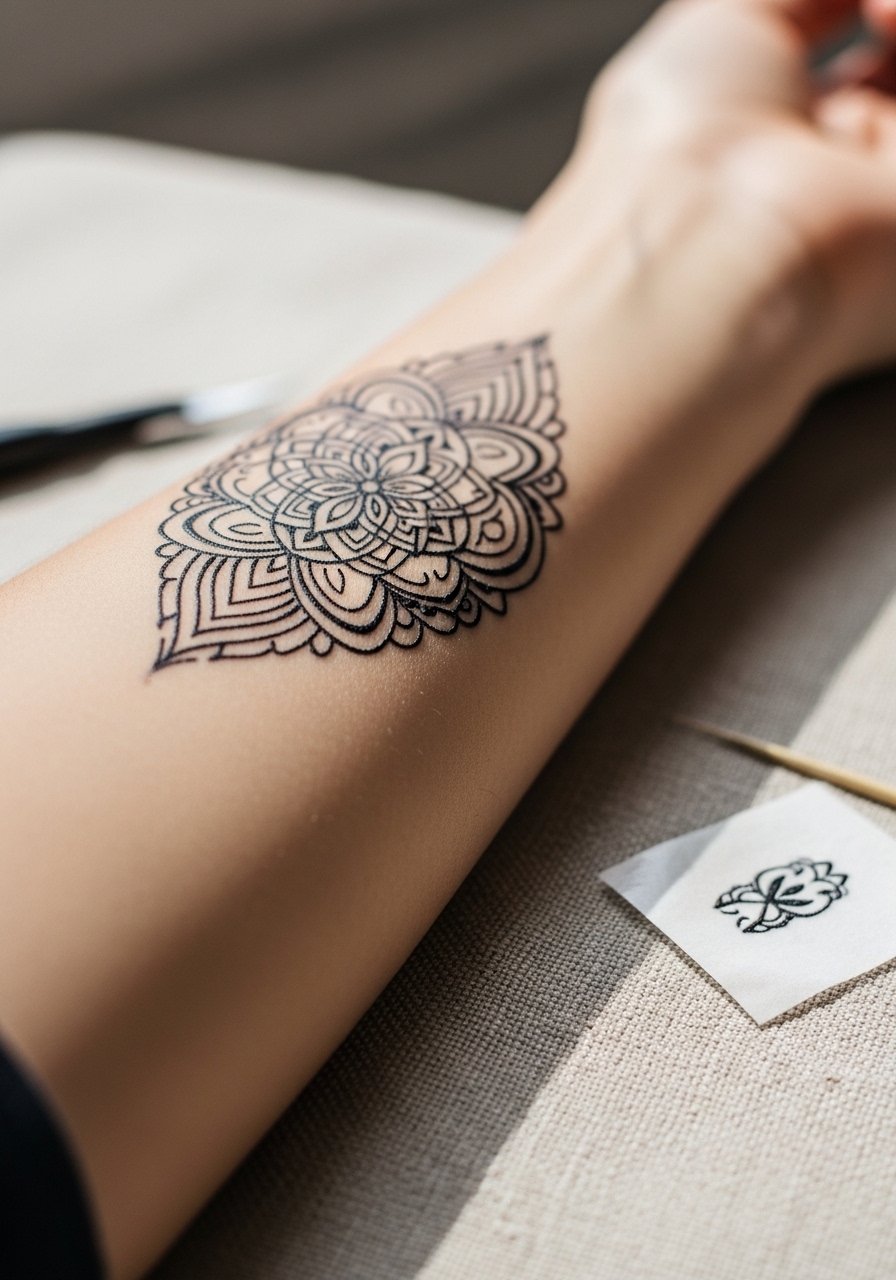
Testing saves regret. Try a semi-permanent option or stencil transfer before you book.
- Use an Inkbox semi-permanent kit to wear the design for days.
- For transfer accuracy, use tattoo stencil transfer paper at home and move the stencil with the body position you’ll be in while sleeping or working.
- Wear the test for typical activities (tight sleeves, backpacks) to see how it sits.
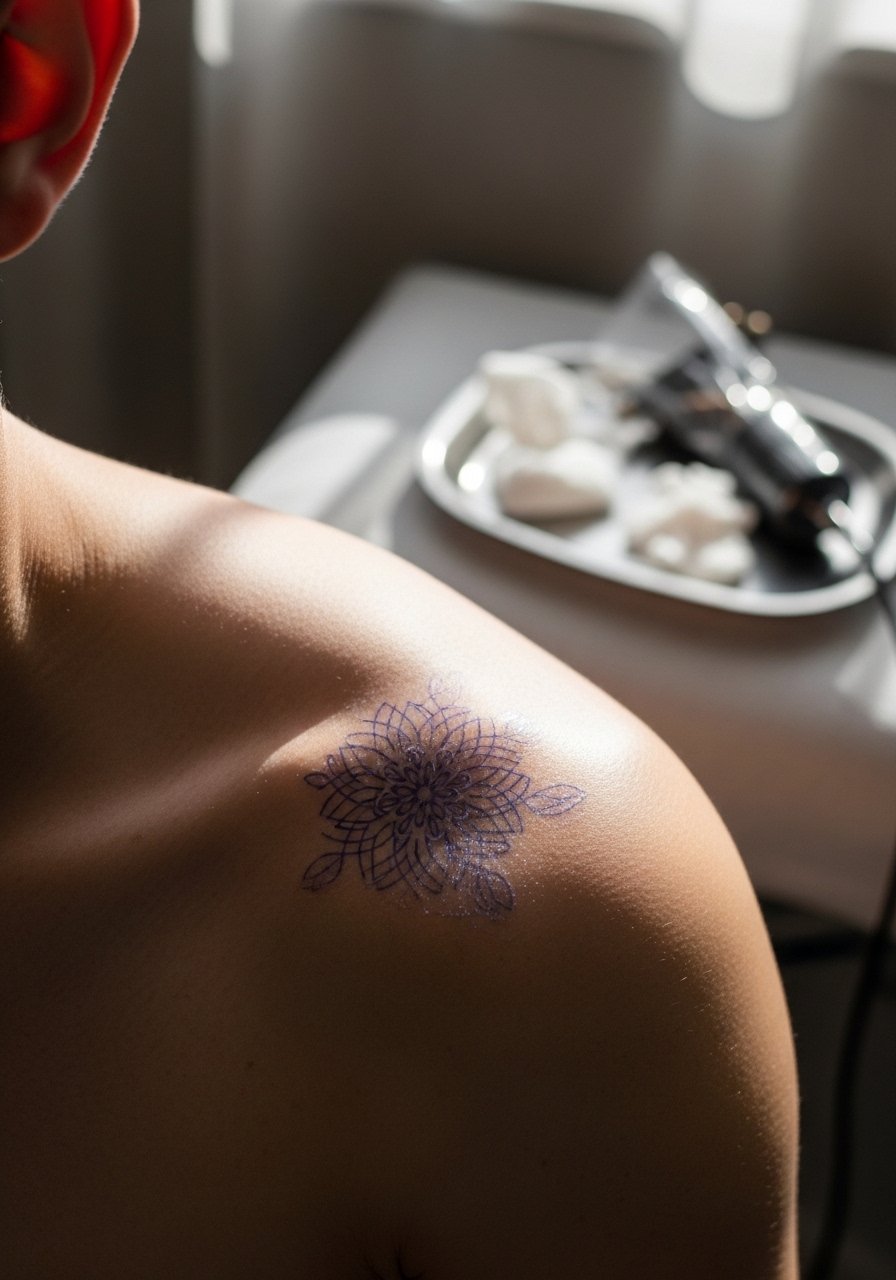
In the chair: what to tell your artist and how to prep skin
A clear pre-session chat prevents resizing surprises. Say exactly where you want the focal point, how visible you want it, and if you prefer bold outlines or softer neo-traditional shading. Prep tips:
- Shave the area with a single-use prep razor the night before.
- Apply numbing cream like EMLA or Zensa about 45–60 minutes before a sensitive placement.
- Expect the artist to place, adjust, and photograph stencils; trust minor shifts for flow.
Aftercare routine and healed results (first two weeks + long-term care)
Immediate aftercare sets healed results. Follow studio instructions, but a reliable routine looks like:
- First wash: 6–8 hours after leaving the studio, gently wash with a fragrance-free antibacterial soap twice daily — try Dr. Bronner’s unscented castile soap.
- Cover options: A second-skin like Saniderm left for 3–5 days can reduce scabbing and infection risk.
- Moisturize: Apply a thin layer of After Inked tattoo lotion twice daily during peeling.
- Peeling: Expect peeling days 3–10; don't pick scabs. If itching is bad, a scent-free balm like Hustle Butter Deluxe calms skin.
Long-term tips:
- Use a mineral SPF 50 stick on healed ink daily to prevent fading.
- For color maintenance, a small bottle of Vitamin E oil applied sparingly once healed keeps skin supple.
- Plan touch-ups after 3–6 months if shadows or saturation need restoring.
Common mistakes and troubleshooting (peeling, patchy healing, pain)

Real-talk mistakes:
- Over-moisturizing suffocates the skin — use a pea-sized amount.
- Skipping sun protection leads to color loss within a year on exposed placements.
- Picking scabs causes patchy healing and line loss.
If you see excessive redness, pus, or fever, contact your artist or a clinician — infection needs attention.
You now know how to place a Japanese traditional tattoo on your body with testing, the right artist conversation, and a straightforward aftercare routine. Pin this guide before your consultation, prep your kit (Saniderm, fragrance-free soap, and a calming balm), and book that spot. Which placement are you leaning toward — sleeve, chest, or back? Drop it below!